


Part names and
Functions
Setting defaults
Connections
Playback
Selecting
Files and
Folders
Getting Started
Control
Function
Information
32
Selecting
Media
Edit Function
Recording
Recording
This section explains how to specify a recording media folder for a recording file and to record into
that folder.
The procedure for recording to an SD card and a USB drive is the same.
Before using an SD card or USB device, use “Speed Check” (
v
page 26) in the utilities to check
that the SD card or USB device is suitable to use with this unit.
Selecting the recording media or folder for storing the
recorded files
1
Press
ON/STANDBY.
The power of DN-700R is switched ON, and the display screen lights.
2
When in the stopped state, hold down
SHIFT
and press
MEDIA
.
The media list is displayed.
3
Select media.
•
For details on selecting the media list, see “Displaying the media list and selecting media”
(
v
page 27).
4
While DN-700R is stopped, press
LIST
.
The “File List” is displayed.
5
Select the folder.
•
For details on selecting a folder, see “Selecting folders and files and displaying the file list menu”
(
v
page 28).
•
When “Current” is selected in “02 Rec Folder” (
v
page 21) in “System Setting”, the recorded file
is stored in the selected folder. To store in a different folder, select a different folder. However, when
“All” is selected in “19 Play Range” (
v
page 19) in “Preset Setting”, files are stored in the root
folder.
•
When “Fix” is selected in “02 Rec Folder” in “System Setting” a fixed folder is automatically created
directly below the root folder. The default folder name is “DMH_REC”.
NOTE
To record on an SD card, be sure to format it on DN-700R before recording. If the SD card is formatted on a
computer or is used for recording without formatting it, this could result in sound cutoffs during recording.
For details on the formatting procedure, see “Format Media” (
v
page 26).
Recording
1
Press
REC.
The unit switches to the recording paused state, and the
REC
buttons flashes and
PAUSE
buttons
light.
The display switches to the recording display.
•
When “On” is selected in “08 One Touch Rec” (
v
page 18) in “Preset Setting”, recording starts
immediately when
REC
is pressed.
•
The following results are displayed for media that cannot be recorded.
•
“No Format” for unformatted media or media with unsupported formatting
•
“Write Inhibited” for write protected media
•
“Media Full” if the recordable free space is less than 2MB
•
“Track Full” if the number of files exceeds 2000
2
Adjust the recording level and recording balance.
•
To adjust the recording level and balance, select “Variable” in “14 Volume Input” (
v
page 22) in
“System Setting” in advance.
Also, the input level can only be adjusted when “07 ALC” (
v
page 18) is set to “OFF” and “09
Audio Input” (
v
page 18) is set to “Bal” or “UnBal” in “Preset Setting”.
•
There are two methods for level and balance adjustment. Select “06 Rec Level Type” (
v
page 18)
in “Preset Setting”.
•
Master/Bal
The input level can be adjusted using the jog dial. Also, hold down
SHIFT
to adjust the input level
balance for the left and right channels using the jog dial.
•
Separate L/R
The input level of the left channel can be adjusted using the jog dial. Also, hold down
SHIFT
to adjust
the input level balance for the right channel using the jog dial.
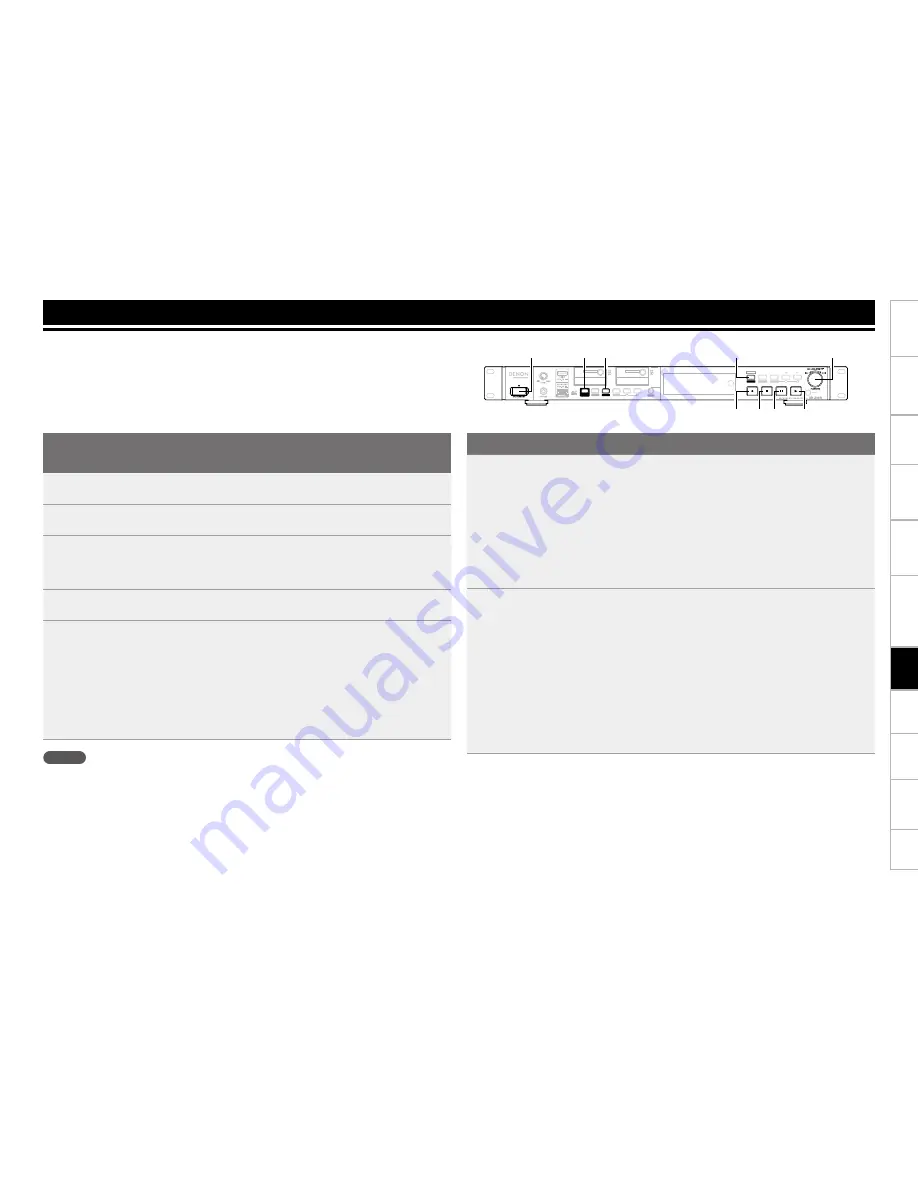
MOVE
DIMMER
TEXT
DISPLAY
LIST
MEDIA
SHIFT
REC
PAUSE
PLAY
-LOCK
MENU
COMBINE
DIVIDE
UNDO
MARK
PITCH
FRAME
STOP
COPY
REC MON.
PAUSE PLAY
STOP
REC
LIST/MEDIA
SHIFT
ON/STANDBY
REC MON.
Jog Dial
Summary of Contents for DN-700R
Page 1: ...Network SD USB Recorder DN 700R Owner s Manual ...
Page 119: ...3520 10271 00AP ...


