- 127 -
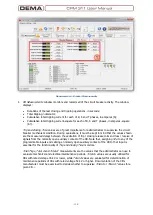
Setup Dialogue 3
After pressing
OK
button to continue with the setup, the
menu shown by the
Setup Dialogue 3
picture on the left pops
up. The menu contains the following text:
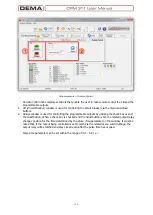
Begin the installation by clicking the button below.
Click this button to install DigiConnect vX.XX software to the
specified destination directory.
Directory:
C:\Program Files (x86)\DigiConnect\
On this menu;
•
The
Install
button located on the upper left side of the
menu starts the installation process,
•
The
Change Directory
button changes the destination
directory that the program files will be copied to,
•
And the
Exit Setup
button terminates the setup process.
↺
Summary of Contents for CPM 311
Page 1: ......
Page 9: ... 9 INTRODUCTION ...
Page 31: ... 31 PACKING LABELING INFORMATION ...
Page 33: ... 33 OPERATING MANUAL ...
Page 49: ... 49 RELAY MENUS MANUAL ...
Page 51: ... 51 The Menu Tree ...
Page 52: ... 52 ...
Page 53: ... 53 ...
Page 54: ... 54 ...
Page 55: ... 55 ...
Page 56: ... 56 ...
Page 57: ... 57 ...
Page 124: ... 124 DIGICONNECT PC PROGRAM MANUAL ...
Page 181: ... 181 APPLICATION DIAGRAMS ...
Page 183: ... 183 Sample Power Transformer Protection Application Diagram ...
Page 185: ... 185 FUNDAMENTAL CABLING DIAGRAM ...
Page 195: ... 195 APPLICATION DIAGRAM NO 10 Function Function Activation Address RS485 Connection Settings ...
Page 196: ... 196 TECHNICAL DATA ...
Page 208: ... 208 GLOSSARY ...


