Using the ISA Configuration Utility
3-5
6.
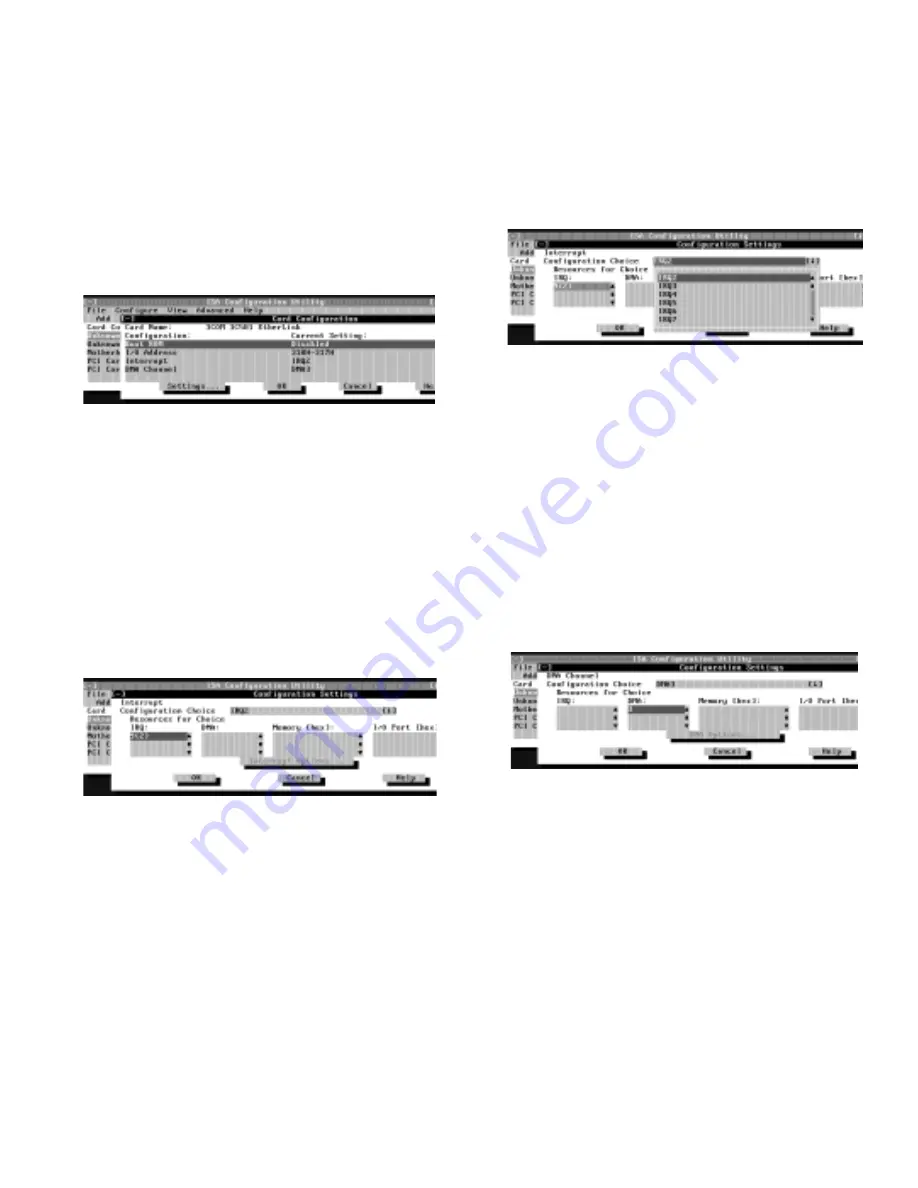
To select the resources yourself, click Advanced.
The Card Configuration dialog box (see Figure 3-3)
displays all resources used by the card. Some cards
have multiple functions, each having one or more
resources associated with it. For example, a commu-
nications card can have fax, modem, and scanner
functions, each of which may have one or more asso-
ciated resources.
Figure 3-3. Card Configuration Dialog Box
7.
To change any of the resource settings for the
card, select the resource setting and then click
Settings.
The Configuration Settings dialog box (see Fig-
ure 3-4) displays the name of the resource that you
selected in the upper-left corner of the box. The
resource values currently associated with the
selected function are displayed in the Resources for
Choice box. The resource values displayed are IRQ,
DMA, Memory (Hex), and I/O Port (Hex).
Figure 3-4. Configuration Settings Dialog
Box
8.
To change the resource settings, click the down
arrow next to the Configuration Choice box.
Then click the new resource setting from the list
of available settings (see Figure 3-5).
You cannot manually enter a value; you must choose
a setting from the list. If there is only one setting
listed, no other settings are available.
The setting that you select may affect the resources
available. For example, if you are offered the Dis-
abled option and select it, all resource values are
blank, indicating that a disabled setting uses no
resources.
Figure 3-5. Configuration Choice List Box
9.
To change individual resource values for the cur-
rent configuration setting, select the resource
value that you want to change and click the
Options button located below the resource values
(see Figure 3-6).
For example, when you click the value under DMA,
the Options button changes to the DMA Options but-
ton. When you click this button, a smaller dialog box
appears. By clicking the down arrow next to the cur-
rent resource value, you can display a list of the
available values for the resource.
Figure 3-6. Options Button
Choose the desired value and click OK. The value
you selected is displayed under the resource heading
in the Configuration Settings dialog box.
The Options button is disabled if no alternative
values are available for the selected resource.
NOTE: If you change one or more resource values
using the Options button and later change the setting
in the Configuration Choice box, the changes that
you made to the resource values are overwritten by
the default values for the new configuration choice.
Summary of Contents for OptiPlex Gn+
Page 1: ... 5 5 1 1 167 7 21 8 HOO 2SWL3OH Q DQG Q RZ 3URILOH 6 VWHPV LWK QKDQFHG 0DQDJHDELOLW 0 ...
Page 6: ...viii ...
Page 10: ...xii ...
Page 18: ...xx ...
Page 26: ...1 8 Dell OptiPlex Gn and Gn Low Profile Systems Reference and Installation Guide ...
Page 78: ...6 12 Dell OptiPlex Gn and Gn Low Profile Systems Reference and Installation Guide ...
Page 88: ...7 10 Dell OptiPlex Gn and Gn Low Profile Systems Reference and Installation Guide ...
Page 94: ...A 6 Dell OptiPlex Gn and Gn Low Profile Systems Reference and Installation Guide ...
Page 112: ...D 4 Dell OptiPlex Gn and Gn Low Profile Systems Reference and Installation Guide ...
Page 121: ......
Page 122: ... Printed in the U S A www dell com P N 88700 ...
Page 123: ......
Page 124: ... Printed in Ireland www dell com P N 88700 ...
Page 125: ......
Page 126: ... Printed in Malaysia www dell com P N 88700 ...


