


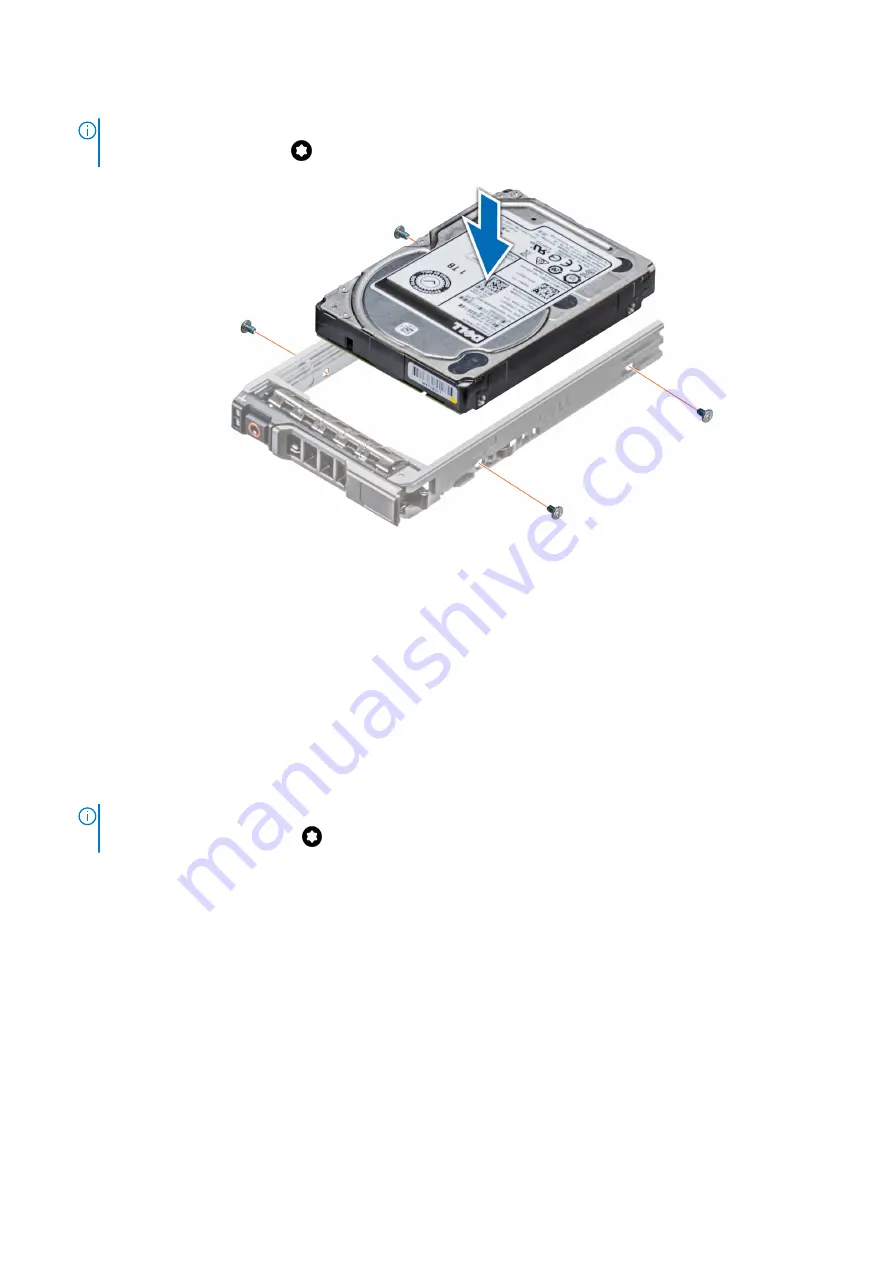
3. Using a Phillips #1 screwdriver, secure the drive to the drive carrier with screws.
NOTE:
If the hard drive or SSD carrier has Torx screw, use Torx 6 (for 2.5-inch drive) or Torx 8 (for 3.5-inch drive)
screwdriver to install the drive.
Figure 31. Installing a drive into the drive carrier
Removing a 3.5 inch drive adapter from a 3.5 inch drive carrier
Prerequisites
1. Follow the safety guidelines listed in
on page 27.
2. If installed,
3.
.
Steps
1. Using a Phillips #1 screwdriver, remove the screws from the rails on the drive carrier.
NOTE:
If the hard drive or SSD carrier has Torx screw, use Torx 6 (for 2.5-inch drive) or Torx 8 (for 3.5-inch drive)
screwdriver to remove the drive.
2. Lift the 3.5 inch drive adapter out of the 3.5 inch drive carrier.
Installing and removing system components
39
Summary of Contents for Olympus O-T600
Page 21: ...Figure 16 Configuration and layout 20 Dell EMC PowerEdge T640 overview ...
Page 22: ...Figure 17 Electrical overview Dell EMC PowerEdge T640 overview 21 ...
Page 23: ...Figure 18 Memory information 22 Dell EMC PowerEdge T640 overview ...
Page 24: ...Figure 19 System tasks Dell EMC PowerEdge T640 overview 23 ...


