

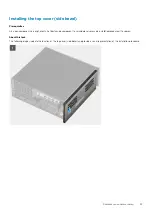


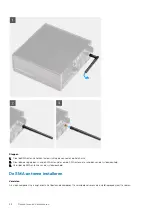
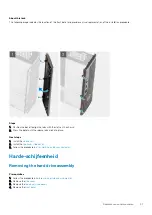
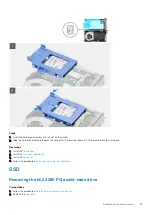


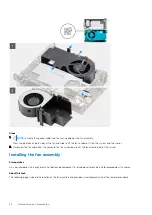
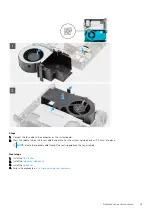
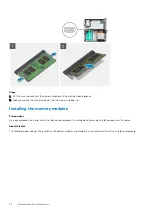


About this task
The following images indicate the location of the hard drive assembly and provide a visual representation of the removal procedure.
Steps
1. Press the release tabs on the hard drive assembly and slide it towards the front of the system to disconnect it from the connector on
the system board.
2. Lift the hard drive assembly from the system.
NOTE:
Note the orientation of the hard drive so that you can replace it correctly.
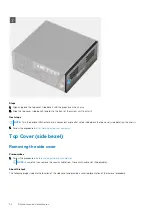
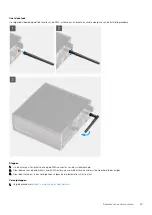
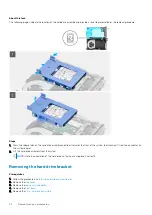
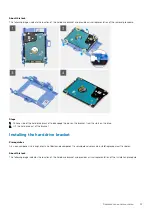
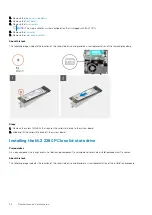
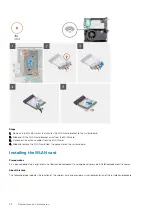
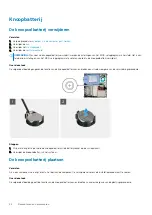
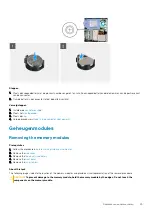
Removing the hard drive bracket
Prerequisites
1. Follow the procedure in
before working inside your computer
2. Remove the
3. Remove the
4. Remove the
.
5. Remove the
.
32
Demonteren en hermonteren
Summary of Contents for D16S
Page 5: ...Hoofdstuk 6 Hulp verkrijgen en contact opnemen met Dell 78 Inhoudsopgave 5 ...
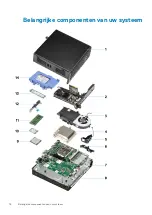
Page 17: ...3 Belangrijke componenten van uw systeem 17 ...
Page 18: ...Belangrijke componenten van uw systeem 18 Belangrijke componenten van uw systeem ...
Page 52: ...52 Demonteren en hermonteren ...
Page 65: ...Demonteren en hermonteren 65 ...
Page 67: ...Demonteren en hermonteren 67 ...


