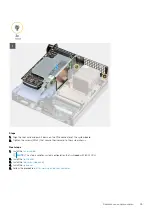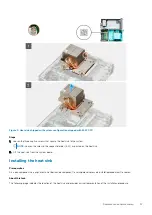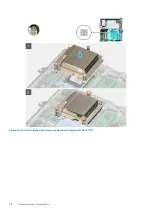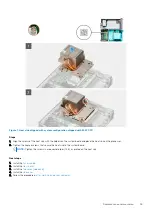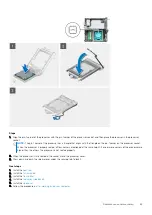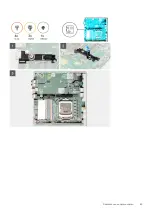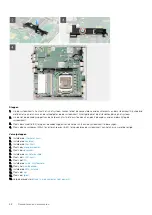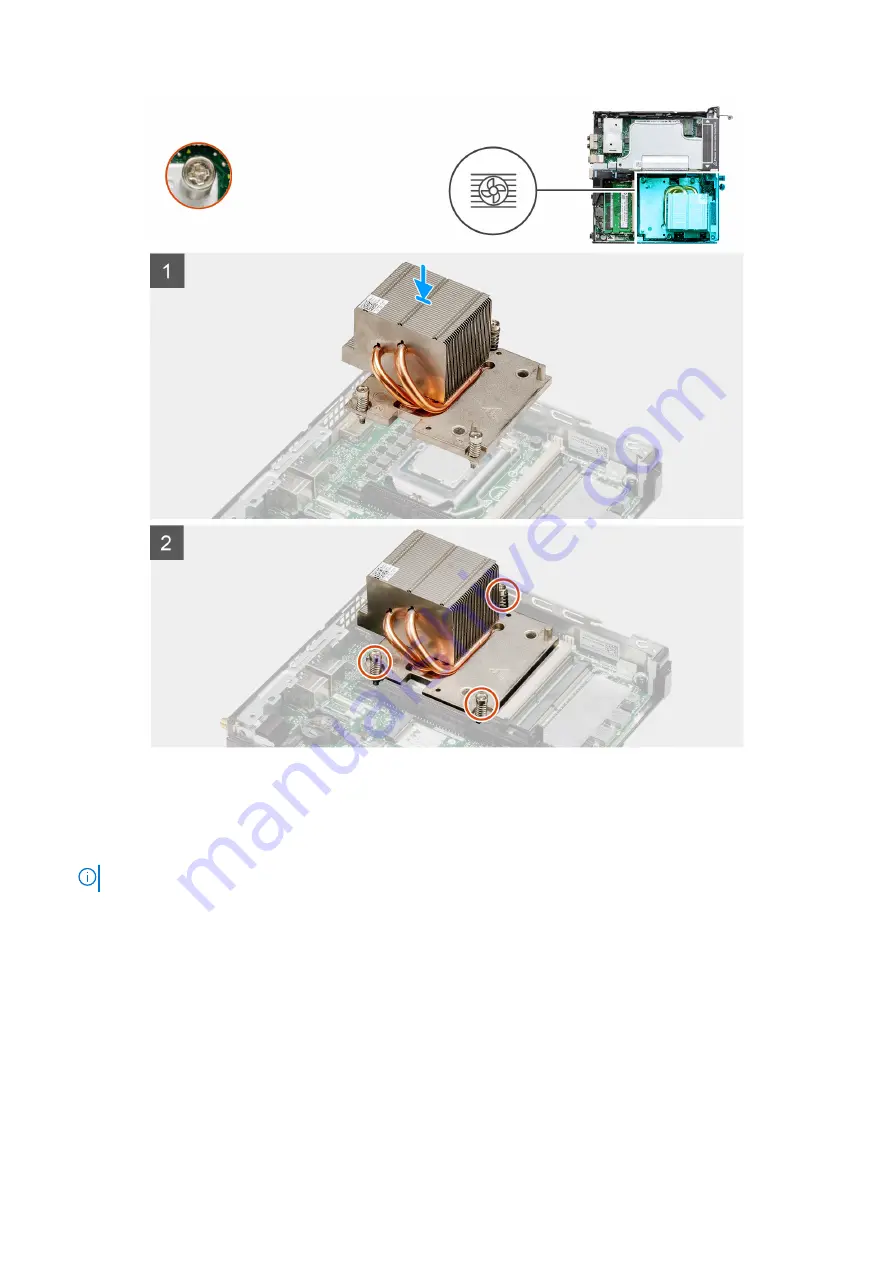
Figure 7. Heat sink shipped with system configuration shipped with 80 W CPU
Steps
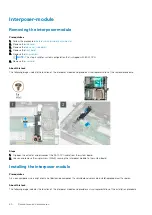
1. Align the screws of the heat sink with the holders on the system board and place the heat sink on the processor.
2. Tighten the captive screws that secure the heat sink to the system board.
NOTE:
Tighten the screws in a sequential order (1,2,3) as printed on the heat sink.
Next steps
1. Install the
2. Install the
3. Install the
4. Install the
.
5. Follow the procedure in
after working inside your computer
.
Demonteren en hermonteren
59
Summary of Contents for D16S
Page 5: ...Hoofdstuk 6 Hulp verkrijgen en contact opnemen met Dell 78 Inhoudsopgave 5 ...
Page 17: ...3 Belangrijke componenten van uw systeem 17 ...
Page 18: ...Belangrijke componenten van uw systeem 18 Belangrijke componenten van uw systeem ...
Page 52: ...52 Demonteren en hermonteren ...
Page 65: ...Demonteren en hermonteren 65 ...
Page 67: ...Demonteren en hermonteren 67 ...

