
Page 13
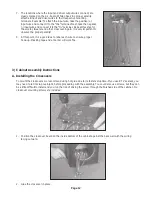
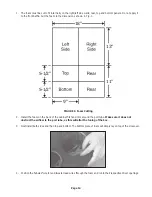
3. Pull the “labeled” input wire through the terminal cup hole and while observing proper polarity connect the
wire to the terminal cup. The positive (+) input wire should be connected to the “red” binding post.
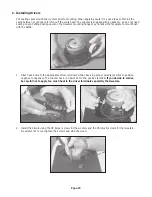
4. Orient the terminal cup with the binding posts toward the bottom and install using the small #6 screws and a
phillips screwdriver.
5. Repeat these steps for the other speaker cabinet.
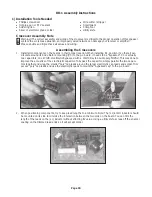
B. Install Acoustic Damping Foam
We’ve included two (2) sheets of acoustic foam, one sheet for each speaker.
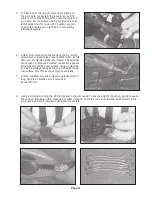
Acoustic damping foam absorbs internal standing waves inside the cabinet and prevents reflections to the woofer
cone. You can install the foam using hot glue, RTV sealant or spray adhesive (3M Super77) if available.
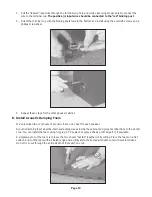
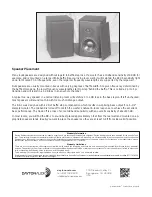
A simply way to cut the foam is to leave the two sheets “nested” together while cutting. Place the foam on a flat
surface and cut the foam with a straight edge and a utility knife. Make medium depth cuts with several strokes.
Do not try to cut through the entire depth of foam with one cut.