39
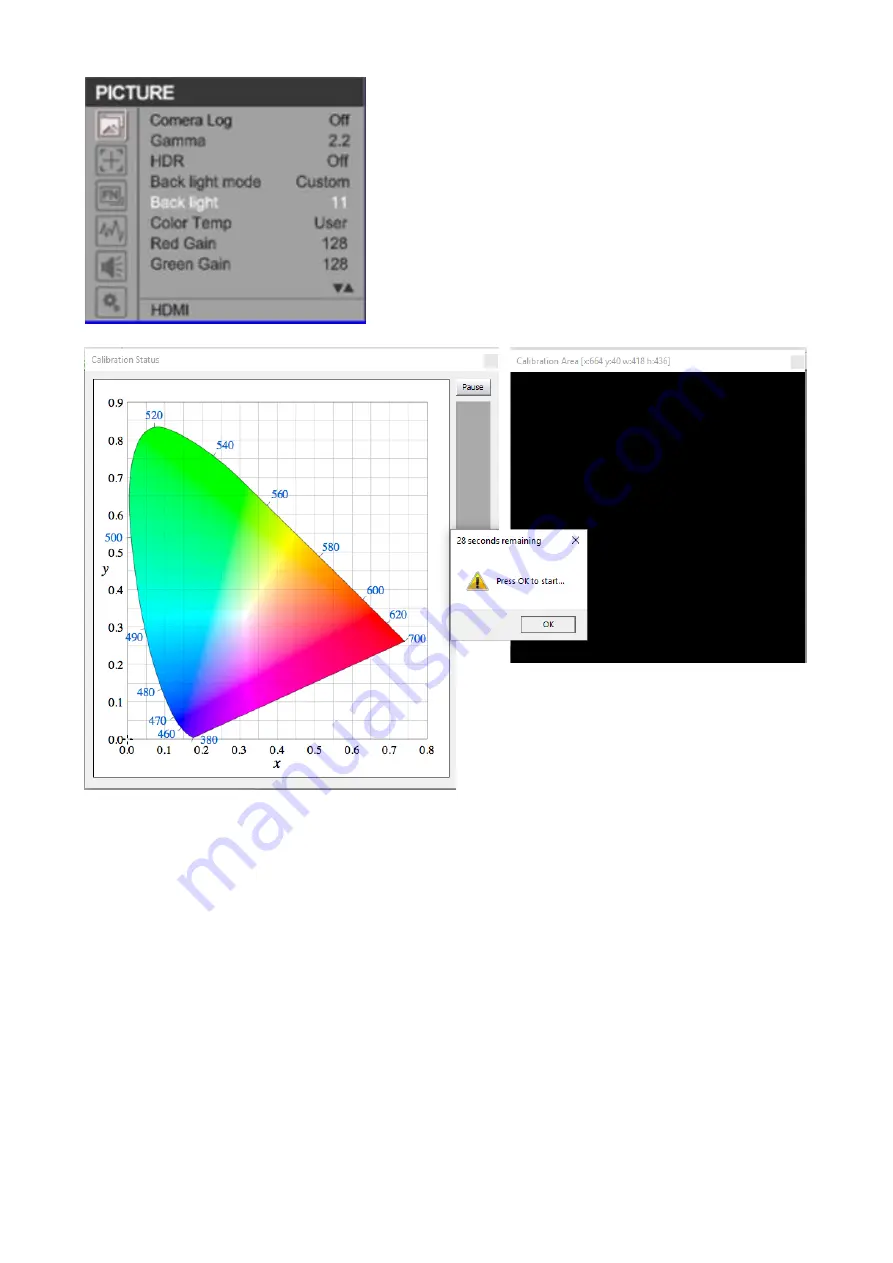
Open the TLM-170K’s OSD menu to adjust the monitor’s
backlight value and click the Update button in the
Luminance Units pane located at the top right of the
window above.
As soon as the Update button is clicked, the Calibration
Status window will appear along with the Calibration Area
and a dialogue box. Drag the Calibration Area to the TLM-
170K. Lastly, point the probe at the calibration area as
close as possible then click the OK button in the dialogue
box to start calibration.
Repeat the process until the MAX value in the Luminance Units pane is in the range of 80 – 120.
Note that the closer the MAX value to 100, the better the TLM-170K is calibrated.
6.
Color calibration
On the Display Characterization window (Tools
Calibration
Display Characterization), slide
the Select Cube Side slider to 21 so that the Total Frames measured are 9261. Set Patch Sequence
to Sequential and Select Time per Frame to Closed Loop Mode.
Summary of Contents for TLM-170K
Page 1: ...17 SCOPEVIEW PRODUCTION MONITOR Instruction Manual TLM 170K TLM 170KM TLM 170KR ...
Page 46: ...46 6 Dimensions All measurements in millimeters mm ...
Page 49: ...49 Notes ...
Page 50: ...50 Notes ...
Page 51: ...51 Notes ...


