69
How to Set the Camera in DHCP Mode
Please follow following steps for setting the camera in DHCP mode.
Step 1. Please check the checkbox of DHCP.
Step 2. Please click the “Save” button.
Step 3. Please click the Reboot option
and then click the Reboot
button
. After that, the camera will be set in DHCP mode successfully.
Note: If the camera is set in DHCP mode, The IP Address, Subnet Mask,
Default Gateway can not be modified by users.
If the DHCP checkbox is not checked and the camera is set in Static IP mode,
the IP Address, Subnet Mask and Default Gateway can be modified by users.
After the desired parameters are entered, please click the “Save” button and
then the Ethernet setting is completed successfully.
9.2.2.11 DNS
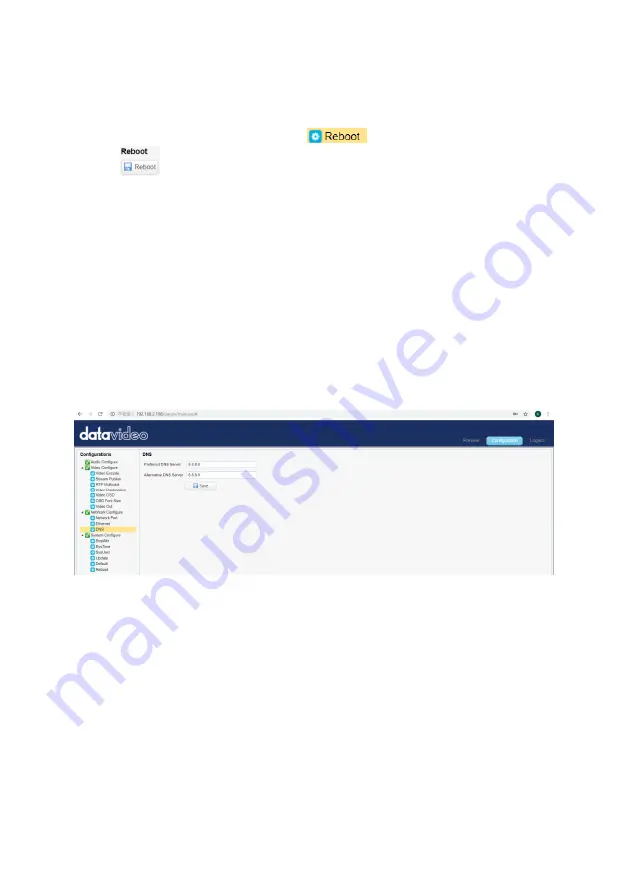
The DNS option provides users DNS information including Preferred DNS
Server and Alternative DNS Server. The default value is 8.8.8.8 Please see
following diagram for the main interface of the DNS option.
9.2.2.12 System Configure-System Attribute
The SystAttr option allows users to change the Device Name and the OSD
language of the camera. Users can select their desired OSD languages
including Traditional Chinese, Simplified Chinese and English from the drop-
down menu. Please see following diagram for the main interface of the
SystAttr option.
Summary of Contents for PTC-140
Page 1: ......
Page 19: ...19 4 4 2 System Diagram for the PTC 140T and the HS 1600T Connection ...
Page 78: ...78 12 Dimensions Unit mm ...
Page 79: ...79 ...
Page 84: ...https www datavideo com product PTC 140T Apr 22 2019 Ver E3 ...


