51
1.
Open the
CG
settings page.
2.
Set the CG layer.
3.
Select the CG Type.
4.
If Text is selected, enter the overlay text in the
Text
field, otherwise browse for the
picture file on the disk.
5.
Enter the
X and Y coordinates
to set the CG object position.
6.
If you have selected the picture CG, you will need to adjust the object’s width and
height as well.
7.
Set the foreground color.
8.
Click
Apply
button to save CG settings.
Note: Increasing the X coordinate moves the overlay object to the right and decreasing the
X coordinate moves the overlay object to the left; increasing the Y coordinate moves the
overlay object down and decreasing the Y coordinate moves the overlay object up.
5.4 Stream and Record Buttons
The
RECORD
,
STREAM
,
VERTICAL
and
BITRATE
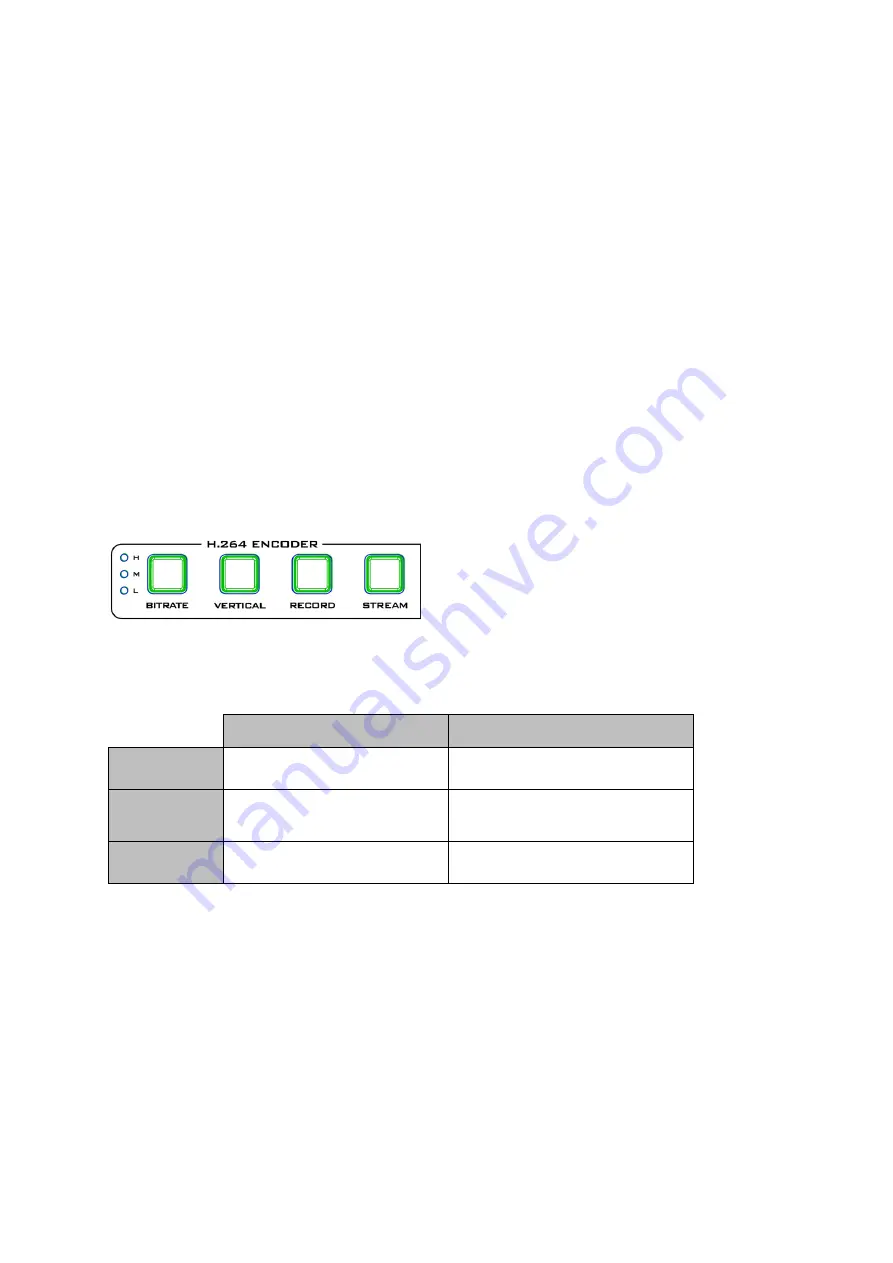
buttons on the front panel of the KMU-200
give the user certain controls of the record and
stream functions. In this section, we will cover
operations of these four buttons in detail.
RECORD and STREAM Button LED behaviors are listed in the table below:
RECORD Button
STREAM Button
Solid White
Record function in idle state Stream function in idle state
Blinking Red
Record function is activating
or resetting
Stream function is activating or
resetting
Solid Red
Record function activated
Stream function activated
Record Button
Press the
RECORD
button to start/stop recording.
Start recording
When idle, the
RECORD
button is solid white.
Press and hold the
RECORD
button for approximately 2 seconds.
When the record function is activating, the
RECORD
button turns from solid white,
then blinking red and finally to solid red.
When the
RECORD
button is solid red, this indicates that the record function has
been successfully activated.


