4209-00009-000 EasyRead (DSV3-EP) User’s Manual
Rev 0E
6/29/2009
23
Copyright © 2009 by Datastrip, Inc. All rights reserved.
Reproduction in whole or in part is prohibited.
10
Software Demo Applications
10.1
Smart Card Reader & Scanner Demo (SuperViewer.exe)
This application demonstrates the primary features of Datastrip’s mobile terminals: reading optical
media, reading smart card media, and performing one-to-one fingerprint matching. The
SuperViewer
application only reads and decodes media that contains Datastrip-formatted information payloads.
The following types of smart card media are supported by
SuperViewer
:
•
ISO 14443 Contactless Smart Cards
•
ISO 7816 Contact Smart Cards
(only supported on units equipped with the optional ISO 7816
contact smart card reader module)
The following optical symbologies are supported by
SuperViewer
(on units equipped with an optical
scanner).
•
Datastrip2D and 2DSuperscript Two-Dimensional Barcodes
(not support on DSV3)
•
PDF417
•
OCRB
•
Linear Barcodes
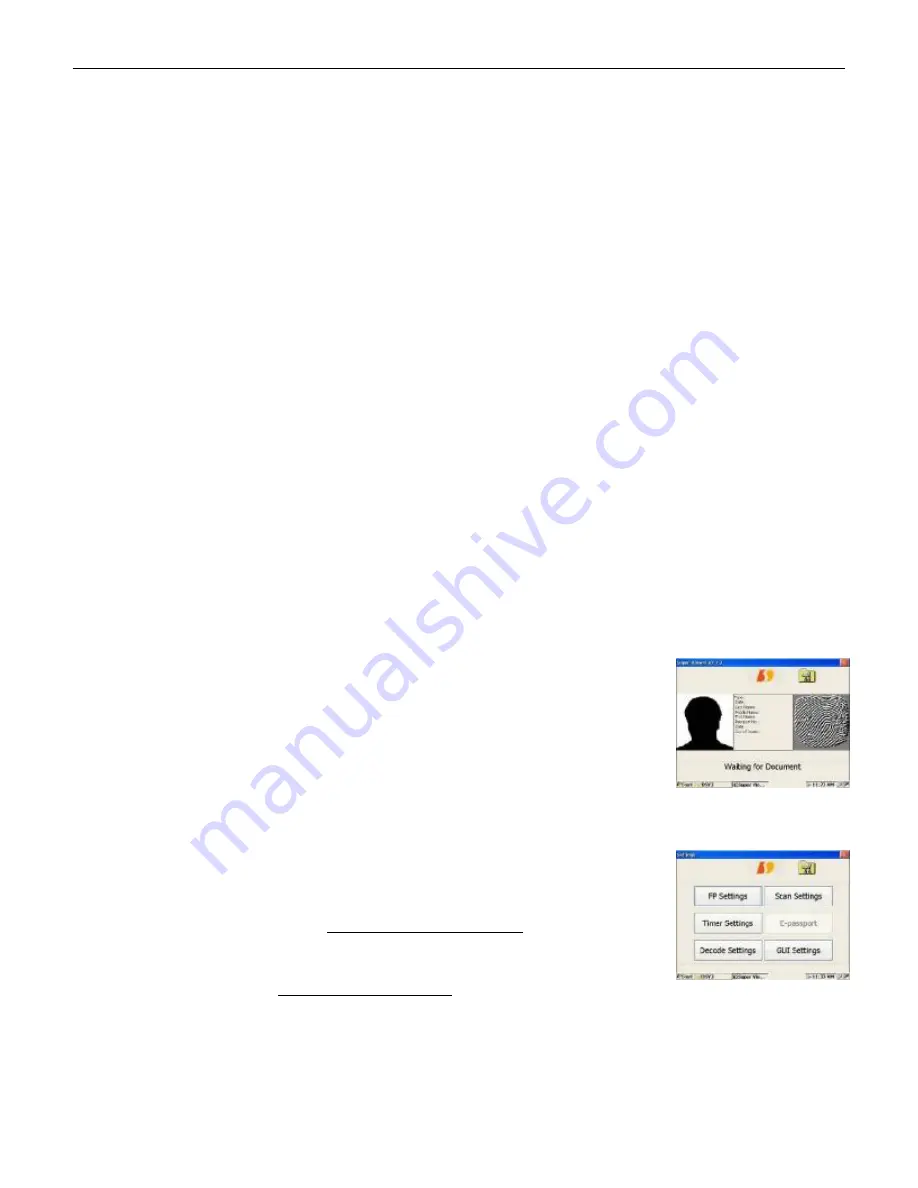
When
SuperViewer
application is launched, the
Main Screen
is displayed and the unit is ready to scan a
document or read a smart card. The application automatically reads and decodes a submitted document
and the result is displayed in the Photo, Text, and Fingerprint windows. If the default icon or text is
displayed, the document did not contain that type of data.
If a fingerprint was stored on the document, the application will also perform a one-to-one match of a
fingerprint stored on the document to the fingerprint captured by the on-board fingerprint sensor. This
demonstrates a typical scenario of ID verification (verifying that a card holder is the same person whose
fingerprint is stored on the document).
Main Screen
Clicking the Datastrip logo will return the user to the
Main Screen
and will reset
the scanner subsystem (if the unit contains an optical scanner subsystem). On the
Main Screen
, a user can perform the following operations:
•
Clicking on the
‘
toolbox’
button will open the
Configuration Screen
.
•
Clicking on the
‘OK’
or
‘X’
will exit the application.
•
Clicking on the
Photo, Text,
or
Fingerprint
windows expands that
window
Configuration Screen
On the
Configuration
screen, the following operations are available:
•
Clicking on the ‘
FP Settings
’ button will open the fingerprint threshold
setting screen. Refer to the Fingerprint Settings Screen section below for
details
.
•
Clicking on the
‘Scan Settings
’ button will open the scanner settings
screen. Refer to the Scanner Settings Screen section below for details
.
•
Clicking on the ‘
Timer Settings
’ button opens the “
Display Timer Diagnostics
” screen. To use this
feature, you must first “
Auto Hide
” the windows task bar by clicking
Start/Taskbar_and_Start_Menu
and checking the
‘Auto Hide’
box. In The
SuperViewer
application, check the “
Display Timer Diagnostics
” box and return to the
Main Screen
. The next
document scanned will be timed and recorded on the bottom line of the display as (Scan: Find:


