


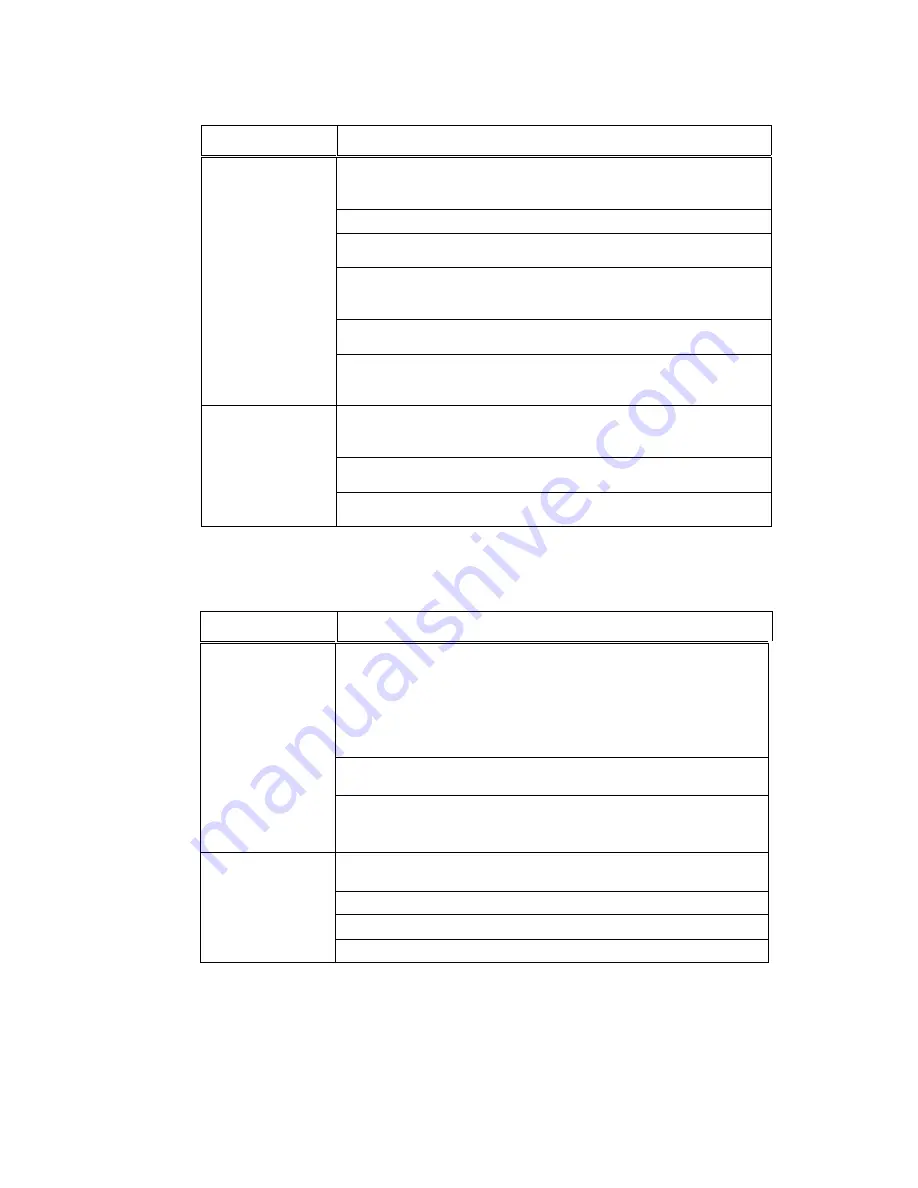
Symptom
Corrective Action
Paper Feeding
Problems
Cut Sheet*
Remove any paper jams by pressing Line Feed and Adjust
or
.
Turn power off, open access cover and remove any foreign objects.
Adjust the right edge guide to the correct width and reload paper.
(See Section 3.3)
If form is 4.5 inches to 6.0 inches long, verify that the Vertical Gap
position is set to 0.0 inches. (Located under M8 Form
Thickness. See Sections 4.6 - 4.7)
Reduce Paper Speed (Located under M2 Forms Control. See
Sections 4.6 - 4.7)
If vertical spacing is not exactly 6 or 8 lines/inch (exceptionally
thick, stiff, and long forms), adjust Cut Sheet Comp. feature
value.
Skewed Print On
Cut Sheet
Forms
Make sure to grab the form in the center and align left edge of the
form against the left edge guide.
Verify that the right edge guide is positioned properly against the
form.
Reduce the Paper Speed (Located under M2 Forms Control. See
Sections 4.6 - 4.7)
* To avoid vertical inaccuracy, do not print using Double High, Double Strike,
Superscript or Twelve dot high characters over the last 2 inches of a cut sheet form.
Symptom
Corrective Action
Improper Print
Alignment
between
first and
last sheet
of form
Keep top exit cover closed while printing. Do not allow form
to spill over front of printer. Do not touch the form as it is
printing.
(Delimitation)
Reduce Paper Speed (Located under M2 Forms Control. See
Sections 4.6 - 4.7)
Verify that the form thickness setting is correct for the
application and increase forms thickness setting, if
necessary.
Carriage Jam
Turn off power, open front access cover, and check for foreign
object.
Verify label is not stuck to the ribbon guide.
Verify form thickness setting.
Verify that the top access is fully closed.
5-16
Summary of Contents for Documax A6300 Series
Page 1: ...Documax A6300 Series User s Manual Part No 107052 Rev B ...
Page 9: ...THIS PAGE INTENTIONALLY LEFT BLANK vi ...
Page 21: ...Figure 1 4 Install Power Cord 1 10 ...
Page 23: ...Figure 1 5 Open Access Cover Both Options ...
Page 30: ...Figure 1 11 Self Test Sample 1 19 ...
Page 41: ...3 1 ...
Page 45: ...Figure 3 3 Forms Loading 3 5 ...
Page 49: ...3 8 Figure 3 7 Loading Cut Sheet Form ...
Page 52: ...3 11 ...
Page 54: ...Figure 3 9 Set First Print Line 3 13 ...
Page 56: ...Figure 3 10 Printer Located Under Countertop 3 15 ...
Page 59: ...Figure 3 11 Manually Move Form Thickness Adjustment Knob 3 18 3 8 Heavy Forms Adjustment ...
Page 62: ...Figure 3 12 Main And Alternate Paper Paths Cut Sheet Not Shown 3 21 ...
Page 70: ...THIS PAGE INTENTIONALLY LEFT BLANK 3 29 ...
Page 75: ...Diagnostic Tests 4 5 Self Test ...
Page 86: ...Print Zero as 0 Ø Prints Zero without a slash Prints Zero with a slash 4 15 ...
Page 87: ......
Page 90: ...4 17 ...
Page 97: ...THIS PAGE LEFT INTENTIONALLY BLANK 4 23 ...
Page 99: ...Figure 5 1 Cleaning The Printer 5 2 ...
Page 141: ...D 5 Appendix E Ribbon Life Monitor ...
Page 148: ...THIS PAGE INTENTIONALLY LEFT BLANK F 4 ...
Page 150: ...G 2 7 Bit ASCII Character Set G 2 ...
Page 151: ...7 Bit ASCII Character Set Cont d ...
Page 152: ...G 3 IBM Code Page 437 Symbol Set G 3 ...
Page 153: ...IBM Code Page 437 Symbol Set Cont d G 4 ...
Page 154: ...G 4 IBM Code Page 850 Symbol Set G 5 ...
Page 155: ...IBM Code Page 850 Symbol Set Cont d G 6 ...
Page 156: ...G 5 Epson Italic Symbol Set G 7 ...
Page 157: ...Epson Italic Symbol Set Cont d G 8 G 9 ...
Page 158: ...G 6 Epson Graphics Symbol Set ...
Page 159: ...Epson Graphics Symbol Set Con t G 10 ...
Page 160: ...G 7 Epson Italic Graphics Symbol Set G 11 ...
Page 161: ...Epson Italic Graphics Symbol Set Cont d G 12 ...
Page 162: ...G 8 DEC Supplemental Symbol Set G 12 G 13 ...
Page 163: ...DEC Supplemental Symbol Set Cont d ...
Page 164: ...G 9 Nationality Overlay Character Set G 15 G 14 ...
Page 180: ...H 18 THIS PAGE INTENTIONALLY LEFT BLANK H 19 ...


