160
H-Class
Windows 95/98 Driver and Port Installation (continued)
15
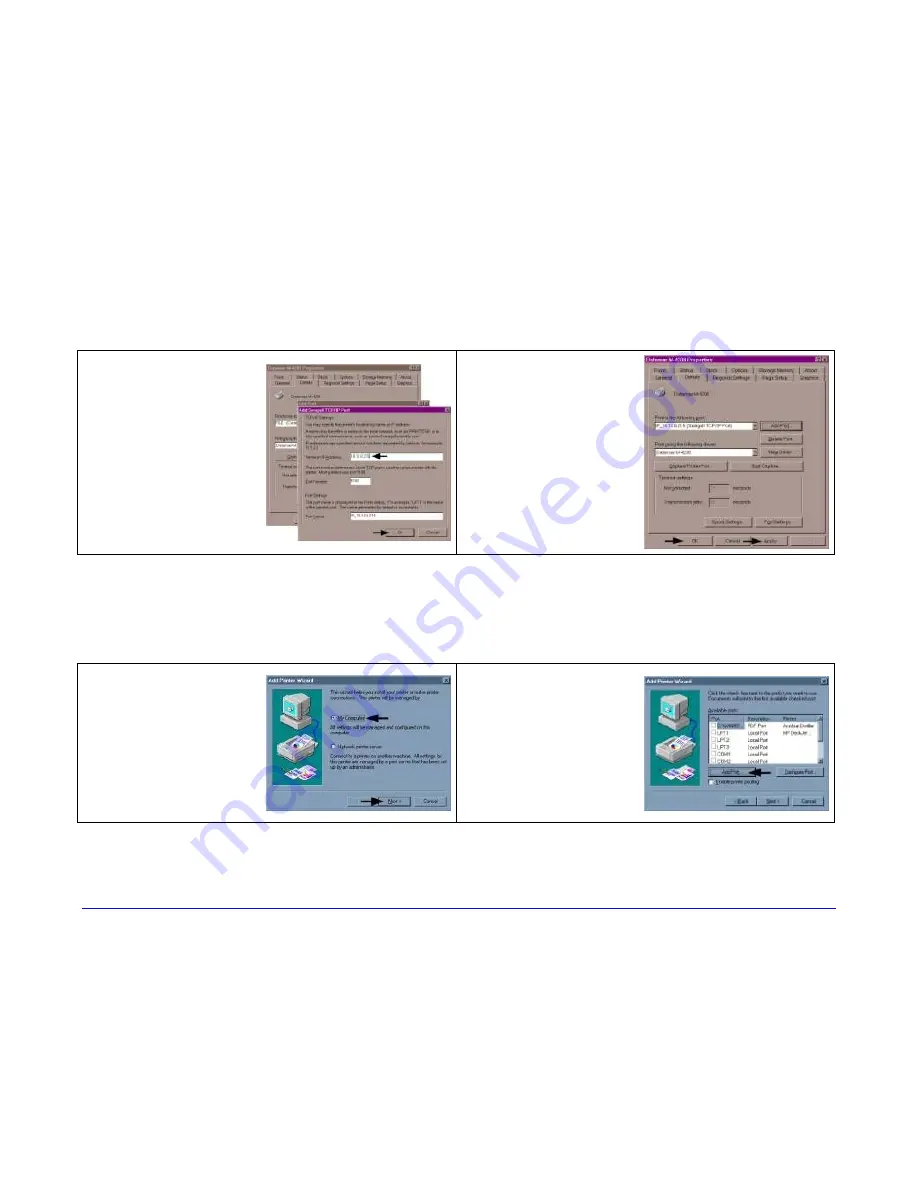
In the ‘Name or IP
Address:’ field,
enter the IP
address of your
printer. The ‘Port
Number’ and ‘Port
Name’ fields do not
need to be
changed. When
finished click “OK’
16
Click ‘Apply’ and
then click ‘OK’.
The driver and port
installation is now
complete. The
printer can be
selected through
any Window’s
application.
Windows NT 4.0 Driver and Port Installation
1
Start the Windows
“Add Printer
Wizard”. Ensure
that ‘My Computer’
is selected and then
click ‘Next’.
2
Click ‘Add Port’.
Summary of Contents for H-4212
Page 1: ...Operator s Manual ...
Page 2: ......
Page 5: ......
Page 40: ...30 H Class ...
Page 84: ...74 H Class ...
Page 144: ...134 H Class ...
Page 148: ...138 H Class ...
Page 156: ...146 H Class ...
Page 160: ...150 H Class Network Status page TCP IP Configuration page ...
Page 162: ...152 H Class ...
Page 163: ...H Class 153 Printer Options Communications and Diagnostics pages ...
Page 164: ...154 H Class Network Print Options page ...
Page 165: ...H Class 155 Reset Network Parameters page Change Password page ...
Page 166: ...156 H Class ...
Page 180: ...170 H Class ...
Page 186: ...176 H Class ...


