HOW TO TEST AND MARK LAYOUT
USER MANUAL
115
HOW TO TEST AND MARK LAYOUT
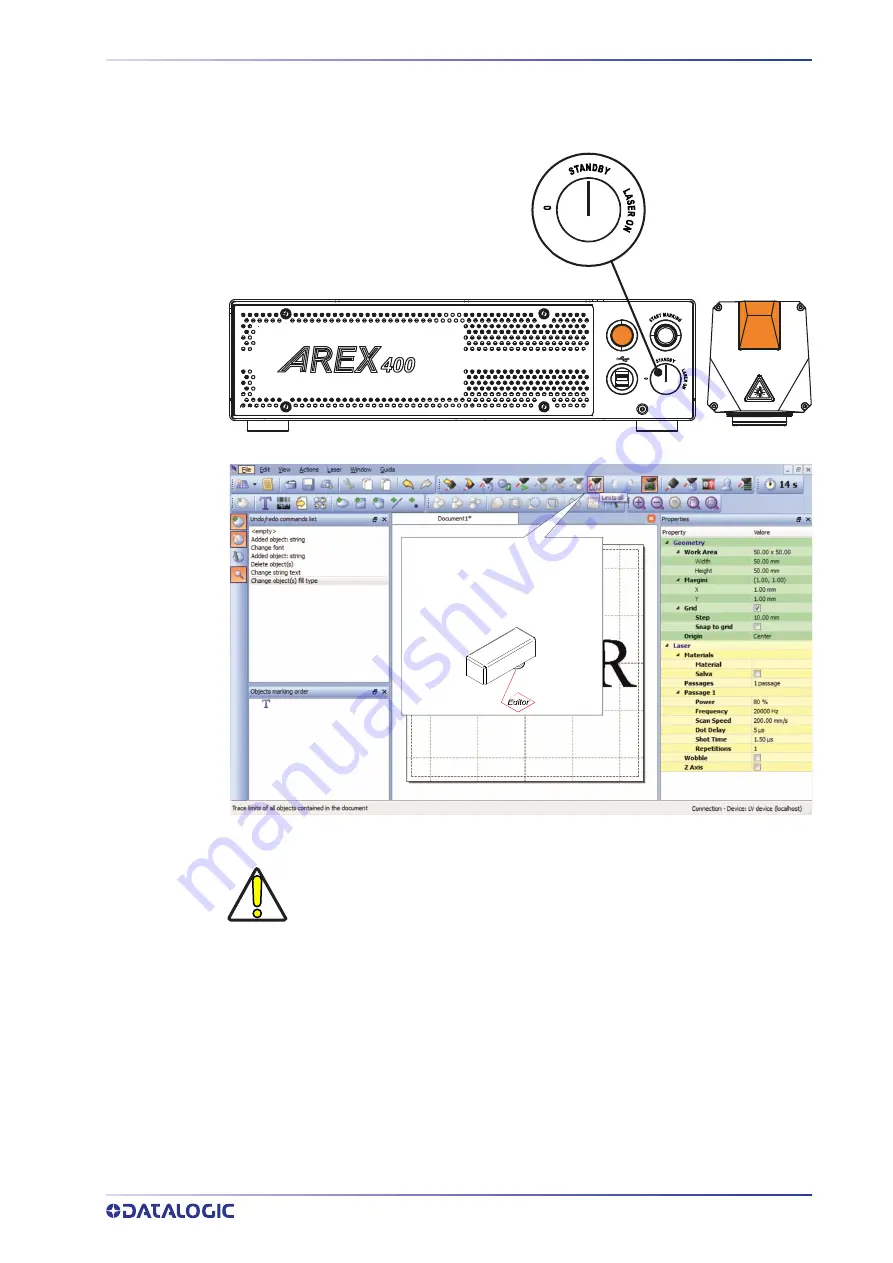
In “STANDBY SHUTTER CLOSED” state, press
Limits All
button in the
Laser Toolbar
to
adjust the object position in the marking field:
Limits function:
displays the
bounding box of the object(s)
present in the document. Mar-
gins are displayed using a red
laser pointer
CAUTION
Marking highly reflective materials might cause optical feedback into laser
marker. This may result into irreversible damage of the optical components
of laser marker.
Verify that the position and geometry of the object to mark does not cause
any reflection into the optical aperture of the laser marker F-Theta scan
lens.
Please contact our Customer Support Service for support on your particu-
lar application.
Optical induced damage caused to laser marker by back reflection from
high reflective materials is not covered by warranty.


