28
4.
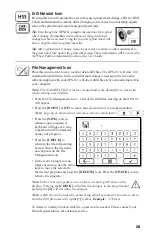
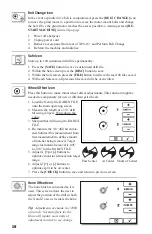
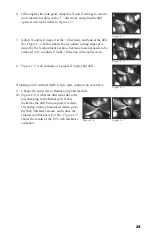
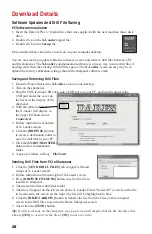
Split adjustment. Start with X style even if drill has a Radial Split. When setting up the split,
start with an X split. A Radial split is full of curves and it’s hard to tell where all the lines are
so that they can be adjusted correctly. X-style Splits are easier to analyze, since all the lines
intersect sharply. As a general rule, the long split lines controlled by the “Z” axis should
relate to each other with the left side line either straight across from the right or slightly
higher than the right. There are exceptions to this, especially in the more exotic Carbide
drills, so use the pattern as a guide. The shorter line controlled by the “X” axis are usually
even with each other. Save your settings.
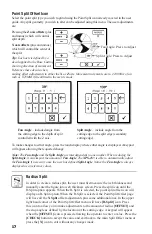
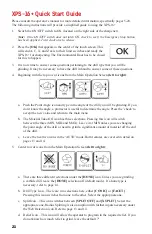
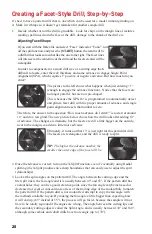
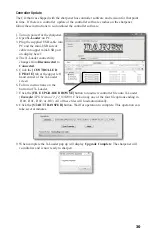
5. Setting Split Angles
Tip:
Remember that the numbers used to set the Split Angle affect the settings available to
build the Fan Angle. Smaller Split Angle = smaller Fan Angle available.
Tip:
Start with X and Z settings adjusted to the minus side and grind the drill. If the angles
are incorrect, they can be changed without having to regrind the drill completely. Save
settings.
Tip:
Set the Split Angle larger than it will probably need to be.
Tip:
Set the Fan Angle smaller than it will probably need to be.
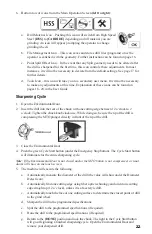
6.
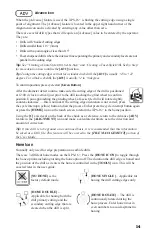
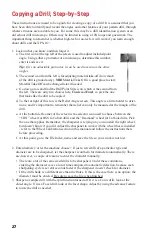
Setting Web thickness:
Tip:
Use
[ADVANCE]
to adjust the chisel angle on Conic drills, and the Facet shape on
facet drills.
Tip:
Use
[ADVANCE]
to engage single point detection.
Tip:
Remember that the
[ADVANCE]
added will also affect the Fan and Split Angles.
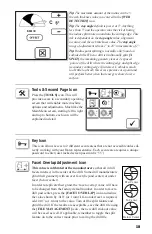
7.
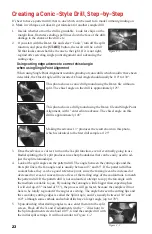
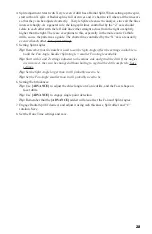
Engage Radial Split if desired, and adjust it using web thickness, Split offset and “C”
rotation. Save.
8. Set the Hone Time settings and save.
Summary of Contents for XPS-16+
Page 1: ...Operating Instructions XPS 16 CNC Drill Grinder and Sharpener ...
Page 2: ......
Page 40: ...37 Notes ...
Page 41: ...38 ...

