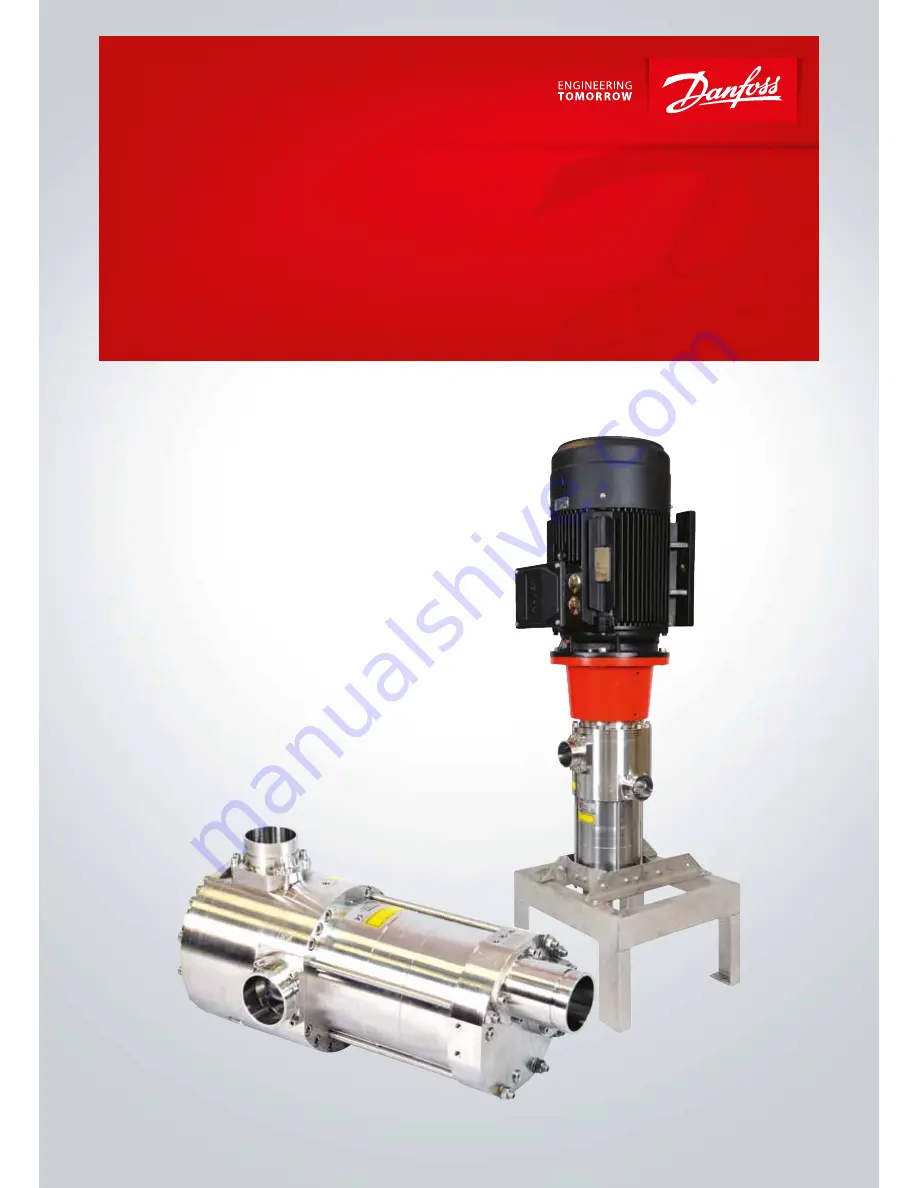
Service guide
Energy Recovery Device
iSave 50-70
Disassembling and assembling
hpp.danfoss.com
Page 1: ...Service guide Energy Recovery Device iSave 50 70 Disassembling and assembling hpp danfoss com...
Page 2: ...ons and disconnect the electrical cables only needed for the vertical version Always use suitable lifting equipment Important It is essential that the iSave is serviced in conditions of absolute clean...
Page 3: ...r 4 3 Carefully lift the electrical motor straight up and away from the iSave Place the electrical motor safely horizontal or vertically between 2 brackets Don t place it on the coupling 2 Unscrew the...
Page 4: ...is needed Remove the key in the shaft 2 If the shaft seal flange can t be removed easily screw in 2 x M8 bolts which will push out the shaft seal flange 1 Disassemble the shaft seal flange by unscrewi...
Page 5: ...it carefully with the bearing side upwards 6 Visually check the side plate rotor stop and motor flange surface for wear and scratches 7 Remove the rotor stop by hand only using a M8 screw 8 Carefully...
Page 6: ...the rotor stop 12 Lubricate the O rings side plate and flange with clean filtered water MountthefirstO ringinthecutoutinthe flange 13 Mount the second new O ring in the bottom on the flange 14 It is i...
Page 7: ...he small screwdriver in the 2 small cut outs in the rotor 20 Remove by hand the rotor elements and check and replace the rotor elements if necessary Always change rotor stops and side plates at the sa...
Page 8: ...the grooves in the rotor elements 24 The O ring will try to slip out in the 2 cut out holes Carefully press it in with a small screwdriver 25 Remove the 8 vanes from the stator housing 26 Remove the g...
Page 9: ...the stator housing 32 Remove the nuts and washers the stud bolts may get loose and fall down 33 Carefully lift away the stator housing incl the intermediate flange and port plate which is fixed on the...
Page 10: ...ator housing up so that the port plate is upwards to avoid damage 36 Remove the port plate from the 2 clips using a screwdriver 37 Visually check the port plate for wear scratches and using a straight...
Page 11: ...her in the intermediate flange to equal theweightandusealiftingstraptoliftthe flange away from the stator housing 42 Remove the lifting eyes and strap and place the intermediate flange with the bearin...
Page 12: ...sing lifting equipment The weight of the cylinder barrel is about 32 kg 2 Place the cylinder barrel horizontal and secure it can t roll and remove the lifting eye Changing springs in the cylinder barr...
Page 13: ...prings 6 Calibrate the back up rings using the plastic tool from the tool set before mounting the O rings Proper mounting is very important 5 Lubricate the back up rings O rings and the valve plates w...
Page 14: ...der barrel 10 Remove the exchanger housing from the port flange by carefully using a plastic hammer and remove the small pin The pin may fall out 11 Remove the port plate from the 2 clips using a scre...
Page 15: ...uide Disassembling and Assembling iSave 50 70 Danfoss DCS im 2016 10 180R9387 521B1430 DKCFN PI 013 1H 02 15 12 Replace the 2 clips the 2 pins and the O ring 13 Replace the small pin in the intermedia...
Page 16: ...5 Assembling the pressure exchanger 1 Lubricate the port flange and port plate with clean filtered water Mount the port plate brine over the new clips and pins on the port flange Make sure that the cl...
Page 17: ...pwards WARNING Do not use silicone when assembling the iSave Do not reuse disassembled O rings they might be damaged Always use new O rings Important It is essential that the pump is serviced in condi...
Page 18: ...Tilt the stator housing and the intermediate flange with the port plate mounted horizontally Mount the stud bolts in the intermediate flangeandtightentothetorqueaccording to exploded view 7 Continue...
Page 19: ...ud bolt washer and nuts below the exchange connection flange 6 Mount the 2 pins in the cylinder shaft end 5 Cross tighten to the torque according to exploded view 7 Lubricate the coupling screw Mount...
Page 20: ...pling 1 Mount a lifting eye in the rotor shaft end and mount the 8 pins inside the rotor 3 Remove the lifting eyes and mount the 2 pins in the stator housing 4 Lubricate the vanes and the rotor slides...
Page 21: ...refully not to scratch the bearings 6 Applyathinlayeroflubrication notwater on the O ring for the motor flange 7 Make sure to mount the O ring correctly in the groove so that it does not twist Remove...
Page 22: ...d with the carbon ring upwards 12 Mount the remaining 11 screws in the motor flange and cross tighten all the screws to the torque according to exploded view 11 Check with a 0 05 mm feeler gauge that...
Page 23: ...flange distance to the same as measured before the disassembling 19 Tighten the screw inside the coupling to the torque according to exploded view 21 Lubricate the 4 screws and mount the washers and...
Page 24: ...upling 25 Lubricate the screws Mount the 4 screws and washers and tighten to the torque according tothe drawings in chapter 10 and 11 26 Remove the lifting straps Mount all hoses or pipes to the iSave...
Page 25: ...Service guide Disassembling and Assembling iSave 50 70 Danfoss DCS im 2016 10 180R9387 521B1430 DKCFN PI 013 1H 02 25 9 Exploded view iSave 50 70...
Page 26: ...Service guide Disassembling and Assembling iSave 50 70 Danfoss DCS im 2016 10 26 180R9387 521B1430 DKCFN PI 013 1H 02 10 iSave on baseplate horizontal...
Page 27: ...Service guide Disassembling and Assembling iSave 50 70 Danfoss DCS im 2016 10 180R9387 521B1430 DKCFN PI 013 1H 02 27 11 iSave on foot vertical...
Page 28: ...Danfoss A S High Pressure Pumps DK 6430 Nordborg Denmark Danfoss DCS im 2016 10 180R9387 521B1430 DKCFN PI 013 1H 02 28...