Piranha HN RoHS User Manual
03-032-20135-00
Teledyne DALSA
42
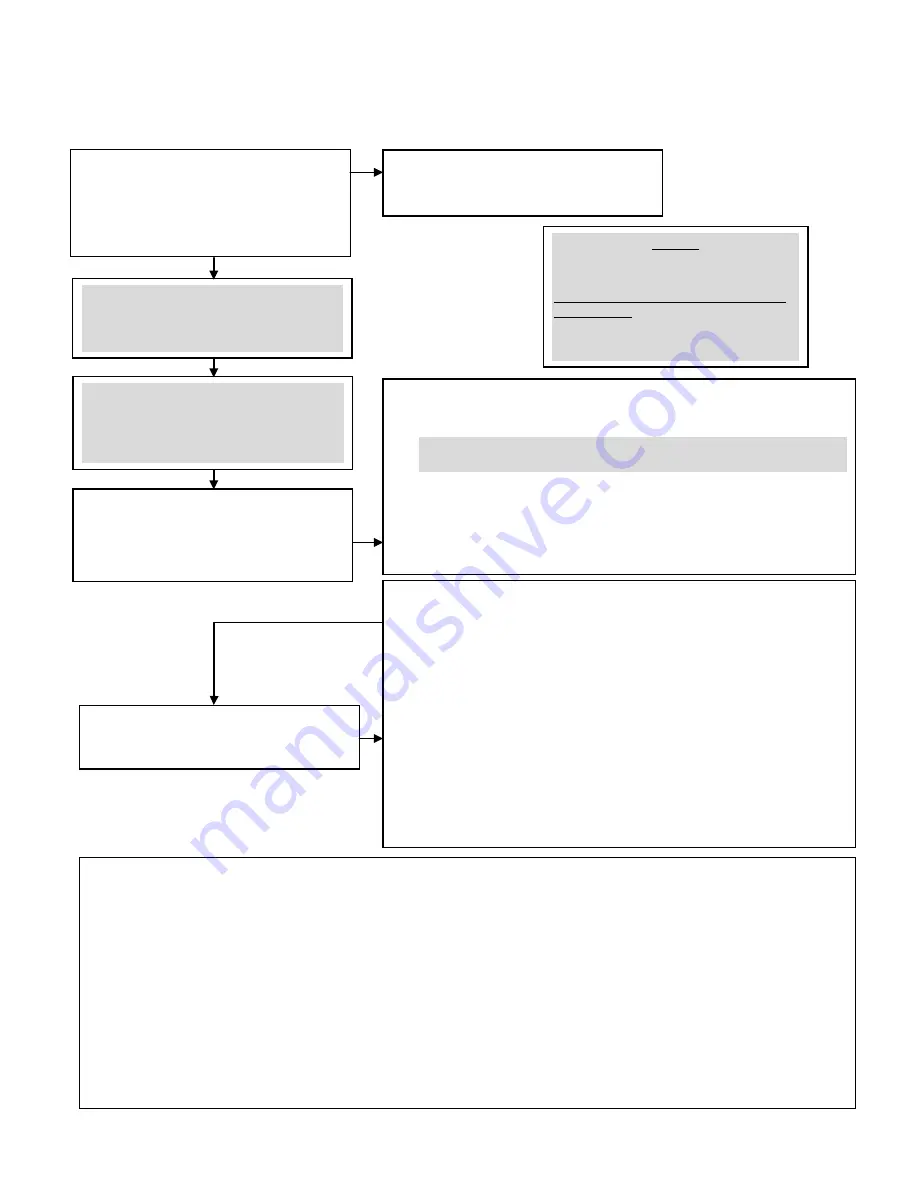
How to Perform Flat Field Correction
1
Setup the camera operating environment (ie.
Line rate, CCD Shift Direction, exposure, offset,
gain, etc)
Select the User Set (
ssn
1
,
2
,
3
or
4
)
Digital Offset and gain. Background subtract
values should be set to zero. (
ssb 0
,
sab 0
,
ssg 0
)
2
Set the calibration sample size using the
command
css
. (Optional, since the camera
defaults to 4096)
3
Set the region of interest (
roi
) to include all of
the images pixels of importance using the
command
roi x1 y1 x2 y2
.
4
Perform FPN correction. FPN correction should
be performed before PRNU correction.
Repeat FPN correction when a temperature change greater then 10°C occurs OR
when there is a significant change in integration time or gain.
1.
Stop all light from entering the camera. (Tip: cover lens with a lens cap)
2.
Verify the output signal level is at dark by issuing the command
gl
or
gla
(or by viewing a line profile/histogram of the output.)
3.
Issue the command
ccf
. The camera will respond with OK> if no errors
occur. FPN correction automatically calibrates the FPN coefficients.
4.
After the correction is complete, save the settings by issuing a
wfc
command. (Note that Forward and Reverse direction settings are stored
separately and coefficients must be saved before switching directions)
5
Perform PRNU correction
Perform PRNU correction next to determine the multiplication factors (and
automatic gain settings for each tap) required to bring each pixel to the required
value (balance target) for a flat white output.
1.
Place a white reference in front of the camera. (remove lens cap if needed)
2.
Issue the command
cpa 2 i
(or
cpa 4 i
if using
roi
), where I is
equal to or greater than the maximum pixel value in the image. The
camera will respond with OK> if no errors occur.
3.
After the correction is complete, save the settings by issuing a
wpc
command. (Note that Forward and Reverse direction settings are stored
separately and coefficients must be saved before switching directions)
4.
Enable the coefficients using the command
epc 1 1
. You should now
see a flat line. (It may be necessary to average many lines to see the
residual FPN and PRNU.)
5.
Issue the command
wus
to save all User Settings.
A few notes:
A.
Repeat the above steps 3-5 for any CCD shift direction change. (i.e. if the above was performed in FORWARD direction, repeat for
REVERSE direction.
B.
Always ensure what User Set (
ssn 1
,
ssn 2
,
ssn 3
,
ssn 4
) you are in when performing calibration. When the
wfc
,
wpc
and
wus
commands are performed, this saves all FPN and PRNU coefficients and User settings into that set.
a.
The last User Set (
ssn)
used in the camera will be the same set loaded into the camera during a power cycle.
b.
You can view what User Set you are in via the GCP screen.
c.
Set 0,
ssn 0
is the factory calibration set. It cannot be overwritten by the User.
C.
Remember that the
cpa
integer “I” is in 14 bit format. (To set an 8 bit value, multiply this by 64 to get the proper 14 bit value.) (For
example if the camera is in 8 bit mode and you want a target value of 200DN, the “I” integer for CPA would be 200x64=12800. So,
sending
cpa 2 12800
would give you a target value of 200DN.)
D.
The
CPA
command will automatically adjust all tap gain values. The new gains will be displayed in the GCP screen. (ie. If you
selected a gain of 5,
sg 0 5
before performing the
CPA 2
command, depending on the automatic gain adjustment, this value
may now be different.)
NOTE:
Items highlighted in GREY are not necessary
to perform, unless you require doing so.
Steps 1, 4 and 5 are usually only needed to
be performed.


