English
Français
Español
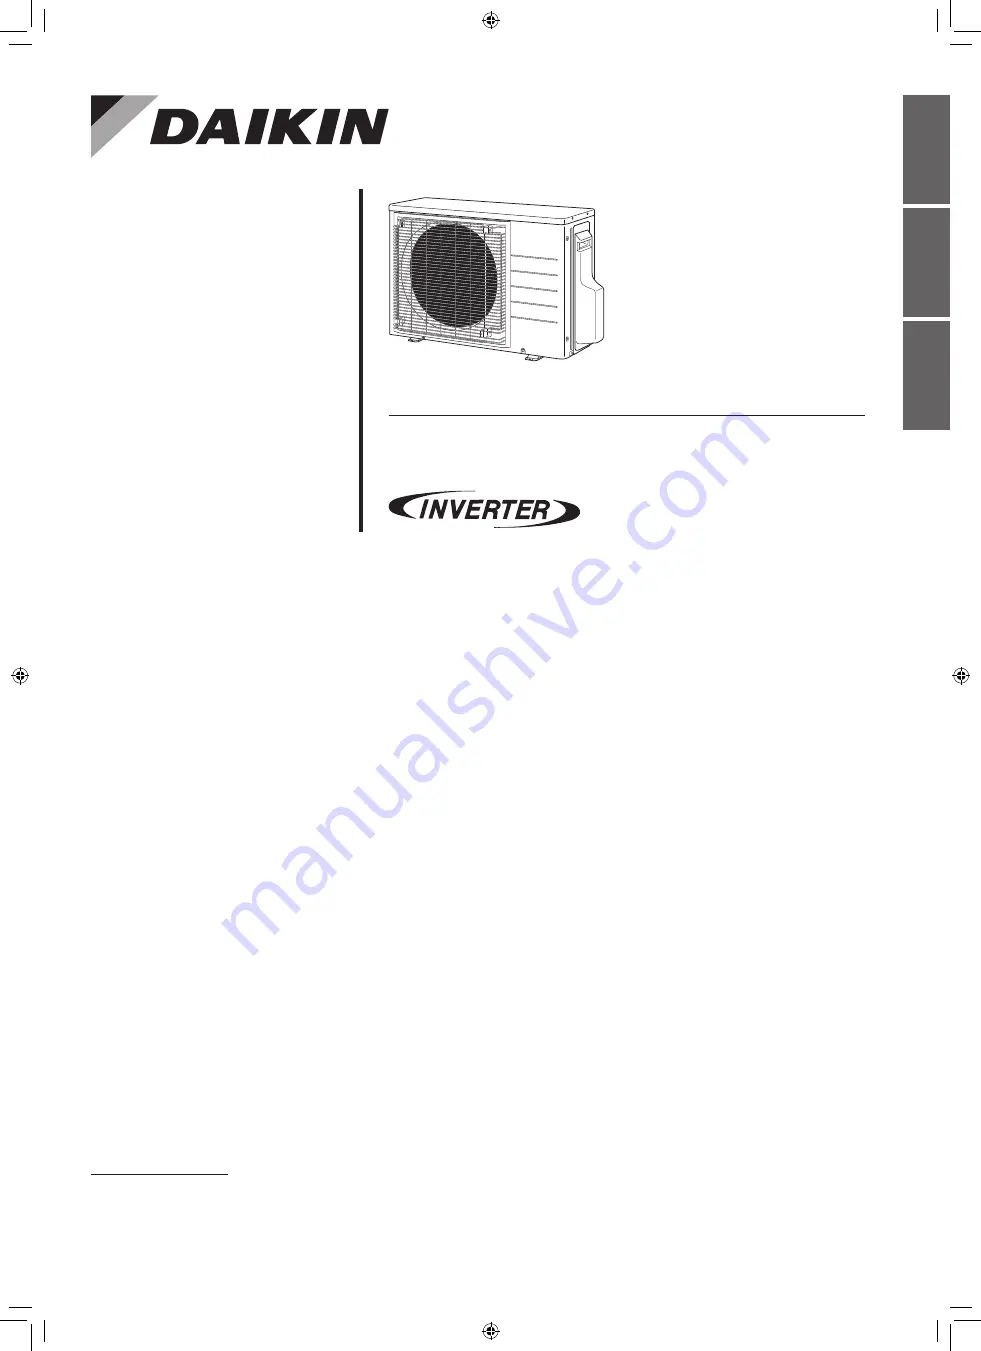
MODELS
RXM09WVJU9
RXM12WVJU9
DAIKIN ROOM AIR CONDITIONER
INSTALLATION MANUAL
R32 Split Series
Installation manual
Manuel d’installation
Manual de instalación
00_CV_3P686856-1.indd 1
2022/02/15 9:41:18
Page 1: ...ais Espa ol MODELS RXM09WVJU9 RXM12WVJU9 DAIKIN ROOM AIR CONDITIONER INSTALLATION MANUAL R32 Split Series Installation manual Manuel d installation Manual de instalaci n 00_CV_3P686856 1 indd 1 2022 0...
Page 2: ...lly in basements and an asphyxiation hazard could occur leading to serious injury or death Do not ground units to water pipes gas pipes telephone wires or lightning rods as incomplete grounding can ca...
Page 3: ...event condensation Be careful when transporting the product Do not turn off the power immediately after stopping operation Always wait for at least 5 minutes before turning off the power Otherwise wat...
Page 4: ...itioner 8 Since water will flow from the drain of the outdoor unit do not place anything under the unit which must be kept away from moisture 9 A location where flammable gas does not leak Position at...
Page 5: ...s How to remove the stop valve cover 1 Remove the screw on the stop valve cover 2 Slide the stop valve cover downward to remove it How to attach the stop valve cover 1 Insert the upper part of the sto...
Page 6: ...t is recommended to either change the orientation of the outdoor unit outlet side or use the air direction adjustment grille sold separately Outdoor Unit Installation 1 Installing the outdoor unit Whe...
Page 7: ...are tool Clutch type Clutch type Rigid type Wing nut type Imperial type A 0 0 020 inch 0 0 5mm 0 039 0 059 inch 1 0 1 5mm 0 059 0 079 inch 1 5 2 0mm Flaring 4 Refrigerant piping CAUTION Use the flare...
Page 8: ...C1220T O I D 15 32 19 32 inch 12 15mm 13 32 inch 10mm Min Liquid side O D 1 4 inch 6 4mm 1 3 16 inch 30mm or more 0 031 inch 0 8mm C1220T O I D 5 16 13 32 inch 8 10mm Use separate thermal insulation...
Page 9: ...ifold and stop vacuum pumping Maintain this condition for a few minutes to make sure that the compound pressure gauge pointer does not swing back 1 6 Remove the valve caps from the liquid stop valve a...
Page 10: ...connection to the power supply terminal block Place the round crimp style terminals on the wires up to the covered part and secure in place Round crimp style terminal Stranded wire Screw Flat washer S...
Page 11: ...ate Screws Screws Conduit mounting cover Ground This air conditioner must be grounded For grounding follow all local and state electrical codes Facility Setting cooling at low outdoor temperature WARN...
Page 12: ...1 Remove the top plate of the outdoor unit 4 screws 2 Remove the Electric wiring box cover 3 Cut the jumper J4 of the PCB inside Hook 3 places Cut the jumper J4 Electrical wiring box cover When attach...
Page 13: ...ct and press for confirmation 3 Press and select the COOL operation 4 Press to turn on the system Forced cooling operation will stop automatically after about 30 minutes To stop the operation press Tr...
Page 14: ...3P686856 1 M21B535 2205 HT The two dimensional bar code is a manufacturing code 00_CV_3P686856 1 indd 2 2022 02 15 9 41 18...