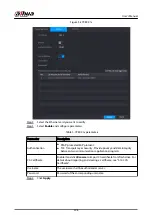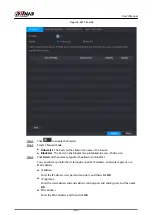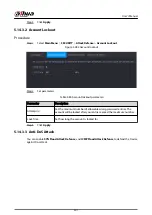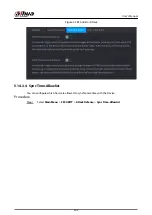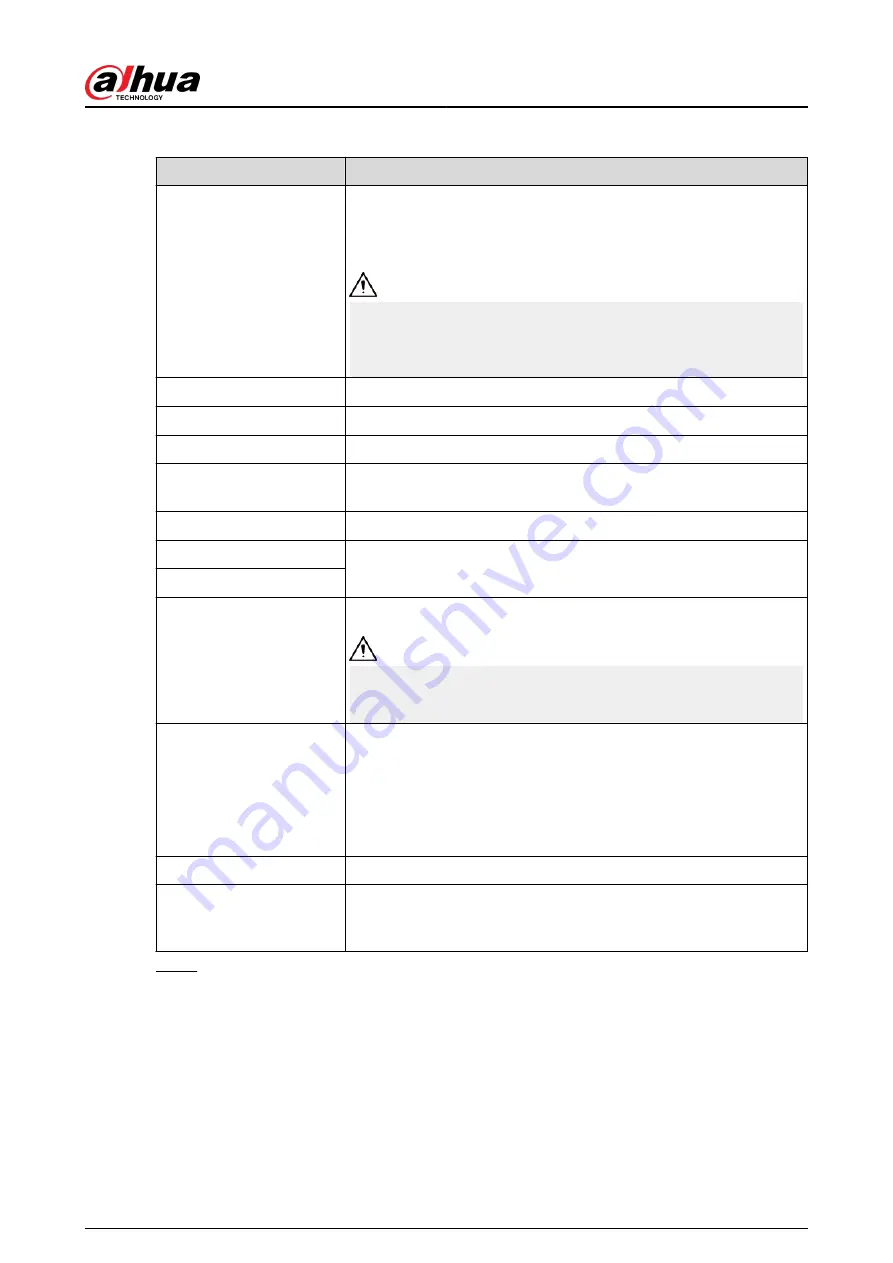
Table 5-84 Data and time parameters
Parameter
Description
System Time
In the System Time box, enter time for the system.
Click the time zone list, you can select a time zone for the system,
and the time in adjust automatically.
Do not change the system time randomly; otherwise the recorded
video cannot be searched. It is recommended to avoid the recording
period or stop recording first before you change the system time.
Time Zone
In the Time Zone list, select a time zone for the system.
Date Format
In the Date Format list, select a date format for the system.
Date Separator
In the Date Separator list, select a separator style for the date.
Time Format
In the Time Format list, select 12-HOUR or 24-HOUR for the time
display style.
DST
Enable the Daylight Saving Time function. Click Week or Date.
Start Time
Configure the start time and end time for the DST.
End Time
NTP
Enable the NTP function to sync the Device time with the NTP server.
If NTP is enabled, device time will be automatically synchronized
with server.
Server Address
In the Server Address box, enter the IP address or domain name of
the corresponding NTP server.
You can directly select time.windows.com or time.google.com.
Click Manual Update, the Device starts syncing with the server
immediately.
Port
The system supports TCP protocol only and the default setting is 123.
Interval
In the Interval box, enter the amount of time that you want the
Device to sync time with the NTP server. The value ranges from 0 to
65535.
Step 3
Click Next to save settings.
5.15.1.3 Holiday
Background Information
Here you can add, edit, and delete holiday. After you successfully set holiday information, you can
view holiday item on the record and snapshot period.
You can also configure holiday settings by selecting Main Menu > SYSTEM > General > Holiday.
User's Manual
412
Summary of Contents for NVR5208-EI
Page 1: ...ZHEJIANG DAHUA VISION TECHNOLOGY CO LTD V2 3 6 Network Video Recorder User s Manual...
Page 97: ...Figure 2 116 Alarm input port 1 User s Manual 81...
Page 146: ...Figure 5 9 Unlock pattern login User s Manual 130...
Page 160: ...Figure 5 24 AcuPick human detection User s Manual 144...
Page 164: ...Figure 5 28 Shortcut menu 1 User s Manual 148...
Page 230: ...Figure 5 93 AcuPick human detection User s Manual 214...
Page 404: ...Figure 5 267 Pattern login User s Manual 388...
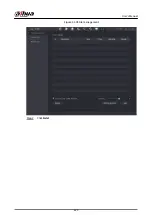
Page 441: ...Figure 5 305 File management Step 2 Click Add User s Manual 425...
Page 462: ...Figure 5 329 Shutdown 2 User s Manual 446...
Page 489: ......

