10
Installation of ViewShare Screen and Roller Assembly (continued)
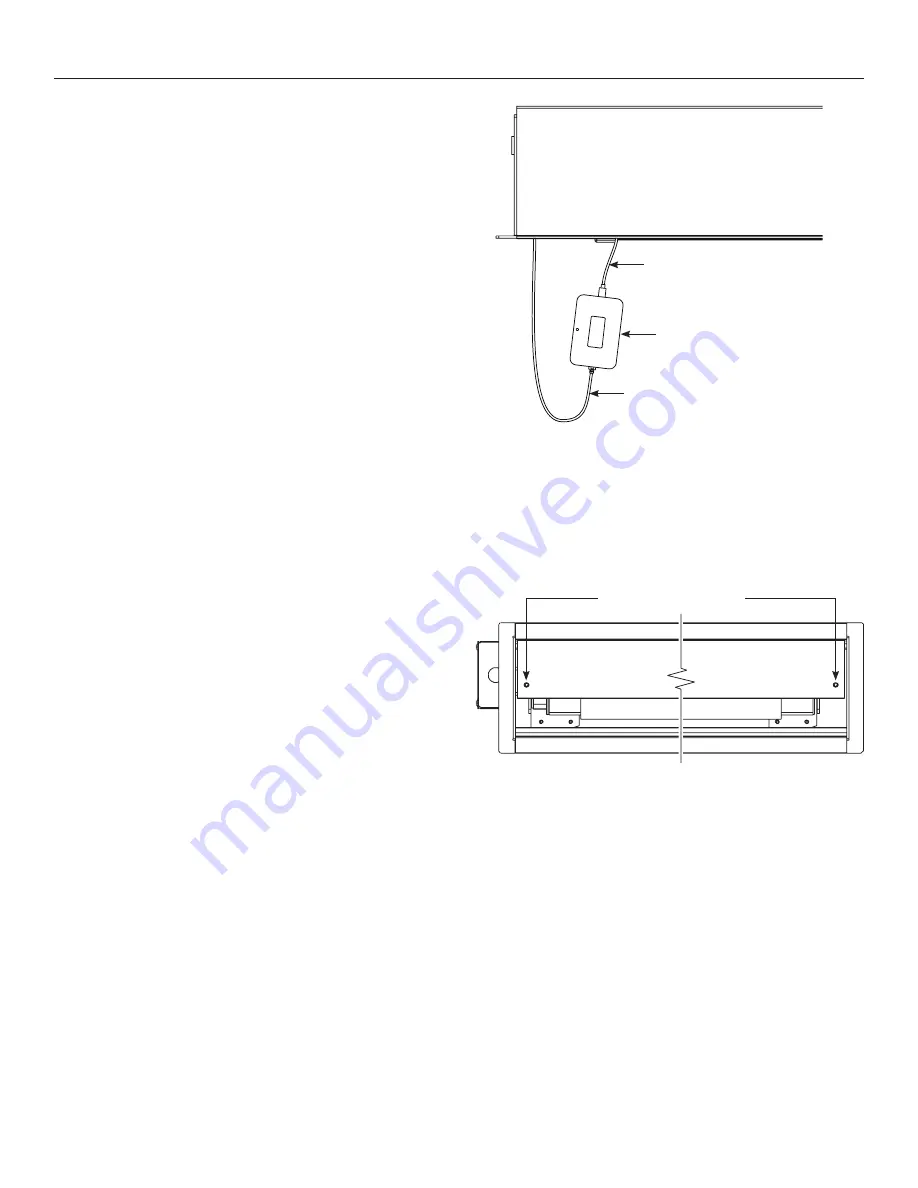
10. Remove the USB to CAT5 extender labeled “Remote” from the
shipping carton. At the motor end of the case, attach the USB
cable coming from the ViewShare screen and roller assembly. On
the other end of the USB to CAT5 extender, attach the CAT5
cable that was run through the circular knockout. Remove the
non-adhesive side of the tape and carefully allow the USB to
CAT5 extender to hang freely (Figure 20).
NOTE:
The USB to CAT5 connection will allow the integrated
ViewShare camera to interface with the other ViewShare
hardware components installed in the Camera and
Speakerphone Installation section.
11. Re-install the access door. Before inserting completely, adhere the
USB to CAT5 Extender to the inside of the access door out of
view of the audience. Complete installation by sliding the access
door into place and insert the screws into each end (Figure 21).
Figure 20
Figure 21
USB to CAT5 Extender
CAT5 Cable
USB Cable
Access Door Screws
Summary of Contents for ViewShare
Page 1: ...INSTRUCTION BOOK FOR ViewShare Tensioned Advantage Electrol Retrofit ...
Page 18: ...18 ...
Page 19: ...19 ...


