


80
D-Link DWR-512 User Manual
Appendix B - Networking Basics
Networking Basics
Check your IP address
After you install your new D-Link adapter, by default, the TCP/IP settings should be set to obtain an IP address from a DHCP server (i.e.
wireless router) automatically. To verify your IP address, please follow the steps below.
Click on
Start
>
Run
. In the run box type
cmd
and click
OK.
(Windows
®
Vista
™
users type
cmd
in the
Start Search
box.)
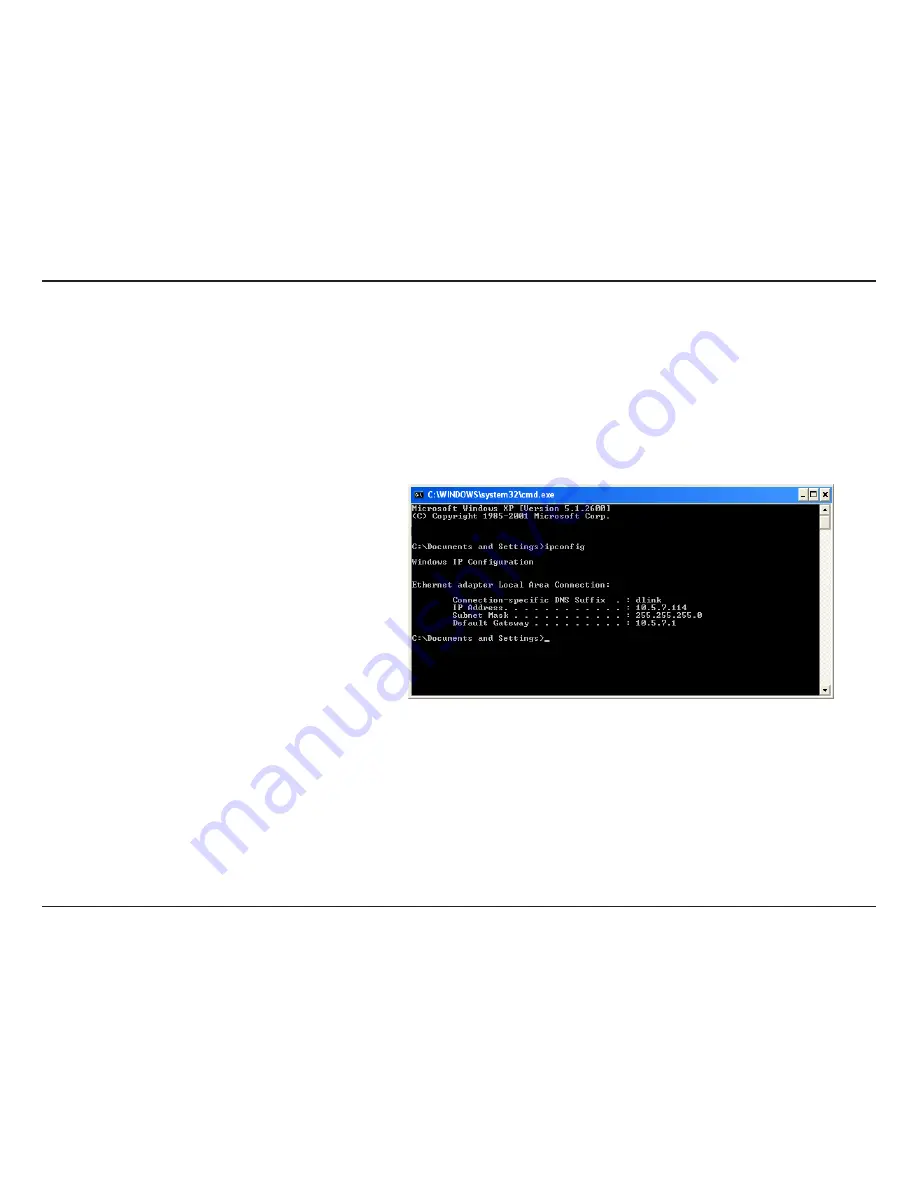
At the prompt, type
ipconfig
and press
Enter
.
This will display the IP address, subnet mask, and the
default gateway of your adapter.
If the address is 0.0.0.0, check your adapter installation, security settings, and the settings on your router. Some firewall software programs
may block a DHCP request on newly installed adapters.
Summary of Contents for DWR-512
Page 1: ......


