xStack Storage Management Center Software User’s Guide
45
4.2.2 Making Your Own Volume Selection Choices
If you selected Let me make my own choices (Advanced) in the Volume Name screen and
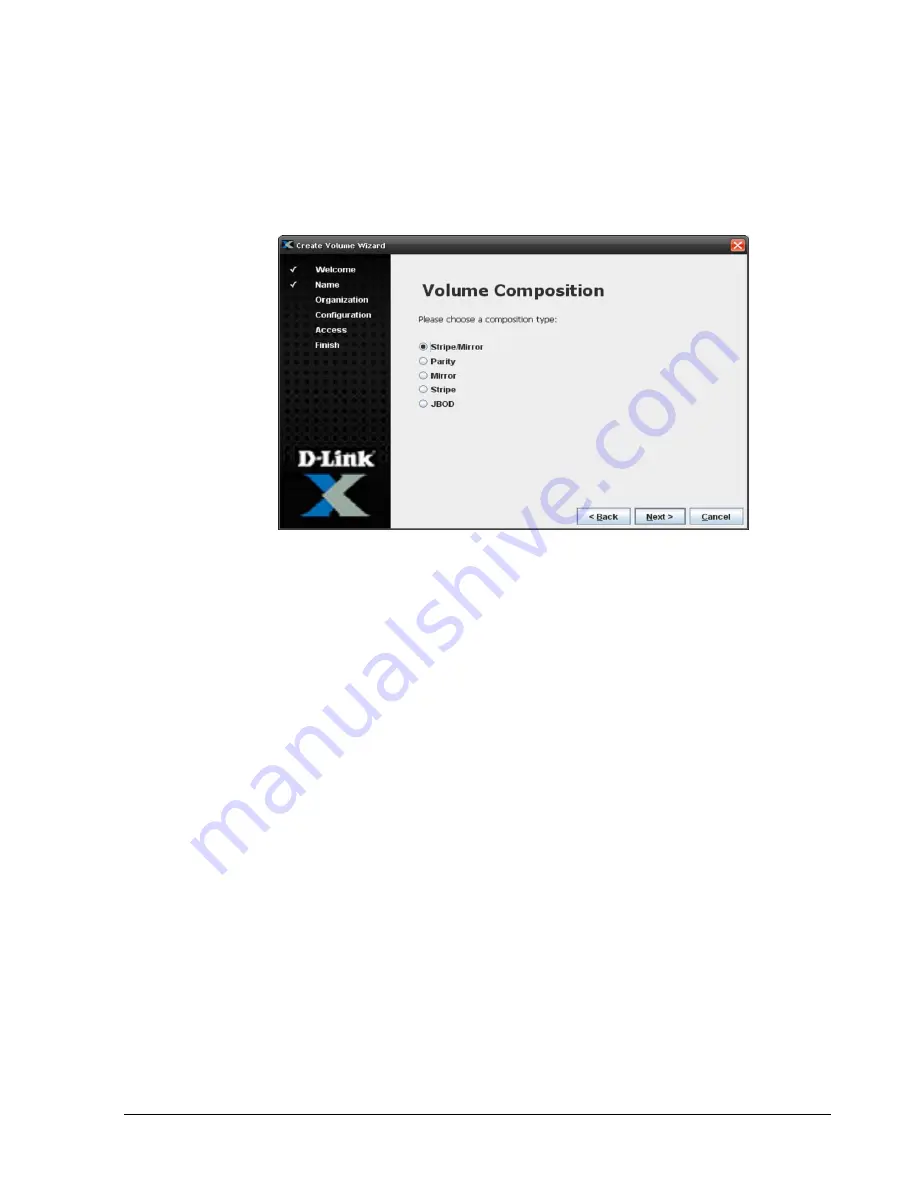
clicked Next, the Volume Composition screen appears (see Figure 4-13). Use the following
procedure to complete the volume creation process and record your settings in Table C-1.
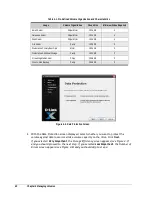
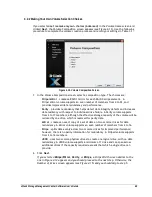
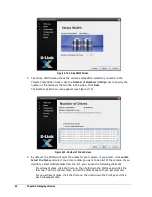
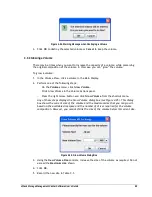
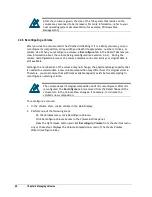
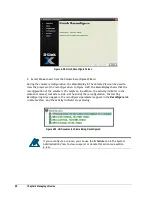
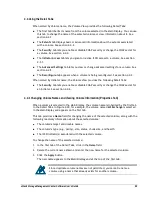
Figure 4-13. Volume Composition Screen
1. In the Volume Composition screen, select a composition type. The choices are:
–
Stripe/Mirror – creates a RAID 1 mirror for each RAID 0 stripe element. A
Stripe/Mirror volume supports an even number of members from 4 to 32, and
provides improved data redundancy and performance.
–
Parity – provides redundancy that helps detect data integrity defects and increases
data resiliency with respect to individual drive failure. A Parity volume supports
from 3 to 17 members, although the effective storage capacity of the volume will be
reduced by one drive, which is reserved for parity data.
–
Mirror – creates an exact copy of a set of data on two or more drives for data
redundancy. A Mirror volume supports an even number of members from 2 to 16.
–
Stripe – splits data evenly across two or more drives for improved performance;
however, there is no parity information for redundancy. A Striped volume supports
from 2 to 16 members.
–
JBOD - uses two or more physical drives to create one logical drive, with no data
redundancy. A JBOD volume supports a minimum of 1 drive and can span across
additional drives if the capacity required exceeds that which a single drive can
provide.
2. Click Next.
If you selected
Stripe/Mirror
,
Parity
, or
Stripe
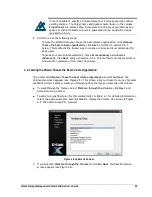
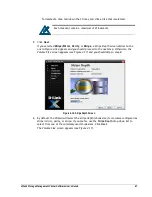
, a Stripe Width screen similar to the
one in Figure 4-14 appears and you should proceed to the next step. Otherwise, the
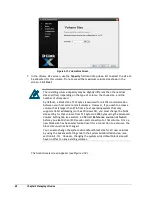
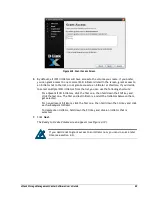
Number of Drives screen appears (see Figure 4-15) and you should skip to step 5.
Summary of Contents for DSN-5210-10 - xStack Storage Area Network Array Hard Drive
Page 9: ...xStack Storage Management Center Software User s Guide ix This Page Left Intentionally Blank ...
Page 10: ......
Page 90: ...80 Chapter 5 Managing Physical Storage This Page Left Intentionally Blank ...
Page 110: ...100 Chapter 6 System Administration Figure 6 18 Advanced Settings Tab ...
Page 132: ...122 Chapter 8 Performing System Actions THIS PAGE LEFT INTENTIONALLY BLANK ...
Page 136: ...126 Chapter 9 Best Practices This Page Left Intentionally Blank ...
Page 144: ...134 Appendix A Menu Summary THIS PAGE LEFT INTENTIONALLY BLANK ...
Page 148: ...138 Appendix B Factory Default Settings THIS PAGE LEFT INTENTIONALLY BLANK ...

