86
Chapter 6 System Administration
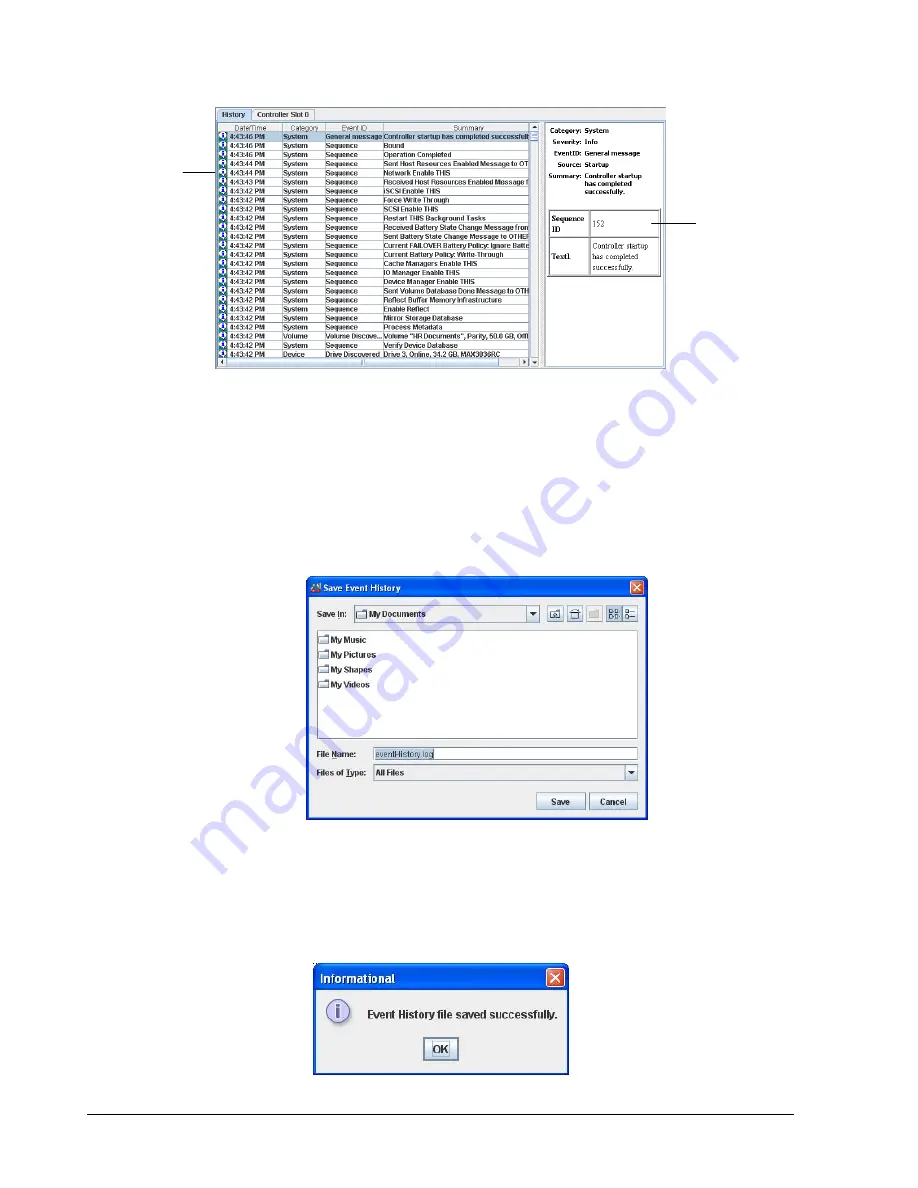
Figure 6-4. History Tab
You can save the event history as a text file in comma-separated format on your local
computer.
1.
Perform one of the following steps:
–
On the Tools menu, click Save Event History.
–
In the System Actions panel, click Save Event History.
Any of these steps displays the Save Event History dialog box (see Figure 6-5).
Figure 6-5. Save Event History Dialog Box
2.
Select the path where you want the event log to reside.
3.
Click the Save button.
4.
When the message in Figure 6-6 tells you that the event history file has been saved
successfully, click OK to remove the message.
Figure 6-6. Event History File Save Message
When You Select
an Item Here…
Information
about that
Item Appears
Here
Summary of Contents for DSN-500
Page 9: ...xStack Storage Management Center Software User s Guide ix This Page Left Intentionally Blank ...
Page 10: ......
Page 90: ...80 Chapter 5 Managing Physical Storage This Page Left Intentionally Blank ...
Page 107: ...xStack Storage Management Center Software User s Guide 97 Figure 6 18 Advanced Settings Tab ...
Page 110: ...100 Chapter 6 System Administration This Page Left Intentionally Blank ...
Page 130: ...120 Chapter 8 Performing System Actions THIS PAGE LEFT INTENTIONALLY BLANK ...
Page 134: ...124 Chapter 9 Best Practices This Page Left Intentionally Blank ...
Page 142: ...132 Appendix A Menu Summary THIS PAGE LEFT INTENTIONALLY BLANK ...
Page 146: ...136 Appendix B Factory Default Settings THIS PAGE LEFT INTENTIONALLY BLANK ...


