Appendix D: HTTP Content Filtering
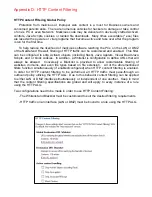
HTTP Content Filtering Global Policy
Protection from malicious or improper web content is a must for Business owners and
concerned parents alike. There are numerous vehicles for hackers to damage or take control
of one’s PC or even Network. Malicious code may be delivered in deviously crafted ActiveX
controls, Java Scripts, cookies, or tainted file downloads. Many times executable (*.exe) files
are laced with spy-ware or viral programs that become active and take over after the program
is run for the first time.
To help reduce the likelihood of malicious software reaching the PCs on the LAN or DMZ
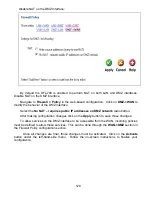
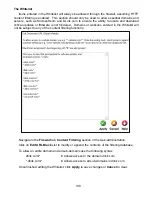
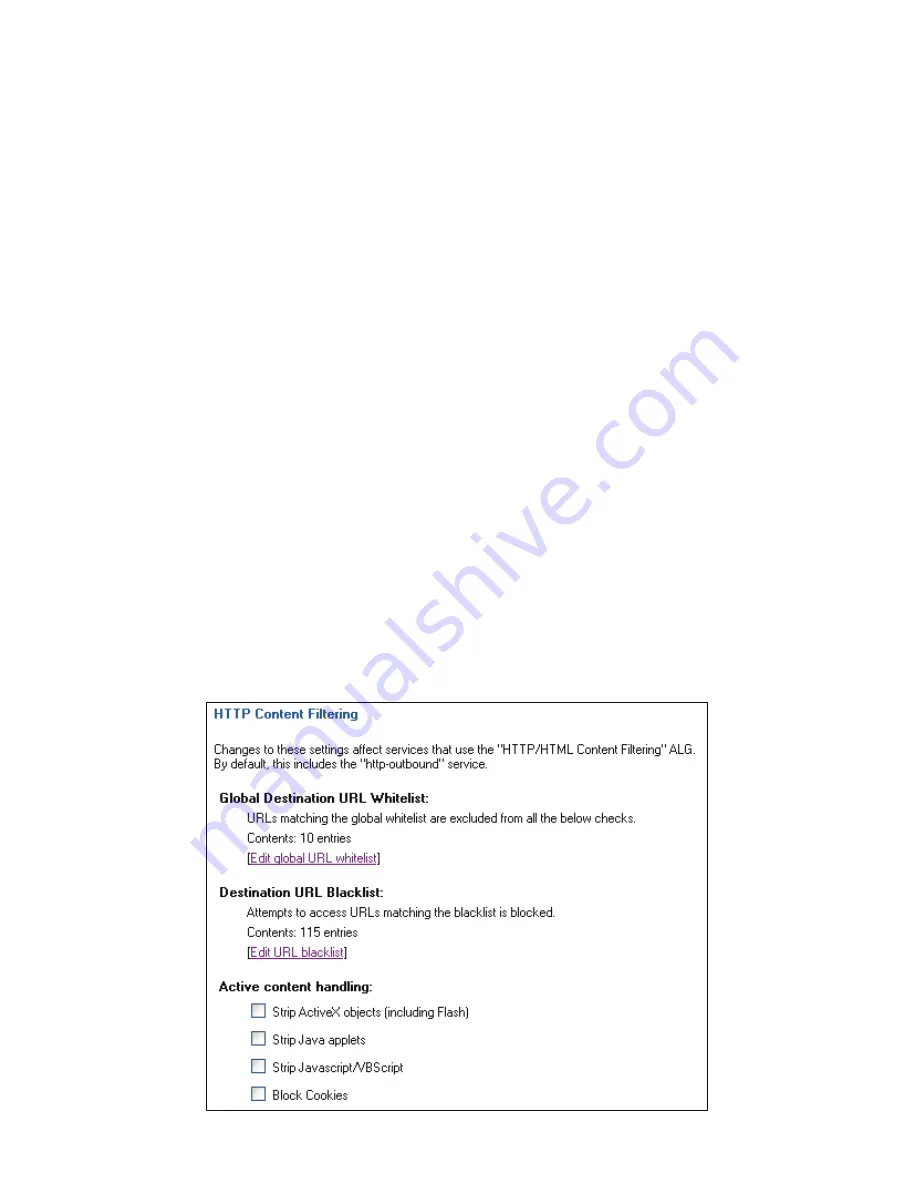
of the NetDefend Firewall, filtering of HTTP traffic can be customized and enabled. This filter
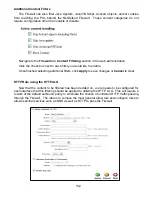
can be configured to strip ActiveX objects (including flash), Java Applets, Visual Basic/Java
Scripts, and or block cookies. In addition, a Whitelist is configurable to define URLs that will
always be allowed. Conversely a Blacklist is provided to allow customizable filtering of
websites, domains, and even file types based on file extension. All of the aforementioned
filters function simultaneously (if enabled/configured) when HTTP content filtering is enabled.
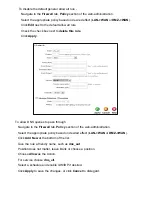
In order for HTTP content filtering to be performed, all HTTP traffic must pass-through an
outbound policy utilizing the HTTP ALG. Due to this behavior content filtering can be applied
to either LAN or DMZ interface simultaneously or independent of one another. Keep in mind
that the content filtering specifications are global and will apply to every instance of a rule
using the HTTP ALG.
Two configurations need to be made in order to use HTTP Content Filtering:
- The Whitelist and Blacklist must be customized to suit the desired filtering requirements.
- HTTP traffic on an interface (LAN or DMZ) must be bound to a rule using the HTTP ALG.
Summary of Contents for DFL-700 - Security Appliance
Page 1: ...D Link DFL 700 Network Security Firewall Manual Building Networks for People 04 18 2005 TM ...
Page 102: ...102 5 Select Connect to the network at my workplace and click Next ...
Page 103: ...6 Select Virtual Private Network connection and click Next ...
Page 104: ...104 7 Name the connection MainOffice and click Next ...
Page 105: ...8 Select Do not dial the initial connection and click Next ...
Page 106: ...106 9 Type the IP address to the server 194 0 2 20 and click Next 10 Click Finish ...


