28
I. Double click the "Add Printer" icon.
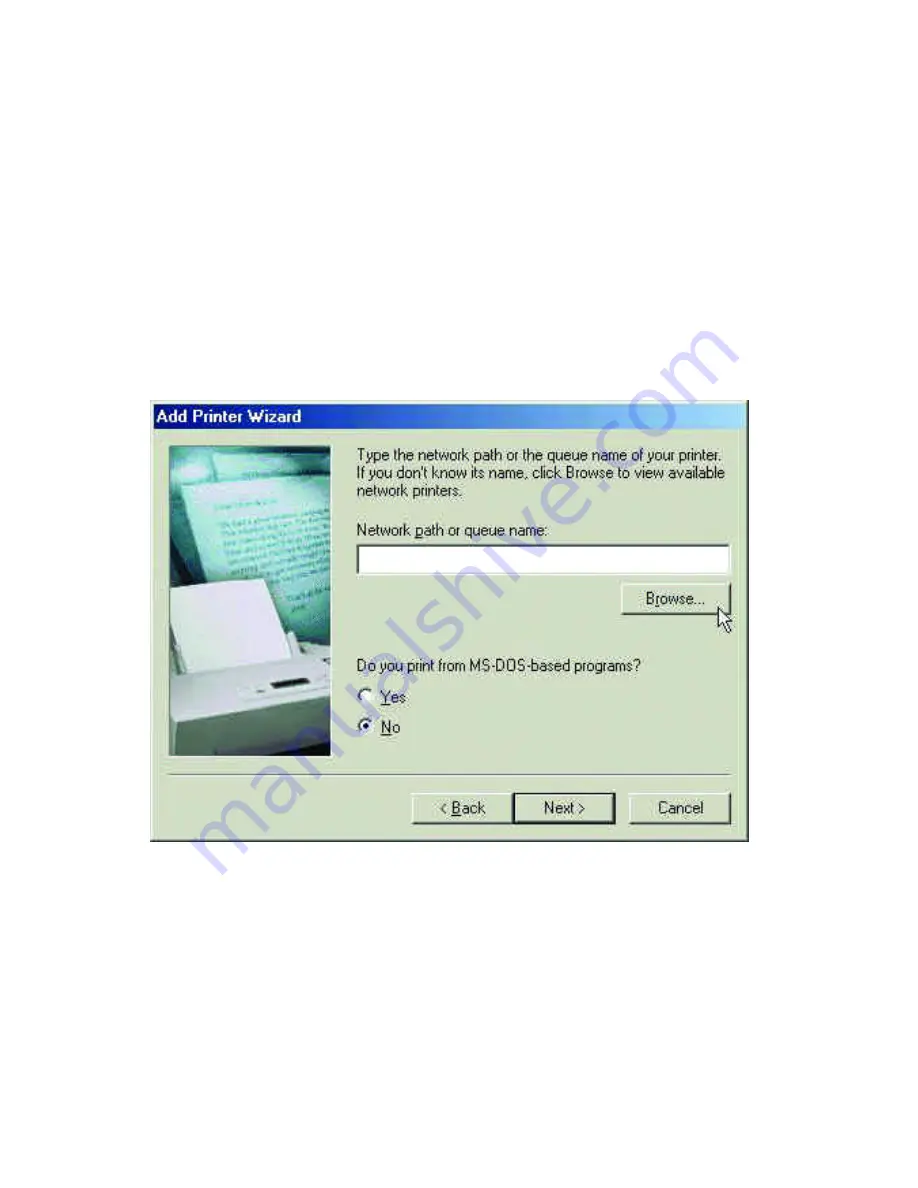
J. The "Add Printer Wizard" will appear. Click "Next."
K. Choose "Network printer" and click "Next."
L. Now you will identify the location of the Network Printer.
If you know the name of the computer and the share name of the printer,
you can type it into the "Network path or queue name:" box. However, it
is easier to click the "Browse" button and navigate to the location of the
printer. Click "OK" when you have selected the desired printer. Finish
the installation by continuing the "Add Printer Wizard" normally.
M. You may now use the Network Printer as if it was connected
directly. Note: the computer that the printer is connected to must be
“on” to use the printer. If you find this inconvenient, devices known
as Network Print Servers are available from D-Link including the
DP-301P and DP-101. A Network Print Server would allow you to
directly connect your printer to your network without worrying about
which computer is “on.”
Summary of Contents for DFE-690TXD
Page 1: ...DFE 690TXD Cardbus PC card User s Manual Rev 01 July 2001 ...
Page 25: ...22 J Right click on the disk drive or folder icon and select Sharing ...
Page 32: ...29 How to Install TCP IP Go to START SETTINGS CONTROL PANEL Double click on Network ...
Page 33: ...30 Select D Link DFE 690TXD Cardbus PC Card Click on Add Select Protocol Click Add ...
Page 35: ...32 Double Click on Network Highlight TCP IP Click on Properties ...
Page 38: ...35 Highlight TCP IP Scroll down if you cannot see it Click on Properties ...
Page 40: ...37 Checking the TCP IP Address Go to START RUN Type winipcfg in the Open box Click OK ...
Page 57: ...54 ...


