17
D-Link DCS-5009L User Manual
Section 2 - Installation
Step 5
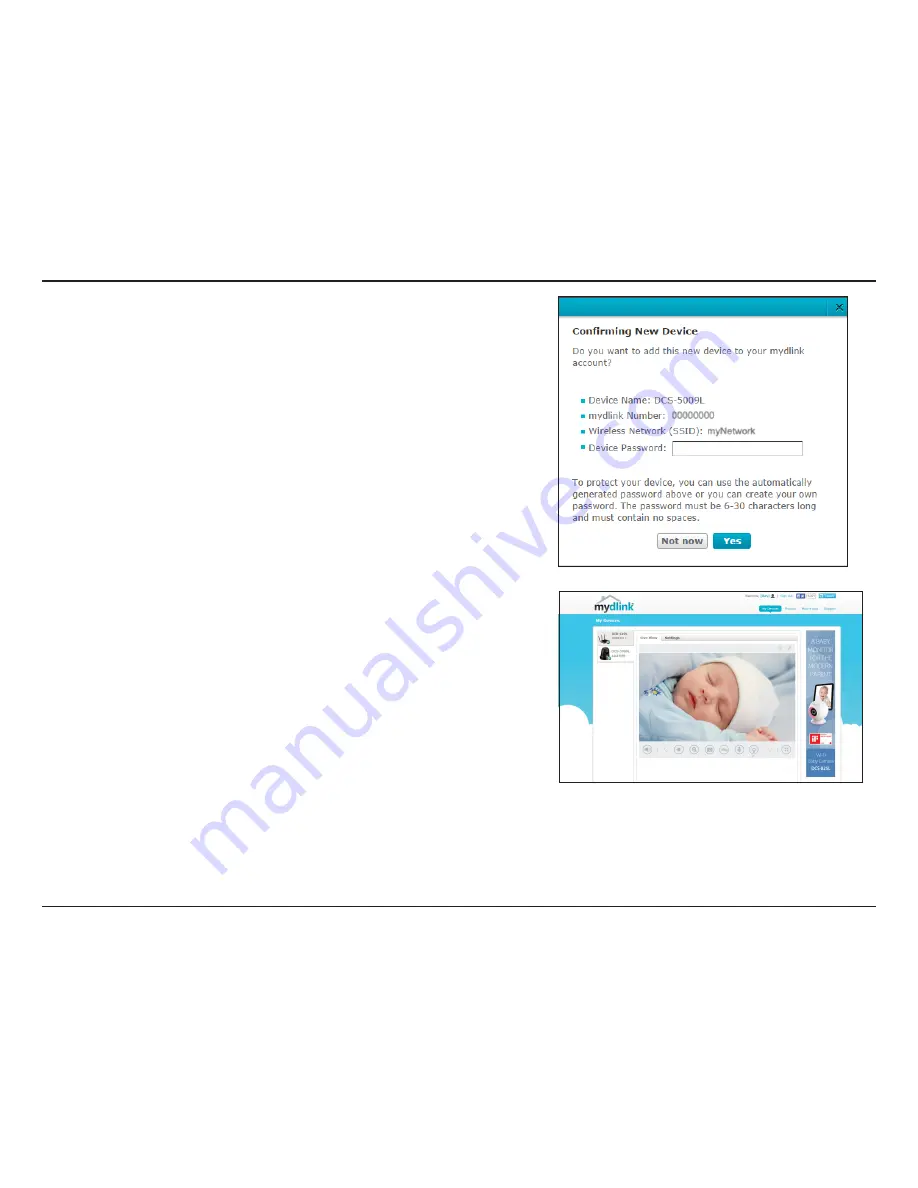
A confirmation request will appear with a summary of the configuration
details. Make a note of the details and click Yes to add the camera to your
account. Your setup is complete!
Next you will see the mydlink
Live View*
for your camera. The screen will look
similar to the screenshot on the right.
Note:
If you used an Ethernet connection and now want to connect your camera
to your router wirelessly, you can simply disconnect the Ethernet cable and
move the camera to the preferred location. Your router’s wireless settings were
automatically transferred to the camera during Zero Configuration Setup, so no
further configuration is required.
If you are interested in learning about advanced configuration of your camera,
you can skip to
“Configuration” on page 25
.
*Note:
If the live image is blurry or out of focus, you can manually adjust the
focus by rotating the manual focus bezel that surrounds the camera lens
.
If you
notice a white haze when viewing in night vision mode, the night vision light on
the camera may be reflecting off a nearby surface. Try repositioning the camera.
Note:
If you experience issues registering this device with your mydlink account,
perform a hard reset by pressing and holding the reset button on the device for
10 seconds while the device is powered on.


