AUDIO / VIDEO CONNECTIONS
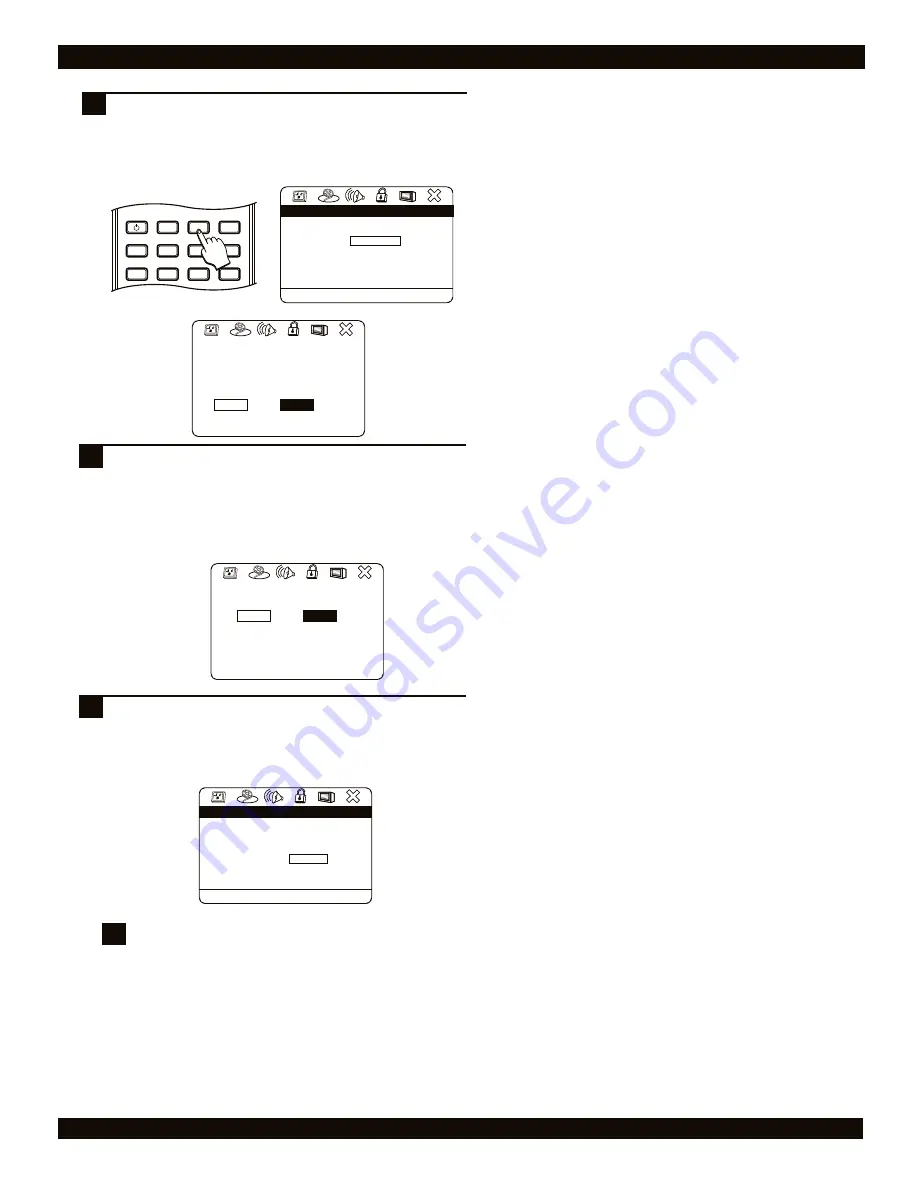
If you are using a Progressive Scan TV, change the
VIDEO MODE to P-SCAN. At this time you will be
prompted twice to confirm this change in settings. In
each case, press the LEFT ARROW key once and to
confirm each new selection, press ENTER each time.
4
7
Video Setup Page
.
.
.
.
Set the video mode
Video Setup Page
.
.
.
.
TV Display
TV Type
Video Output
Video Mode
P-Scan Mode
Video Quality
Wide
NTSC
YUV
Auto
Interlaced
P - Scan
19
!
If the VIDEO MODE setting in the setup is set to P-SCAN
but you are not using a progressive scan-capable TV,
you will loose video. If this happens, reset the video to
the default
Interlaced
mode, which is used by most TVs.
To reset the TV MODE, press “DISPLAY - 1 - 2 - 3” on the
remote control.
Resetting the video output
5
Press SETUP and change the VIDEO OUTPUT setting
(Submenu of VIDEO SETTINGS) to YUV. At this time you
will be prompted to confirm this change. Press the LEFT
ARROW key once to select ‘Enter’, and then press the
ENTER key on the remote control to confirm.
18
Video Setup Page
.
.
.
.
Video Setup Page
.
.
.
.
Incorrectly setting this item can
corrupt the picture. If the picture
becomes distorted or unusable, wait
a few seconds and the setting will be
restored to its previous value.
Press ‘Enter’ to continue
Enter
Cancel
YUV Warning
Video Setup Page
.
.
.
.
Video Setup Page
.
.
.
.
This setting has been changed.
Do you want to keep the new setting ?
Yes
No
YUV Warning
You will be prompted a second time to confirm your
selection. Press the LEFT ARROW key once to select
‘Yes’ then press the ENTER key on the remote control to
confirm your selection. You must respond within 4
seconds to this prompt otherwise it will disappear from
the screen. If this occurs, please return to step 5 and
restart these steps.
Video Setup Page
.
.
.
.
Set the video output
Video Setup Page
.
.
.
.
TV Display
TV Type
Video Output
Video Mode
P-Scan Mode
Video Quality
Wide
NTSC
YUV
Auto
4
6
POWER
LCD
GOTO
PROGRAM
BOOKMARK
SUBTITLE
ANGLE
DISPLAY
MENU
TITLE
MONITOR
SETUP


