14
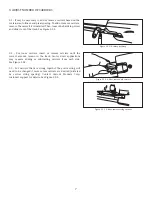
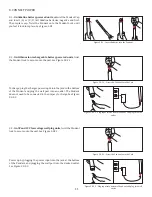
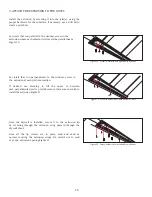
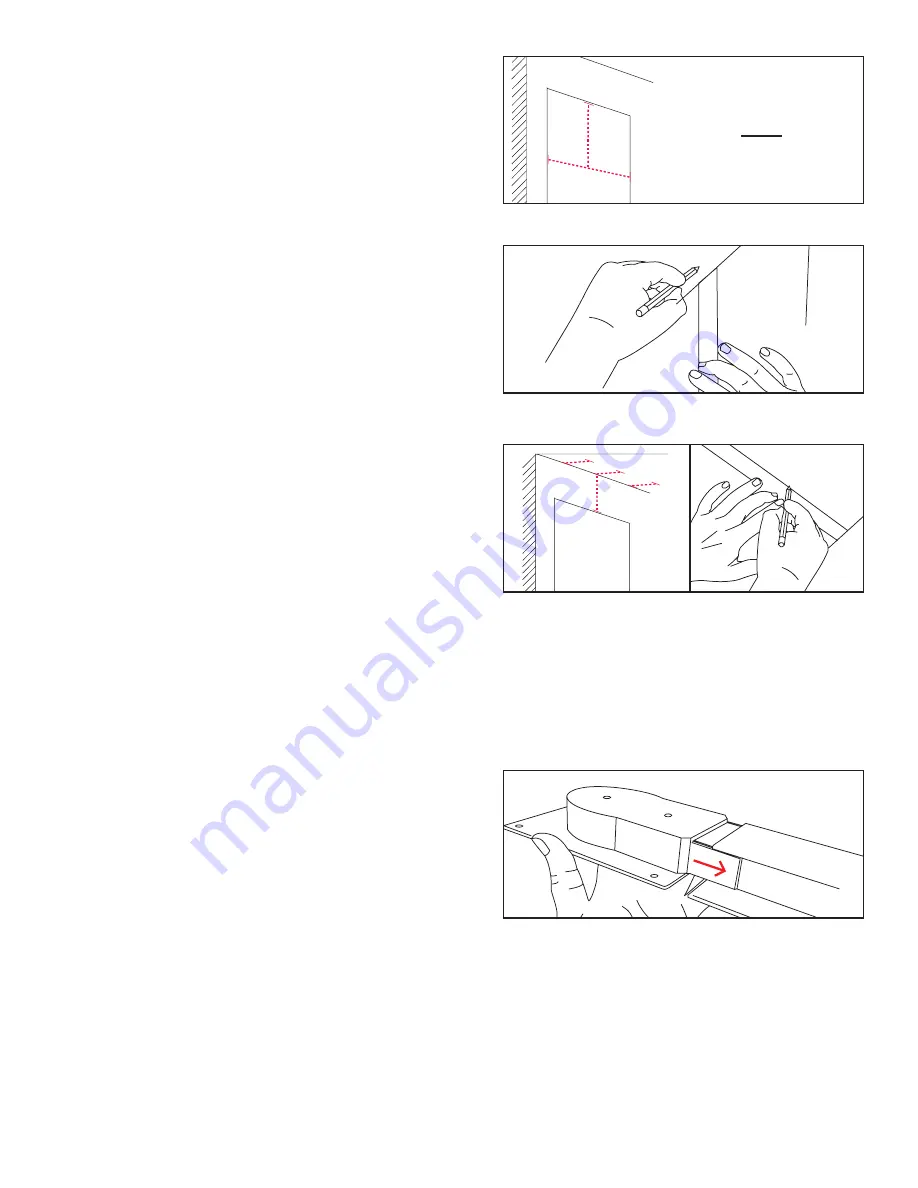
Using a pencil, mark the location on the ceiling you want the center
of the track and extrusion to be mounted. See Figure 6.
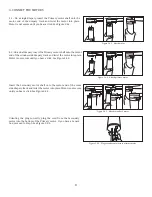
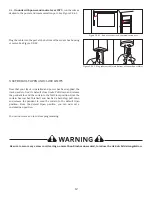
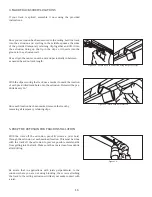
Next, determine the distance from the wall you want your drapery
track. Consider all factors, such as fullness of the drapery, fascia
return depth, drapery return length and drapery overlap at the
window sill. Decide on your distance carefully. After the extrusion
has been installed, the clearance cannot be adjusted. We recommend
1” of clearance between the top of the drapery to the wall when the
drapery is on its open (“stacked back”) state. See Figure 7.
2. ASSEMBLE THE EXTRUSION
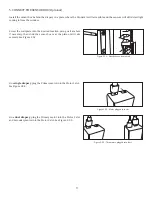
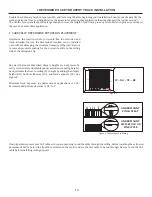
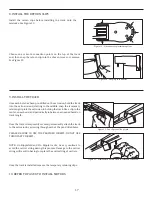
Slide each end onto the extrusion. For side draw tracks, be sure to
attache the motor and idler end recesses onto the correct sides of
the main extrusion.
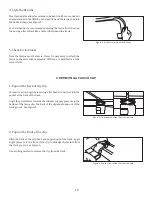
Figure 8.
Figure 6
Figure 7
Figure 8
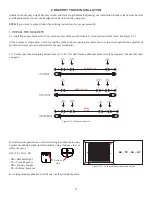
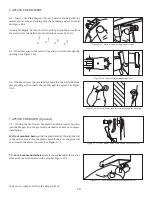
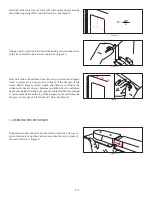
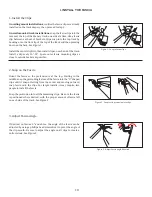
Find where the center of your track (CT) will be placed by measuring
the window opening (WO) and divide by two. See Figure 5.
Figure 5
CT = WO
2


