background image

Protecting Your Digital Assets

TM

For more information, 

visit the CRU web site. 

www.cru-inc.com

5 TECHNICAL  SPECIFICATIONS

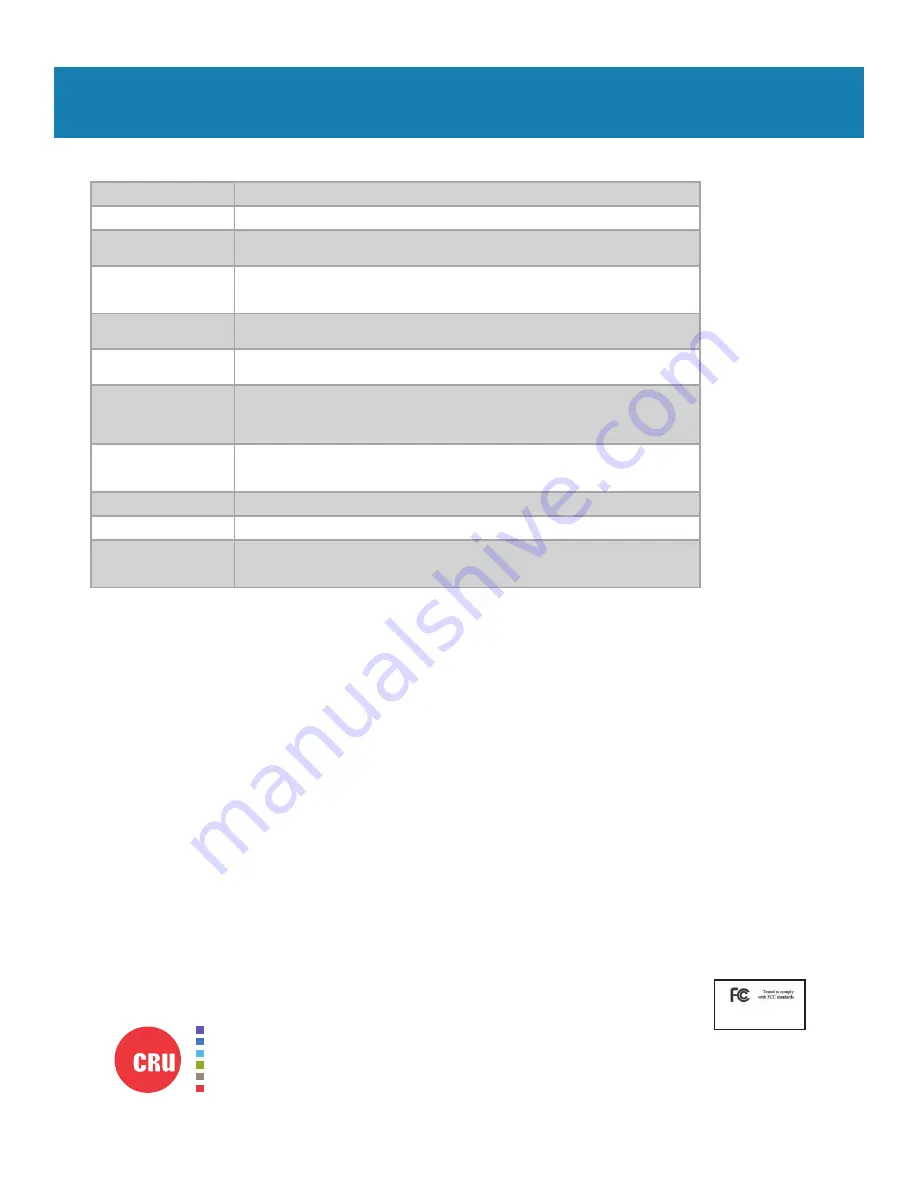
Product Models

Drive eRazer Ultra

U.S. Patent No.

8,090,904

Output Interface Types & 

Speeds

USB 2.0: up to 480 Mbps (compatible w/ USB 3.0 cables and interfaces)

RS232 Serial: up to 20k bits/s (Label Printing Only)

Supported Drive Types

2.5” and 3.5” SATA drives

3.5” IDE/PATA drives

Additional drives using optional adapters

Input Data Connectors

One (1) IDE/PATA connector

One (1) SATA connector

Output Data Connectors

One (1) USB 3.0 connector

One (1) DB9 Null Model Serial connector

Supported

Operating

Systems

Windows 10, 8, 7, and Vista

Windows Server 2012 and 2008 product families

Mac OS X 10.4.x or higher (USB 3 requires 10.8 or later)

Linux distributions that support the connection type used

Compliance

EMI Standard: FCC Part 15 Class A

EMC Standard: EN55022, EN55024

CE, RoHS, RCM

Product Weight

0.4 pounds (0.18 kg)

Product Dimensions

2.95” x 4.33” x 1.06” (75mm x 110mm x 27mm)

Technical Support

Your investment in CRU products is backed up by our free technical support for the lifetime of the 

product. Contact us through our website, 

www.cru-inc.com/support

 or call us at 1-800-260-9800 or 

+1-360-816-1800. 

© 2012, 2015, 2017 CRU Acquisition Group, LLC. ALL RIGHTS RESERVED. 

This User Manual contains proprietary content of CRU Acquisition Group, LLC (“CRU”) which is protected by copyright, trademark, and other intellectual property 

rights.

Use of this User Manual is governed by a license granted exclusively by CRU (the “License”). Thus, except as otherwise expressly permitted by that License, no part 

of this User Manual may be reproduced (by photocopying or otherwise), transmitted, stored (in a database, retrieval system, or otherwise), or otherwise used through 

any means without the prior express written permission of CRU.

Use of the full Drive eRazer Ultra product is subject to all of the terms and conditions of this User Manual and the above referenced License. 

CRU

®

, WiebeTech

®

, Drive eRazer™, and DriveBox™, (collectively, the “Trademarks”) are trademarks owned by CRU and are protected under trademark law. This User 

Manual does not grant any user of this document any right to use any of the Trademarks. 

Product Warranty

CRU warrants this product to be free of significant defects in material and workmanship for a period of three years from the original date of purchase. CRU’s warranty 

is nontransferable and is limited to the original purchaser.

Limitation of Liability

The warranties set forth in this agreement replace all other warranties. CRU expressly disclaims all other warranties, including but not limited to, the implied warranties 

of merchantability and fitness for a particular purpose and non-infringement of third-party rights with respect to the documentation and hardware. No CRU dealer, 

agent, or employee is authorized to make any modification, extension, or addition to this warranty. In no event will CRU or its suppliers be liable for any costs of pro

-

curement of substitute products or services, lost profits, loss of information or data, computer malfunction, or any other special, indirect, consequential, or incidental 

damages arising in any way out of the sale of, use of, or inability to use any CRU product or service, even if CRU has been advised of the possibility of such damages. 

In no case shall CRU’s liability exceed the actual money paid for the products at issue. CRU reserves the right to make modifications and additions to this product 

without notice or taking on additional liability.

FCC Compliance Statement: 

“This device complies with Part 15 of the FCC rules. Operation is subject to the following two conditions: (1) This device may not cause 

harmful interference, and (2) this device must accept any interference received, including interference that may cause undesired operation.” 

This equipment has been tested and found to comply with the limits for a Class A digital device, pursuant to Part 15 of the FCC Rules. These limits are designed to 

provide reasonable protection against harmful interference when the equipment is operated in a commercial environment. This equipment generates, uses, and can 

radiate radio frequency energy and, if not installed and used in accordance with the instruction manual, may cause harmful interference to radio communications. 

Operation of this equipment in a residential area is likely to cause harmful interference in which case the user will be required to correct the interference at this own 

expense.

In the event that you experience Radio Frequency Interference, you should take the following steps to resolve the problem: 

1) 

Ensure that the case of your attached drive is grounded. 

2) 

Use a data cable with RFI reducing ferrites on each end. 

3) 

Use a power supply with an RFI reducing ferrite approximately 5 inches from the DC plug.

4) 

Reorient or relocate the receiving antenna.

Part Number: A9-000-0029 Rev. 3.1

FOR OFFICE OR COMMERCIAL USE

1000 SE Tech Center Drive, Suite 160, Vancouver, WA 98683

Summary of Contents for WiebeTech Drive eRazer Ultra

Page 1: ...wn Can unhide or erase HPA or DCO areas that a computer s OS can t see Attaches natively to SATA and IDE PATA drives and connects to other types of drives with optional adapters LCD menus make setup and erasure simple LCD gives clear indication of time remaining for erasure to complete Standalone operation with no computer required USB connection allows the Drive eRazer Ultra to be used to prevew ...

Page 2: ...his will help you to better understand the following instructions TABLE OF CONTENTS 1 Pre Installation Steps 2 1 1 Package Contents 2 1 2 Identifying Parts 2 1 3 LED Behavior 3 1 4 Warnings and Notices 3 2 Installation Steps 4 3 Using the LCD Interface and Menu 4 3 1 Home Start Erasing 4 3 2 Review Settings 5 3 2 1 Erase Type 5 3 2 1 1 Supported Erase Specifications 5 3 2 1 2 Custom Erase 6 3 2 2 ...

Page 3: ...recommended to prevent electrical damage to the enclo sure or other connected devices including the computer host Avoid all dramatic movement tapping on the unit and vibration Avoid placing the hard drives close to magnetic devices high voltage devices or near a heat source This includes any place where the product will be subject to direct sunlight Do NOT allow water to make contact with the driv...

Page 4: ...SATA drives the power cable and data cable are combined into a single SATA drive interface g Plug the AC adapter into the Drive eRazer Ultra h Turn on the power switch The connected drive will power up and the Drive eRazer Ultra main menu will appear on the LCD screen 3 USINGTHE LCD INTERFACE AND MENU Use the LCD and 4 button navigation interface to start erasing drives adjust settings view inform...

Page 5: ... zeroes CUSTOM ERASE Performs 1 to 99 passes user selectable overwriting with zeroes for a user selected pattern On every other pass the complement inverse of the se lected pattern will be used but the last pass will always use the user defined pattern RANDOM ERASE Performs 1 to 9 passes user selectable overwriting with a randomly gener ated 32 bit pattern A new pattern is generated for each pass ...

Page 6: ...this mode the default when you select it by pressing Enter Press Up or Down to set and con tinue without saving the selection as the future default OF PASSES 01 DATA PATTERN 00000000 CUSTOM ERASE MAKE DEFAULT 3 2 2 HPA DCO Handling Erase modes Quick Erase Custom Erase Random Erase Secure Erase N and Secure Erase E allow the user to select how hidden areas HPAs and DCOs are handled during the erasi...

Page 7: ...options MINIMAL MEDIUM or HIGH Press Enter to select CHANGE VERIFY TO MEDIUM After you select the validation you will be prompted to make your selection the default Press Enter to save the mode as the default Press Up or Down to set and continue without saving the setting as default MEDIUM MAKE DEFAULT 3 2 4 Label Printer Output The Drive eRazer Ultra features a DB9 null modem serial connection fo...

Page 8: ... to make your selection the default Press Enter to save the mode as the default Press Up or Down to set and continue without saving as default SMALL LABEL 4x6 MAKE DEFAULT 3 2 5 Reset to Factory From this screen you can reset the settings on the Drive eRazer Ultra to the factory defaults FUNCTION FACTORY DEFAULT SETTING Erase Mode Quick Erase HPA DCO Handling Ignore All Validation Minimal Label Pr...

Page 9: ...e drive has under gone Bad Sectors Number of bad sectors reported by the drive 3 4 VIEW DOCK INFO This screen displays information about your Drive eRazer Ultra unit From the Home Start Erasing screen press the up or down buttons to get to the View Dock Info screen Press Enter VIEW DOCK INFO Use the Up or Down buttons to scroll through and view the following info about Drive eRazer MENU ITEM CONDI...

Page 10: ...sword reset was thought to have been successful but a subsequent double check detected that the password was still present FACTORY min The drive is suspected of reporting false information The DCO size appears to be unreasonable large leaving less than 5MB of disk capacity NATIVE min The drive is suspected of reporting false information The HPA size appears to be unreasonable large leaving less th...

Page 11: ...Erase will generally finish a little faster than Secure Erase WITH WHAT DRIVE CAPACITIES IS DRIVE ERAZER COMPATIBLE The Drive eRazer Ultra cannot erase extremely small drives or media that are less than 10 000 sectors Assuming a 512 byte sector size 10 000 sectors is less than 5MB There is currently no known limit to how large of a disk Drive eRazer Ultra will erase As of April 2015 the Drive eRaz...

Page 12: ...cable is available from CRU Part Number 7380 8000 03 Check your printer s documentation regarding serial cable types Connecting it to a computer s serial port is possible with a Male to Female RS 232 DB9 Null modem serial cable WHAT SIZES ARETHE LABELSTHATTHE DRIVE ERAZER ULTRA PRINTS The Drive eRazer Ultra can print one of two different label sizes 4 x1 or 4 x 6 depending upon how it s configured...

Page 13: ...data remaining on the drive would not be accessible via normal means Recovering such data would require removing the actual flash chips from the SSD s circuit board and accessing them with special equipment and software tools Secure Erase modes offer the best chance of fully erasing an SSD because they use the drive s built in erasing function Secure Erase is defined by the ATA specification and r...

Page 14: ...stroy it MY DEPARTMENT REQUIRES 100 VERIFICATION OF ERASURE DOESTHE HIGH OPTION VERIFY 100 OFTHE DRIVE No although the high checks a large number of sectors of the drive performing 100 verification would require a much greater amount of time than the erasure process itself For this reason and for the security of having an independent tool we recommend using a 3rd party tool for 100 verification Ma...

Page 15: ... is nontransferable and is limited to the original purchaser Limitation of Liability The warranties set forth in this agreement replace all other warranties CRU expressly disclaims all other warranties including but not limited to the implied warranties of merchantability and fitness for a particular purpose and non infringement of third party rights with respect to the documentation and hardware ...

Reviews: