4.3” Designer Touch Screen
Crestron
TPMC-4SMD
Touch Test Screen
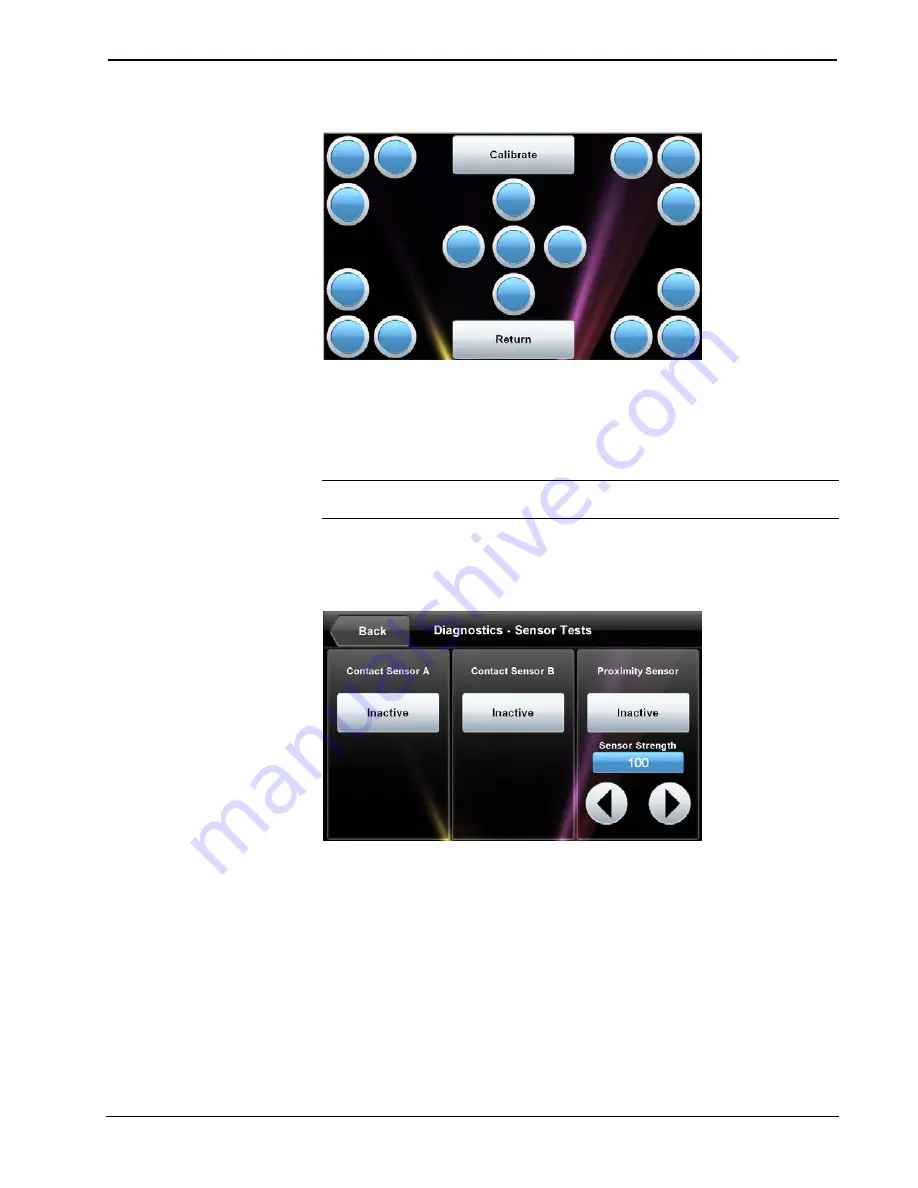
During touch screen calibration, a crosshair appears at the center of the screen.
Touch the center of the crosshair, which then moves to the upper left part of the
screen. Touch the center of the crosshair and it moves to another part of the screen.
Continue touching the center of the crosshair at each new location until calibration is
complete.
NOTE:
When touching the screen during calibration, be as accurate as possible.
Use the tip of a capped pen or the eraser end of a pencil.
From the “Diagnostics” menu, touch
Sensor Test
to display the “Diagnostics –
Sensor Tests” screen, shown in the illustration below.
“Diagnostics – Sensor Tests” Screen
If contact sensors are connected to the TPMC-4SMD, the respective indicator
changes from
Inactive
to
Active
as appropriate for each sensor’s activity. Similarly,
the TPMC-4SMD’s own proximity sensor’s indicator changes from
Inactive
to
Active
when the TPMC-4SMD senses motion in front of the unit. Use the
Sensor
Strength
controls to adjust proximity sensor sensitivity. Touch
Back
to return to the
“Diagnostics” menu.
On “Diagnostics” menu, touch
Mic Test
to perform a test of the TPMC-4SMD’s
built-in microphone. The button label changes to
RECORDING/PLAYBACK
and
the screen displays a
Mic test in progress
message, as shown in the illustration
below.
20
•
4.3” Designer Touch Screen: TPMC-4SMD
Operations & Installation Guide – DOC. 7027E


