Knowing and Installing Your Cards 1-1
1
Knowing and Installing Your Cards
This chapter is organized as follows:
❑
❑
To install the cards and related peripherals
On the Audio Cards
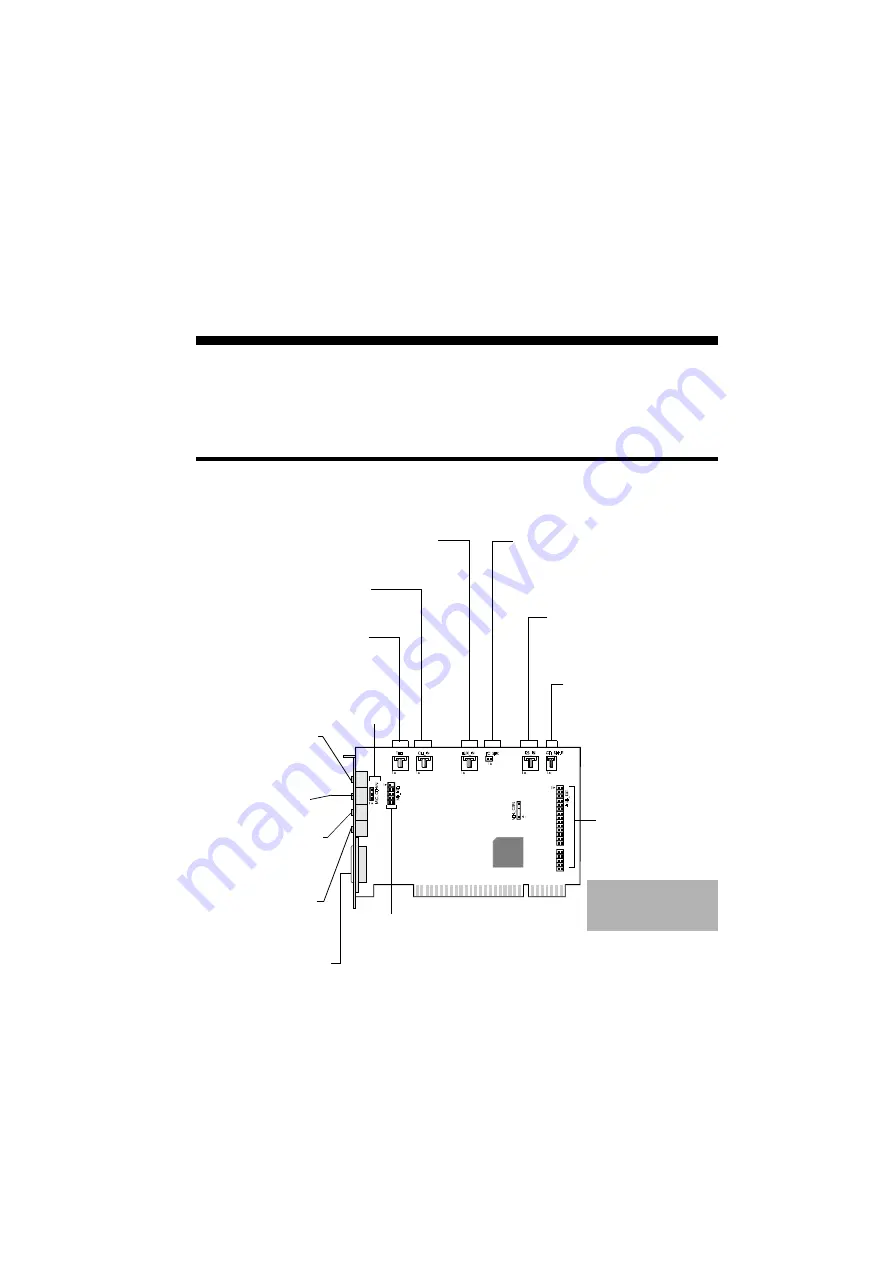
Your main card has these jacks and connectors which allow you to attach other devices:
Warning:
This is not an IDE interface.
Do
not connect to your IDE
devices.
PC Speaker connector
Connects to your motherboard’s
speaker connector (refer to “Redirecting
PC Sounds to External Speakers” in the
online
User’s Guide for details).
CD Audio connector
Connects to a CD-ROM drive
using a CD audio cable.
Joystick/MIDI connector
Connects to a joystick or a
MIDI device. You can buy an
optional MIDI kit that allows
you to plug in the joystick and
MIDI device simultaneously.
Line In jack
Connects to external devices
(such as cassette, DAT, or
Minidisc player) for playback
or recording.
Microphone In jack
Connects to an external
microphone for voice input.
Figure 1-1: Jacks and connectors on the audio main card.
Rear Out jack
Connects to powered
speakers or an external
amplifier for audio output.
Line Out jack
Connects to powered
speakers or an amplifier for
external audio output. Also
supports headphones.
Telephone Answering Device
connector
Provides a mono connection from a
standard voice modem, and transmits
microphone signals to the modem.
CD SPDIF connector
Connects to a SPDIF output on
a CD-ROM.
Microphone connector
Connects to internal condenser microphone.
Modem connector
Connects to any modem card that is
specifically designed for this interface.
AUX connector
Connects to internal audio sources such as
TV Tuner, MPEG, or other similar cards
.
Audio Extension
connector
Connects to the Digital I/O
card.
Please use the Audio
Extension cable provided
with your package. Do
not
use an IDE cable.
I
2
S In
connector
Connects to an I
2
S source such as
the Digital Out connector of the
Creative MPEG2 decoder card
.
Summary of Contents for Sound Blaster Live!
Page 1: ...Sound TM Getting Started...


