11
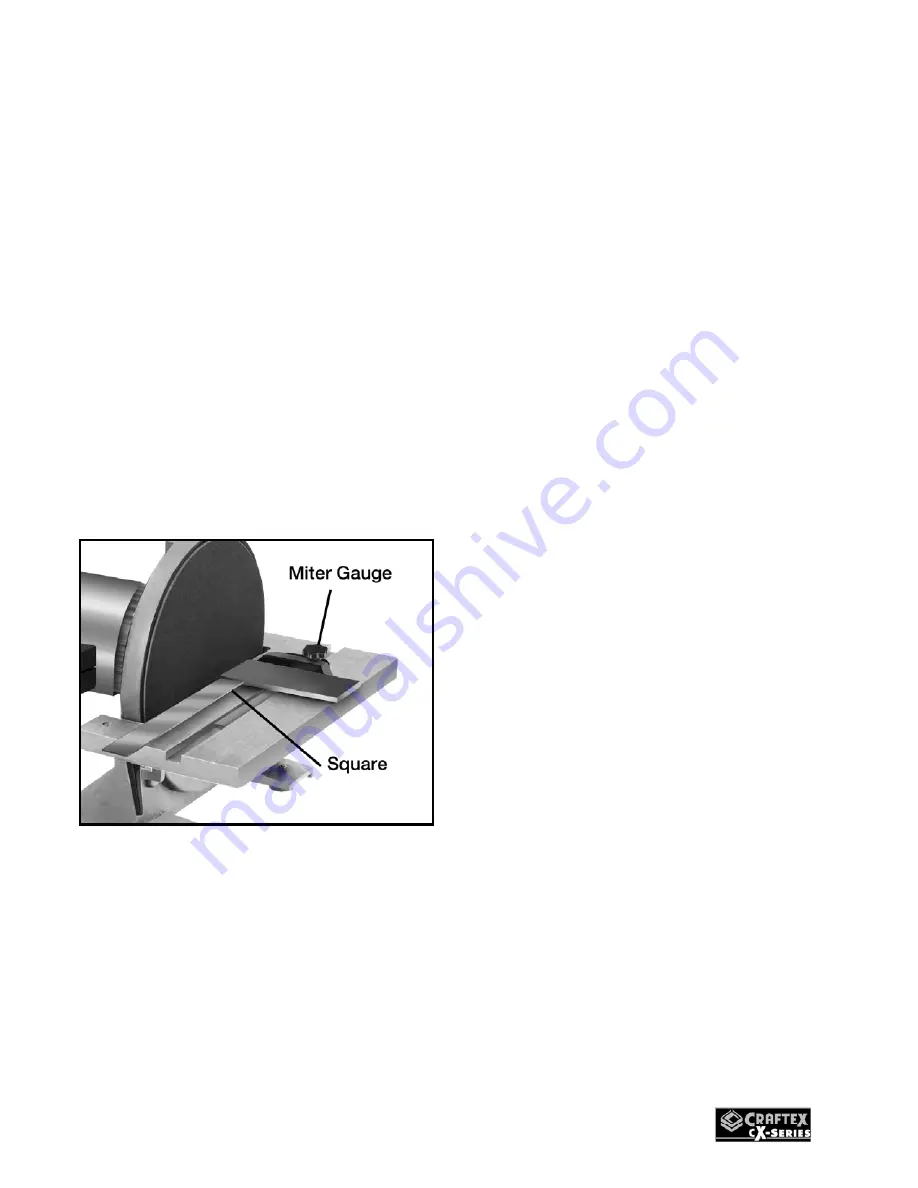
MITER GAUGE
The miter gauge needs to be adjust
perpendicular to the face of the table slot
when it is mounted to the table slot.
To adjust he miter gauge:
Position the miter gauge on the table and
mount it to the table slot.
Loosen the adjusting screw on the miter
gauge and make it flush with the edge of
the square.
Loosen the screws securing the angle
pointer and adjust the pointer to 0° mark.
Retighten the screw that secures the angle
pointer.
Figure-6 Adjusting miter gauge
ATTACHING SANDPAPER
The CX506 comes with a 12" sanding disc,
attached to the cast iron disc platen with its
adhesive backing.
To attach the sandpaper:
Disconnect the cord from the power source.
Peal off the old sandpaper, and clean the
platen disc surface and make sure it is dry.
Peel off the protective layer on one-half of
the sandpaper disc and fold it against the
remaining half.
Slip the half with protective layer between
the table edge and the platen disc.
Position the sandpaper on the platen disc
so that it is centered and press it so that the
exposed half is sticking on the platen disc.
Rotate the platen disc with hand so that the
half with protective layer is above the table.
Peel off the remaining protective layer and
press to attach the sandpaper to the platen
disc.


