33
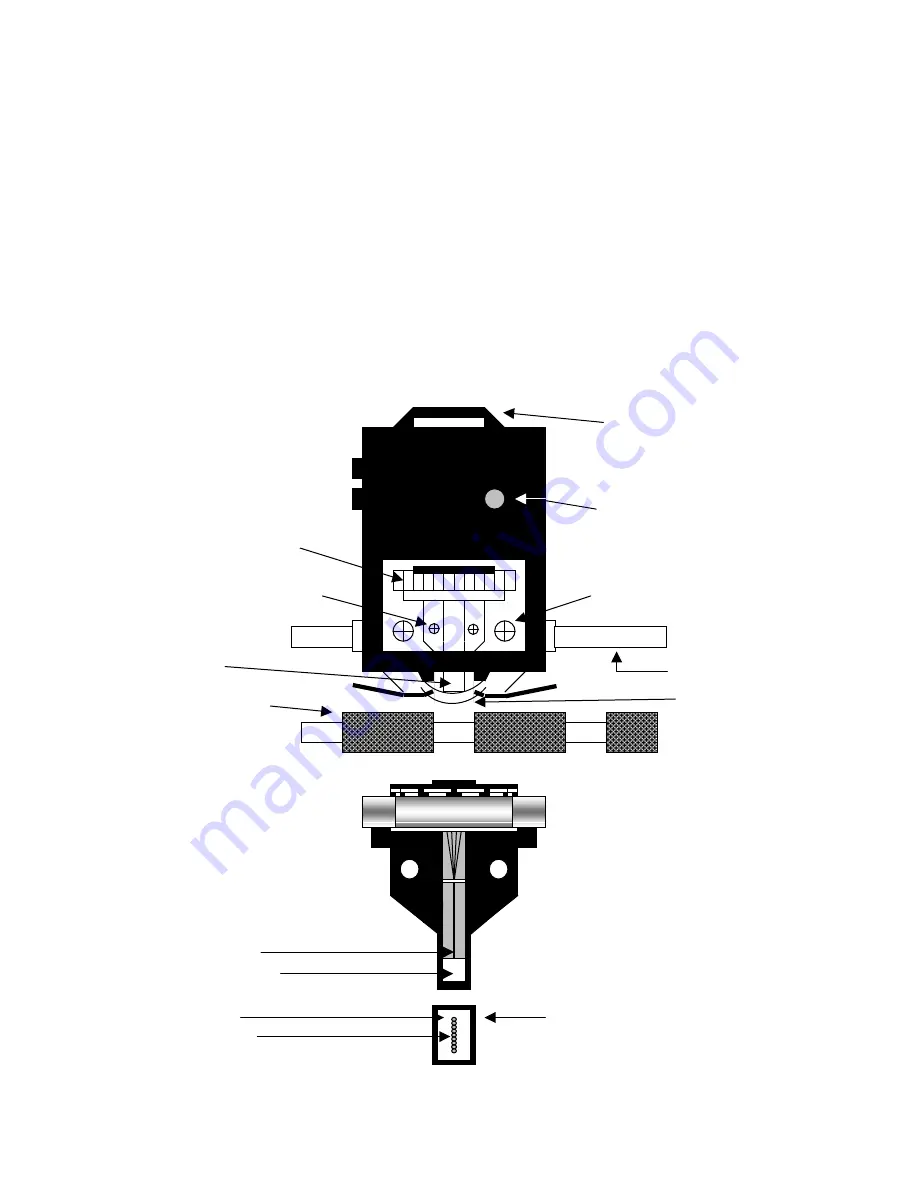
5.1.4.1 DP6 Printhead Cleaning
1. Remove the cabinet lid and ribbon cartridge.
2. Remove the 2 screws fastening the printhead to the carriage.
3. Disconnect the printhead from the printhead flex cable.
4. Clean the tip of the printhead nose where the printwires extend from the printhead with an alcohol
wetted napkin. Remove all ink and bits of ribbon fabric lint.
5. Use the blunt end of a printhead cleaning brush to remove the bulk of the grease packed around the
printwires. Then wet the brush end with alcohol to do remove the rest of the grease from the printwires.
Wipe the grease, ink and ribbon fabric “lint” from the brush onto the napkin provided.
6. Use the syringe filled with printhead lubricant to replace the “grease pack”.
7. Replace the printhead and reconnect it to the flex cable. (The white spacer between the printhead and
the carriage is critical to correct operation.)
8. Tighten the mounting screws while pushing the printhead down so the plastic nose flange sits flush
against the edge of the carriage slot. Check the printhead gap.
9. Reinstall the ribbon shield and ribbon cartridge. Perform a test print.
DP6 Printhead
(Rear View)
Printwires
Grease Pack
Jewel
Tip of Printhead Nose
Printwires
Ribbon Drive Knob
Release Bar
Carriage Shaft
Printhead Fins
Gap Adjust Screws (2)
Printhead Attach Screws (2) (white
plastic spacer is behind printhead)
Printhead Nose
Leftmost Roller
Ribbon Shield
DP6 CARRIAGE


