15
• Transferring & listening to Audio on a computer
Transferring Audio clips to the computer
1. Turn the camera on.
2. Connect the camera to the USB cable.
3. Start the PhotoStudio® 4.0 software. Go to Start > Programs > PhotoStudio 4.0 > PhotoStudio 4.0.
4. Go to File > Acquire > Movies/Audio > Create WAVs.
5. Select “Create WAV” button.
6. The system will ask you to “Enter a base file for your WAV files”. Click the OK button.
7. A dialogue box will appear. Select a location on your computer hard drive and type a file name for your
audio clip. Now click on the “Open” button.
8. The computer will now process the audio clip into the file location described in 7. The Audio clip has now
been stored on your computer.
Playing back Audio
9. Access the Audio clip by double clicking on the Audio (.WAV) file name. The audio clip will be automatically
opened in Windows Media Player or other Media software already installed on your computer.
•
Taking pictures from live video
1. Connect the camera to the computer and launch the ArcSoft VideoImpression™ 1.6 software.
2. Go to File > Source > TCG 201 Camera > Select
3. Select Acquire.
4. Select Video Camera
5. Position the camera to take picture and click on the “Transfer” button to take a picture from the live
video.
6. Close the Photo taken. The computer will ask you whether to save the photo.
7. A dialogue box will appear. Select a location on your computer hard drive and type a file name for your
photo clip. Now click on the “Save” button
8. The computer will now process the photo clip into the file location described in 7.
9. The movie clip has now been stored on your computer.
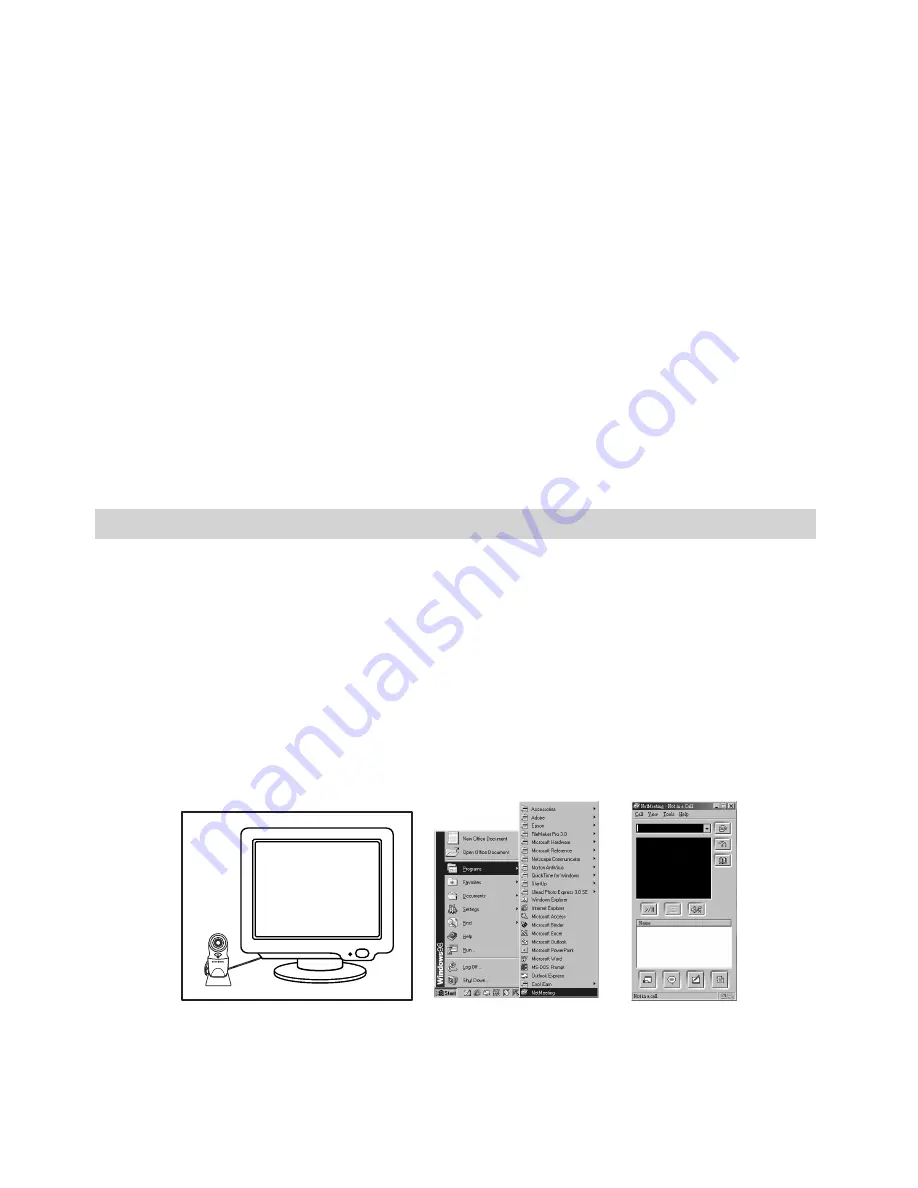
7 Using your camera as a Web Cam
• Setting up
1. Connect your
Movi
to the USB cable on one end.
2. Connect your USB cable to an available USB port on your PC on the other end.
3. Put your
Movi
on top of your PC monitor or another flat surface.
4. Connect your microphone (not included) to your audio card’s external microphone connector.
• Making a call
5. Double click the “NetMeeting” icon on the desktop or select the “NetMeeting” icon from the Windows
Start Menu.
6. Type in the IP address, computer name or telephone number for the person you want to call and press
the “Place Call” button.
To find your own IP address, go to “Start” and click “Run”. Type in “winipcfg” and click “OK”, IP
configuration window will appear and you can see your IP address.
7. If you need further help on how to use Microsoft® NetMeeting™, select the “Help” under the manual
bar and choose the topic you need. Or you can visit the following website: http://www.microsoft.com/
windows/netmeeting.
F3
.0
f=5
.3m
m
C
OO
L-I
CAM
DIGITAL CA
ME
RA
Summary of Contents for CIC-300
Page 1: ...TM User s Manual Movi M ...


