background image

4

1 Getting Started

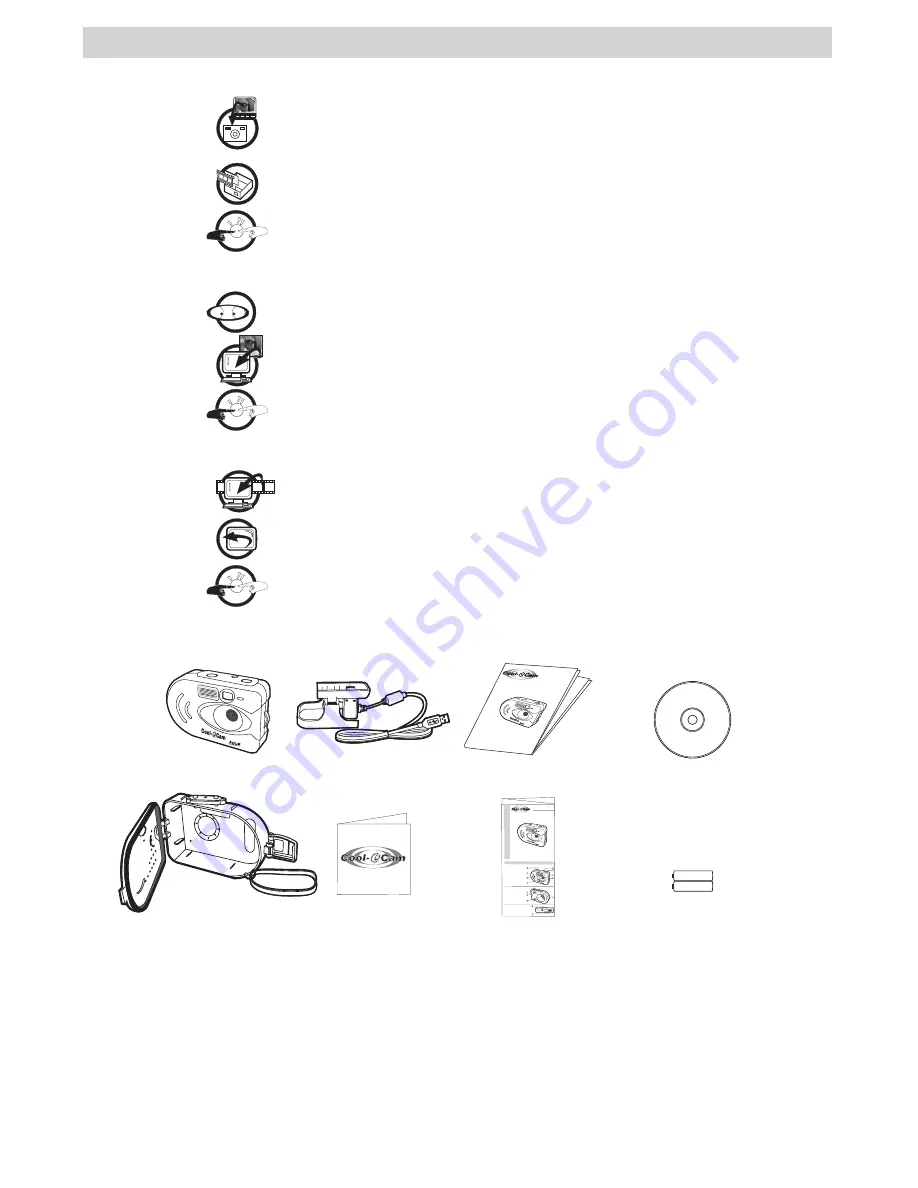
• What Can I do with my Camera?

Capture 


Enjoy point & shoot operation.  Take pictures under water with a waterproof 

case     

Set Up


Select various camera and video settings

Communicate 


Use the camera as a web camera

• What can I do with my Digital Pictures?

View


View pictures on a computer using the Arcsoft® Software supplied

Save


Save pictures to the computer memory

Communicate


Send the pictures over the internet to family and friends.

• What can I do with my Continuous Images?

Save


Save  your  continuous  images  into  video  clip  on  a  computer  using  the 

Arcsoft® Software supplied

Playback 


Playback video clip on a computer using the Arcsoft® software supplied

Communicate 


Send the video clip over the internet to family and friends.

• Camera Package Contents

AQUA-CAM

Waterproof Case with 

Hand Strap attached

(For Waterproof Case only)

2 x AA (UM-3)

Alkaline Batteries

CD-ROM includes


Digital Camera Manager 

Software (PC),

Digital Camera Driver

 (Mac), 

PhotoStudio® 4.0 (PC & Mac),

ArcSoft Funhouse™ 1.0 (PC & Mac),

ArcSoft PhotoPrinter® 2000 (PC & Mac),

ArcSoft VideoImpression™ 1.6 (PC & Mac),

Microsoft® NetMeeting™ (PC), CU-SeeMe™ (Mac)

Adobe® Acrobat® Reader (PC & Mac).

User’s Manual

Please


take


a


moment


to


fill


out


and


return


this


Registration


Card.


Your


valuable


input


will


help


us


to


serve


you


better.

Product R

egistratio

n Card

TM

Registration Card

Mod

e/O

n

Shu

ter

/Se

lec

t

TM

AQUA-CAM

Mod

e/O

n

Shu

ter

/Se

lec

t

User’s Manual

Quick Guide

TM

AQUA-CAM

Quick Start Guide

Product Overview

1.  Lens

2.  Microphone

3.  Power LED

4.  Viewfinder(open position)

5.  LCD Display

6.  Mode Button

7.  Delete Button

8.  Flash Button

2

3

1

5

6

4

7

8

Mod

e/O

n

Shu

ter

/Se

lec

t

1.  Viewfinder(closed position)

2.  USB & SmartMedia™ Card Door

3.  Battery Door

4.  Shutter Button


2

3

1

Mode/ON

Shutter/Select

4

1.  Viewfinder(closed position)

2.  USB & SmartMedia™ Card Door


1

2

Mod

e/O

n

Shu

ter

/Se

lec

t

Camera Stand 

with USB Cable 

Summary of Contents for AQUA-CAM

Page 1: ...TM AQUA CAM M od e O n Sh ut er S el ec t User s Manual ...

Page 2: ...nd Strap Holder Hand strap not included 2 3 1 5 6 4 7 8 M od e O n Sh ut er Se lec t 1 Viewfinder 2 Flash Light Indicator 3 Flash ON OFF Button 4 Battery door 2 3 1 Mode ON Shutter Select 4 1 Tripod Socket 2 USB Cover 1 2 Waterproof Case 1 Mode ON Button 2 Shutter Select Button 3 Hinge Lock 4 Hand Strap Holder Hand strap included 2 3 1 4 ...

Page 3: ...aking a Picture under water 7 3 Installing the Software onto a Computer 7 Install the software MAC PC 7 Software included with your camera MAC PC 10 Computer system requirements MAC PC 15 4 Transferring Pictures Video Clips to your Computer 16 Before you transfer pictures 16 Connecting to your computer 16 Transferring your pictures MAC PC 16 5 Using your camera as a Web Cam 19 Web Cam Connection M...

Page 4: ...Waterproof Case only 2 x AA UM 3 Alkaline Batteries CD ROM includes Digital Camera Manager Software PC Digital Camera Driver Mac PhotoStudio 4 0 PC Mac ArcSoft Funhouse 1 0 PC Mac ArcSoft PhotoPrinter 2000 PC Mac ArcSoft VideoImpression 1 6 PC Mac Microsoft NetMeeting PC CU SeeMe Mac Adobe Acrobat Reader PC Mac User s Manual Please take a moment to fill out and return this Registration Card Your v...

Page 5: ...our pictures before changing the batteries Automatic power off saves batteries Your Camera is designed to switch off automatically and save battery life without losing the pictures taken after 30 seconds of non use The Power Indicator LED will go off automatically when the camera is in stand by mode Press the Mode On Button to reactivate the camera The camera will sound a high beep and the LED LCD...

Page 6: ...chieve the best result for the use of Flash the recommended distance is between 1 2 5m Please do not press the shutter button until the ash light indicator is fully red since the image quality taken without ash light will affect the image Self timer Mode Your Camera is designed with a self timer function which will allow you to take pictures with a 9 beep sound timer built in Frame your subject an...

Page 7: ...ure has been taken The LCD will show a number indicating the number of pictures remaining in the camera Shutter Select Button Mode O n Shuter Select Mode On Button Clear water 3 meters Cloudy water 0 6 meter Clear water 3 meters Cloudy water 0 6 meter Notes If images are taken underwater in a dark environment an external power supply light gun not supplied is preferable to be used instead of the b...

Page 8: ...teps 1 6 ticking only the software you want to add How to install Microsoft NetMeeting PC NetMeeting provides the most complete conferencing solution for the Internet and corporate intranet Powerful features let you communicate with both audio and video collaborate on virtually any Windows based application exchange graphics on an electronic whiteboard transfer files use the text based chat progra...

Page 9: ...install STV0680 Capture Plug in file and click Choose to confirm Locate the STV0680 Capture Plug ins file in Hard Disk 7 Click Quit to finish the installation 8 A folder named STV0680 Camera Snapshots will appear in your Hard Disk after your AQUA CAM is connected to your Mac via the USB cable for collecting images and movies How to Uninstall Digital Camera Driver without enhancement To uninstall t...

Page 10: ...oftware enable Pictures and Movie files to be transferred to the computer from the camera Create your own files and folders to store the Pictures Use the Arcsoft software suite to edit and print the Pictures PhotoStudio 4 0 Picture Editing Software PC PhotoStudio 4 0 is a full featured easy to use digital image editing program that provides a complete set of photo editing and retouching tools plus...

Page 11: ...h the image by clicking on 3 Fine Tune to resize rotate or reposition the images by reposition the image using your mouse and dragging the image Press OK to confirm 6 Click 4 Add Text Type in the text your want to write and then press OK to confirm 7 Click 5 Print Preview to print a hard copy Using live images 8 You can also capture a live shot when your AQUA CAM is connected to your PC by the fol...

Page 12: ...you have finish click on Cancel to go back to window Aquire OK 4 The captured images will be shown on the photo library panel Select the image you want and click OK 5 The selected image will be shown on the chosen template Click Print when finish placing the images Print 6 For further help on how to use ArcSoft PhotoPrinter 2000 click the on the top right hand corner to access the Help Topics Visi...

Page 13: ... you where you want to place your video Select video template Step 9 Select the album icon and your video clip you have just produced will appear in the video templates Double click on your video your video will now drop into the storyboard Running the video Step 10 Select the play movie icon which will assemble your video together Press the play icon to watch your completed video Watch to see how...

Page 14: ...xt your want to write and then press OK to confirm 6 Click 5 Print Preview to print a hard copy ArcSoft PhotoPrinter 2000 Picture Printing Software MAC 1 Double click the PhotoPrinter icon from the PhotoPrinter Important Make sure the Digital Camera CD ROM is in the CD ROM Drive 2 Choose the Page Layout The selected page layout will on shown on the right panel 3 Click Get Photo and then add photo ...

Page 15: ...con and name your file and then press save Video impression will ask you where you want to place your video Select video template Step 9 Select the album icon and your video clip you have just produced will appear in the video templates Double click on your video your video will now drop into the storyboard Running the video Step 10 Select the play movie icon which will assemble your video togethe...

Page 16: ...irst connect your AQUA CAM to your PC a message appears on screen saying New Hardware Found and Building Driver Information Database After this you can start to upload images Transferring your picture Running the Digital Camera Manager PC Select the Digital Camera Manager icon from the Digital Camera Manager program group on the Windows Start Menu or double click the Digital Camera Manager short c...

Page 17: ...ge Delete image s 5 If you have already created an album and you want to save image s in click on the album 6 TO SAVE ONE IMAGE To save 1 particular image and put in the selected album select the image by clicking the image once and click the Save Still Image button Your computer will prompt you by giving you the option to save the images with Date Time Stamp If you choose yes all the images name ...

Page 18: ...mages are also now retrievable from your desktop by clicking on the folder called Album Tips To quickly highlight all images hold down the CTRL and SHIFT key together and with the mouse click on the end images of every row of images This will quickly highlight every image in every row Creating movie clip with both low and high resolution will causes error Creating Live Video Clips You can now crea...

Page 19: ...am Web Cam Connection PC Setting up 1 Connect your AQUA CAM to the USB cable on one end 2 Connect your USB cable to an available USB port on your PC on the other end 3 Put your AQUA CAM on top of your PC monitor or another flat surface 4 Connect your microphone not included to your audio card s external microphone connector Making a call 5 Double click the NetMeeting icon on the desktop or select ...

Page 20: ... the Program menu Upload all images to your PC as soon as possible please refer to Battery Guidance section in User s Manual If you need to change batteries and retain the images in your AQUA CAM s memory ensure you are connected to a PC which is turned on via the USB cable which will then draw power from the PC whilst you insert fresh batteries Check all cables connections are secured Upload save...

Page 21: ...es immediately then replace battery Check all cables connections are secured If you need to change batteries and retain the images in your AQUA CAM s memory ensure you are connected to a Mac which is turned on via the USB cable which will then draw power from the Mac whilst you insert fresh batteries Upload all images to your Mac as soon as possible please refer to Battery Guidance section in User...

Page 22: ...After 30 seconds inactivity Self Timer Electronic self timer with 9 seconds delay Power Supply USB Port and 2 x AA UM 3 Batteries included Operating System For Windows Users Microsoft Windows 98SE Me 2000 or XP For Macintosh Users Mac OS 8 6 9 2 Flash Light Specification Effective Distance 1 2 5 meters cannot use underwater Waterproof Case Depth underwater 10 meters Maximum duration of 30 minutes ...

Page 23: ...casing and cause leaks Cover it with a towel for example if you have to leave it in the sun Handling Do not drop or throw the waterproof case Avoid opening or closing the waterproof case near water Avoid using the waterproof case for long periods of time in hot temperatures Moving the waterproof case rapidly between hot and cold temperatures may cause condensation water droplets to form on its ext...

Page 24: ...y and if not installed and used in accordance with the instructions may cause harmful interference to radio communications However there is no guarantee that interference will not occur in a particular installation If this equipment does cause harmful interference to radio or television reception which can be determined by turning the equipment off and on the user is encouraged to try to correct t...

Reviews: