12 of 35
NOTE:
The IP setting will not show on the OSD menu instantly, but it should be
available after pressing “Setup” button. The prefer IP address will show on
the OSD menu when ecoHD II restart.
4.3
FTP Setup
Local FTP Server:
Turn on/ off the ecoHD II server.
(If you use the ecoHD II server, please disable the DHCP function and input a fixed IP
address, Mask, Gateway and DNS of the ecoHD II)
Local FTP Server Setup:
Set the “Port”, “User ID” and “Password” of the ecoHD II.
(The Default Port: 21, User ID: root, Password: admin)
FTP Auto Download:
Enable/ Disable the FTP auto download function.
Remote FTP Download Setup
-
Server IP:
Enter the domain name or IP address of the FTP as was given to you by
your
Web hosting provider.
-
Port:
The default port for FTP is 21. In most cases you should not change this
number. If the FTP site uses a port other than 21, you should enter the correct port.
-
User ID:
Enter the user name of the Remote FTP server.
-
Password:
Enter the Password of the Remote FTP server.
-
FTP Path:
Enter the folder path that you want to share.
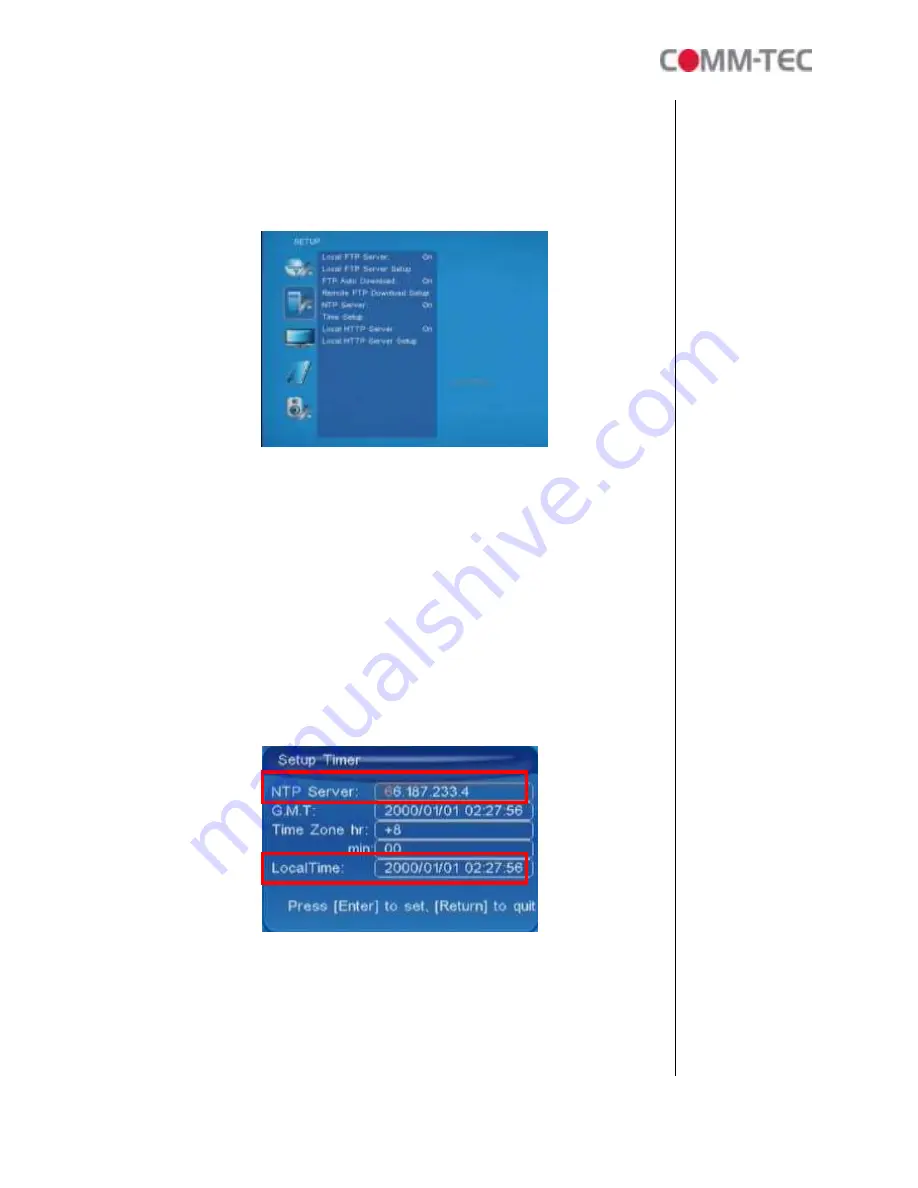
NTP Server:
Enable/ Disable the NTP server function. (if the ecoHD II isn’t connect to
internet, please disable the NTP Server function)
Time Setup:
Set the
NTP Server
and
Local Time
here.
①
NTP Server
(the ecoHD II must be already connected to the network)
-
NTP Server: Enter the NTP server IP address like: 204.152.184.72.
-
G.M.T: After the ecoHD II got the time from NTP server, it will update the
G.M.T field.
-
Time Zone: Use the
,
-
and
Numeric Key
to set the time zone of
your location. (time zone must be set properly for the
Auto-Download
and
Schedule
functions)
①
①
①
①
②
②
②
②


