13
EC3-680-3 February 2017
Order # 5041558-0 & 5041679-0
4-5. CHAIN INSPECTION
Chain inspection and lubrication are the most important aspects of
hoist maintenance. Removal of the chain from the hoist usually is not
necessary, but the chain should be run through the hoist enough that
every link is made visible for inspection.
a. Check each link for gouges. Nicks, weld spatter, corrosion
and distortion.
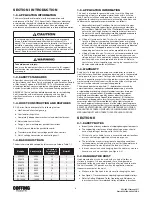
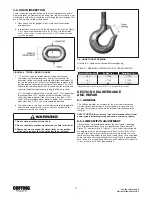
b. Inspect each link for wear to the diameter of the link (see Figure
4-4). The nominal link diameter is 0.437 inch. If the diameter
of any link of chain is worn to less than 0.350, the entire chain
must be replaced.
FIGURE 4-4. TYPICAL WEAR ON LINKS
c. 1.) Check the chain for overall wear or stretch by selecting
an unworn, unstretched length of chain (at the slack end, for
example). Let the chain hang vertically with a light load (about 20
lbs.) on the chain to pull it taut. Use a large caliper to measure the
outside length of a convenient number of links (about 12 inches).
Measure the same number of links in a used section of chain and
calculate the percentage increase in length of the worn chain.
2.) If the length of the worn chain is more than 1-1/2% longer than
the unused chain (.015” per inch of chain measured), than the
chain should be replaced. If the chain is worn less than 1-1/2%,
check it at several more places along its length. If any section is
worn more than 1-1/2%, the chain should be replaced.
d. The chain used in this hoist is accurately calibrated to operate
over the load sprocket and is very carefully heat treated for
maximum wear life and strength.
1. Do not weld or join hoist load chain.
2. Do not substitute another manufacturer’s chain in this hoist
3. Damage or wear, beyond the stated limits, to any portion
of the chain requires that the entire length be replaced
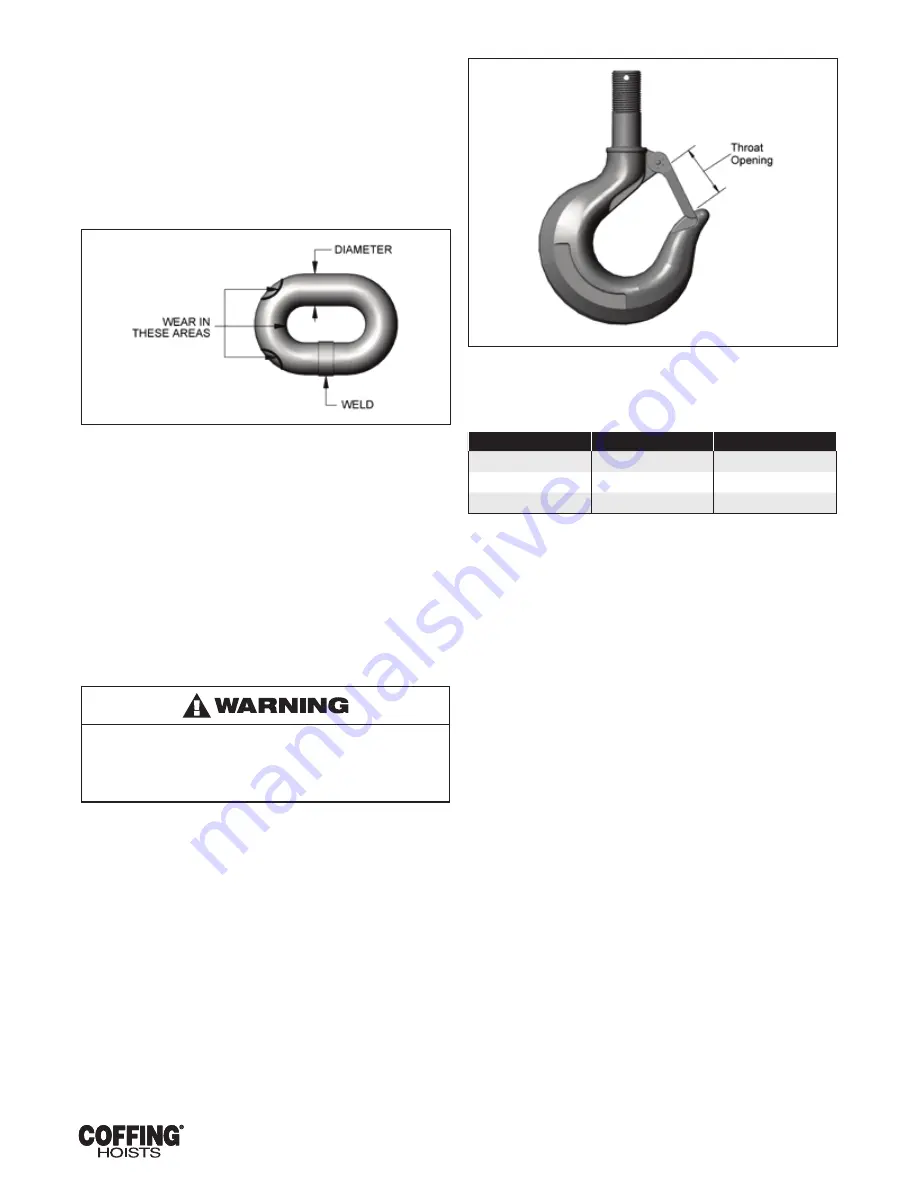
4-6. HOOK THROAT OPENING
Use Table 4-1 (below) to check hook throat opening.
TABLE 4-1. MAXIMUM ALLOWABLE HOOK THROAT OPENING
Hoist Load Rating (ton)
Top Hook* (in.)
Bottom Hook* (in.)
1 & 2
1-15/16
1-17/32
3 & 4
1-15/16
1-15/16
5
N/A
1-15/16
* Figures given are for hook with latch. Add 1/16” if measured without hook latch.
SECTION V MAINTENANCE
AND REPAIR
5-1. GENERAL
This section provides instructions for the most common routine
maintenance and adjustments. Major repairs are not within the
scope of this manual and should be referred to qualified service
facilities.
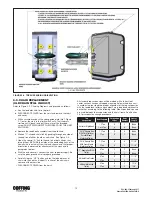
SAFETY NOTE: Always remove load and disconnect hoist from
power supply before removing end covers or making repairs.
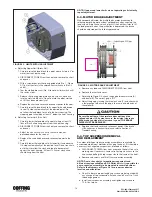
5-2. LIMIT SWITCH ADJUSTMENT
Limit switches are provided to protect the hoist against damage
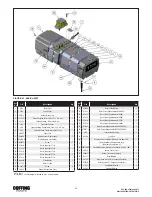
resulting from overtravel. For easy identification the upper (No. 2,
Figure 5-1) and lower (No. 3, Figure 5-1) limit switch adjusting nuts
are colored brass and zinc respectively. Each limit switch nut has
ten slots for adjustment, and the increment of adjustment is such
that one slot is equivalent to one link of chain travel. Care should be
exercised when adjusting either limit of travel. When a geared type
limit switch is furnished (long lift hoists) each adjustment is equal to
3 links of chain, or 30 links per revolution.


