22
6.
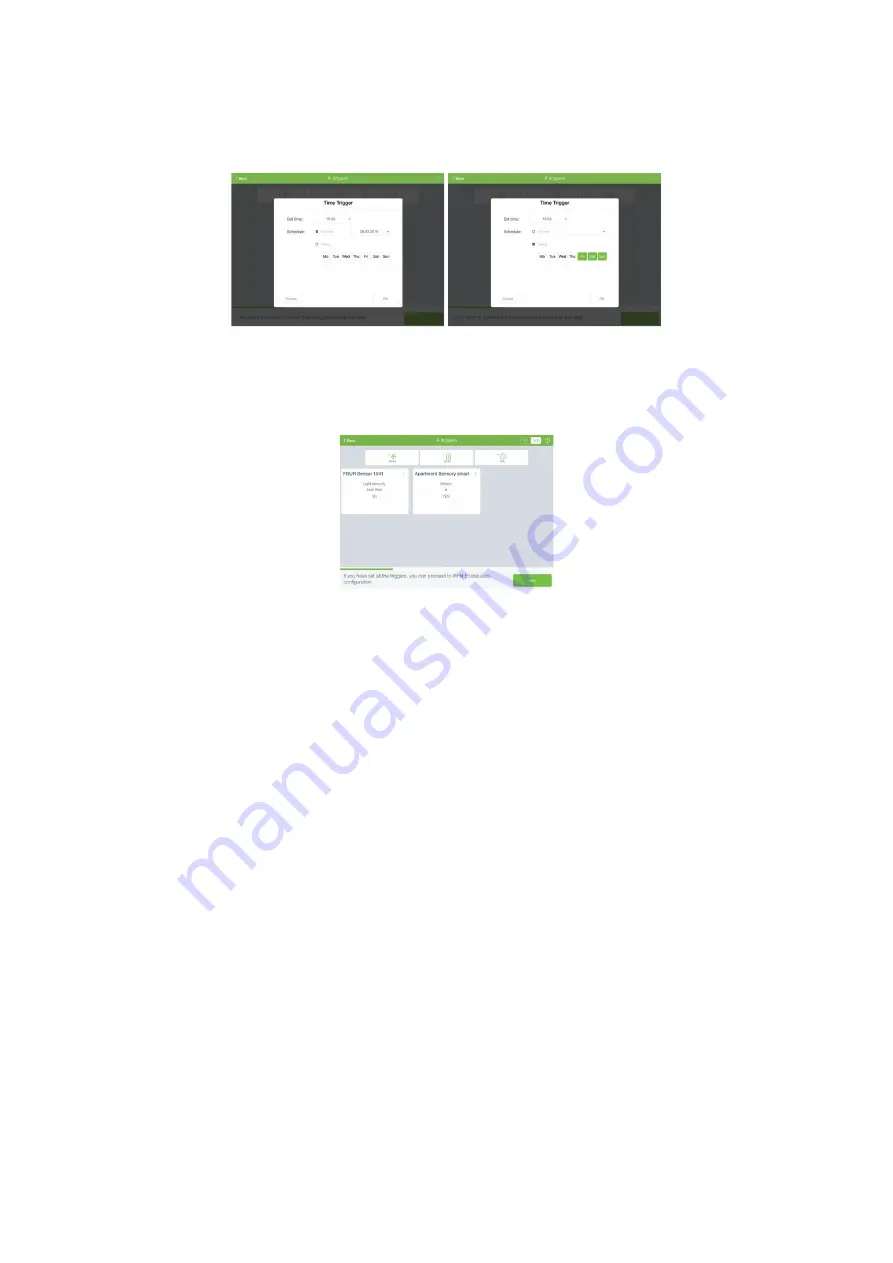
In case you would like to create time trigger (or triggers), please follow next steps:
a. Tap the Time button
b. In the time trigger dialog, choose the time when the rule should be active
c. In case of one-time event, set the desired date (Illustration 34)
d. In case the event should repeat, choose the Weekly option button and the days
when the rule should occur (Illustration 35)
e. Tap the button OK to add the trigger
lustration 34
Illustration 35
7.
Repeat steps 4 to 6 and use logical operators OR/AND (upper right corner) to combine
mul- tiple triggers (e.g. we would like to define an action “when light intensity is less than
20 AND motion is detected” (Illustration 36)
8.
Once you have set all triggers, tap the button NEXT to go to the next step
Illustration 36
9.
In the new dialog you will be able to set the status (or statuses) at which the rule will be
active. First, you have to enable desired status/statuses by marking the checkbox on the
left side of the status’ name. After that, the status can be turned on/off by tapping the
toggle switch on the right side. (Illustration 37). If you do not define any status, the rule
will be active at all statuses
Summary of Contents for CKNOAD1
Page 1: ...USER MANUAL Home Automation Gateway Cockpit Main Gateway Ordering Code CKNOAD1...
Page 2: ......
Page 27: ...27...


