Illustration 37
10.
Once you have set all status(es), tap the button NEXT to go to the next step
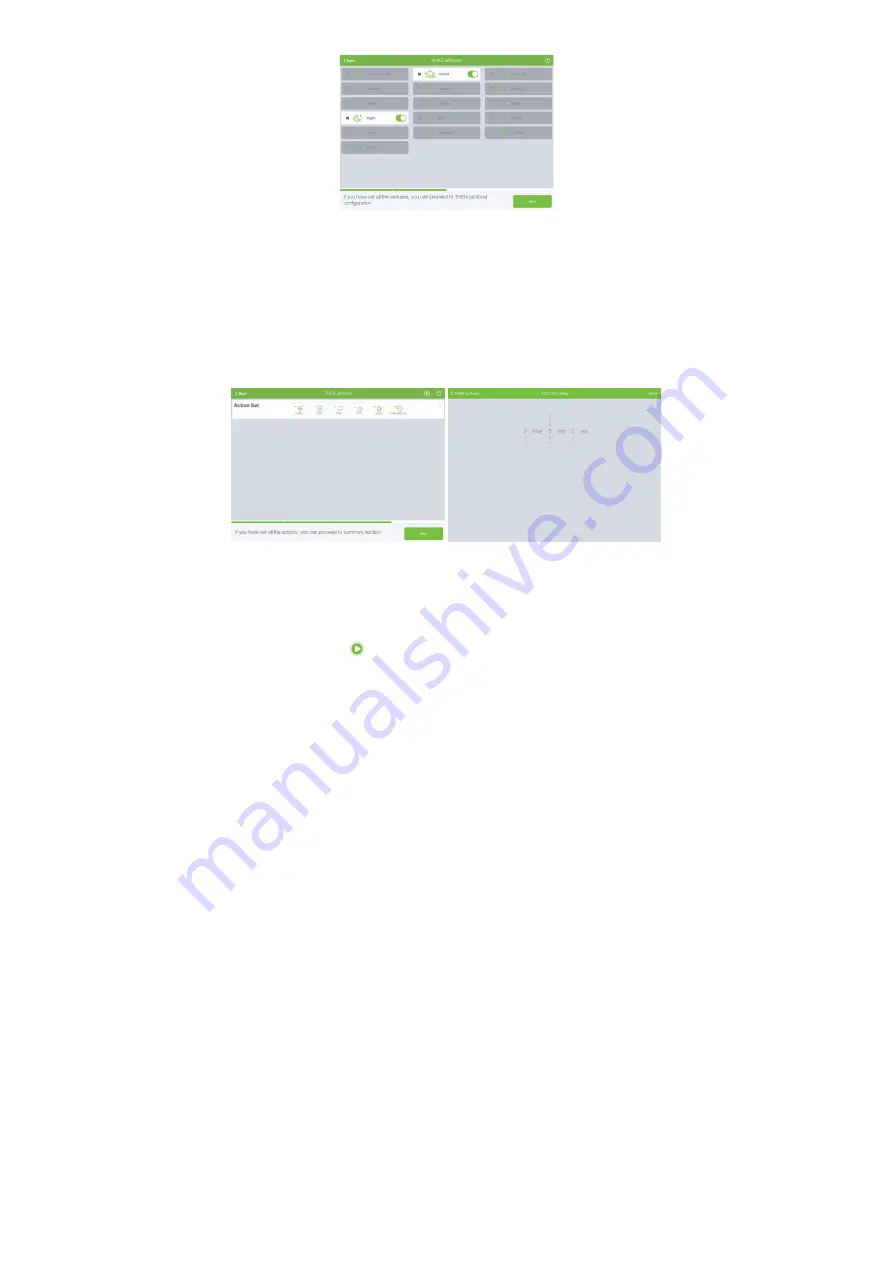
11. In the new dialog you will be able to define an action (or action sets) for defined triggers
12. For selected action set you will be able to add following actions by pressing the
appropriate button (Illustration 38):
a. Device
b. Smart
c. Push notification
d. Email notification
e. Set the status
lustration 38
Illustration 39
13. In addition to definition of an action set, you will be able to set delay time between actions
sets execution. Delay time can be added by pressing “Add delay time” button in the
upper right corner. Once you have set delay time, press the button Done in the upper
right corner (Illustration 39)
14. Once you have set action sets/delay time you will be able to test defined rule by
pressing the button
in the upper right corner
15. Otherwise, tap the button NEXT in order to proceed to summary section. If you are
satisfied with the rule, press the button DONE in order to finalize it
16. In the new dialog enter the name of your rule and tap the button OK.
Summary of Contents for CKNOAD1
Page 1: ...USER MANUAL Home Automation Gateway Cockpit Main Gateway Ordering Code CKNOAD1...
Page 2: ......
Page 27: ...27...


