Operating instruction
High-Z T-Series
Siemensstrasse 13-15
D-47608 Geldern Tel. +49 (0)2831/91021-20
Page 47
15.02.2014
6.3.3
Installing Accessories
HINT:
The equipment installation is carried out according to the specifications of
the accessories associated operating and assembly instructions.
WARNING:
Risk of injury due to improperly mounted accessories!
Improperly mounted accessories can lead to uncontrolled falling or
throwing out during operation and cause serious injury to skin and eyes.
Mount accessories professionally according to the safety
regulations.
Install milling motor
Personnel:
Specialist personnel
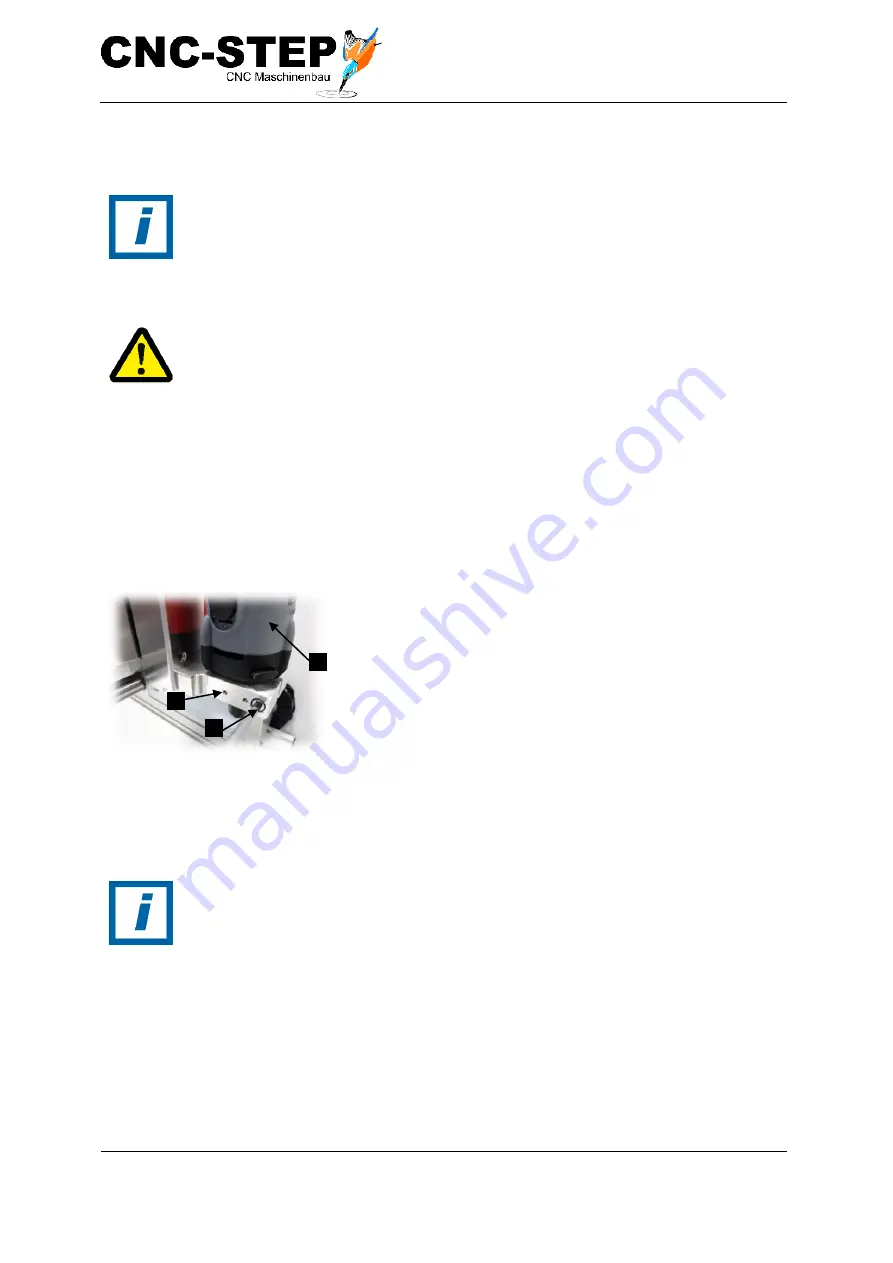
Figure 25: Tool holder with
milling
1 Tool, for example milling motor with 43mm neck
Euro (Fig. 25/1) insert in the tool holder (Fig. 25/2)
on the Z carriage.
2 Tighten screw (Fig. 25/3) lightly until a clamping is
done
3 Check milling motor for tightness in the accessory
holder.
HINT:
Property damage caused by excessive tightening!
When excessive tightening the screw for mounting the milling motor, the
main bearing of the cutter motor may be damaged.
Never tighten the screw (Fig. 25/2) for fixing the milling motor,
excessively.
Only use the short side of an allen key for manual tightening!
2
1
3


