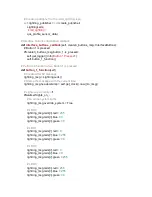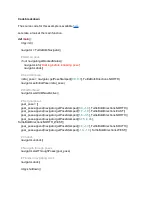
This example starts the same as
. We initialse the node, make sure the robot is
docked, and set the initial pose. Then we wait for Nav2 to become active.
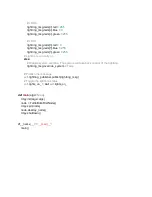
Set goal poses
The next step is to create a list of
PoseStamped
messages which represent the poses that the
robot needs to drive through.
goal_pose = []
goal_pose.append(navigator.getPoseStamped([
0.0
, -
1.0
], TurtleBot4Directions.NORTH))
goal_pose.append(navigator.getPoseStamped([
1.7
, -
1.0
], TurtleBot4Directions.EAST))
goal_pose.append(navigator.getPoseStamped([
1.6
, -
3.5
], TurtleBot4Directions.NORTH))
goal_pose.append(navigator.getPoseStamped([
6.75
, -
3.46
],
TurtleBot4Directions.NORTH_WEST))
goal_pose.append(navigator.getPoseStamped([
7.4
, -
1.0
], TurtleBot4Directions.SOUTH))
goal_pose.append(navigator.getPoseStamped([-
1.0
, -
1.0
], TurtleBot4Directions.WEST))
Navigate through the poses
Now we can undock the robot and begin navigating through each point. Once the robot has
reached the final pose, it will then return to the dock.
navigator.undock()
navigator.startThroughPoses(goal_pose)
navigator.dock()
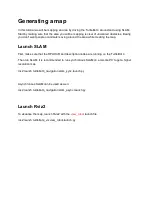
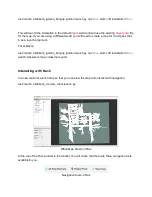
Watch navigation progress in Rviz
You can visualise the navigation process in Rviz by calling:
ros2 launch turtlebot4_viz view_robot.launch.py
Summary of Contents for TurtleBot 4 Lite
Page 50: ...Running the Light Ring test...
Page 61: ...Adding Displays in Rviz2...
Page 63: ...Camera image displayed in Rviz2...
Page 82: ...TurtleBot 4 Lite with a NED2 arm...
Page 147: ...Color camera diagnostics...

