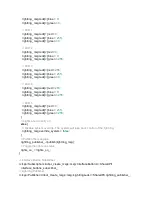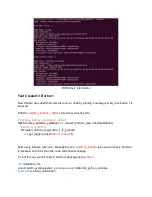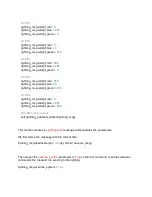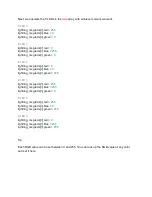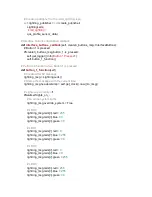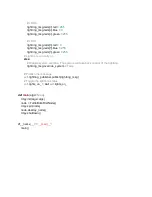
lightring_msg.leds[
4
].blue =
0
lightring_msg.leds[
4
].green =
255
# LED 5
lightring_msg.leds[
5
].red =
0
lightring_msg.leds[
5
].blue =
255
lightring_msg.leds[
5
].green =
255
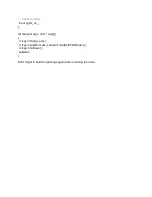
# Lights are currently on
else
:
# Disable system override. The system will take back control of the lightring.
lightring_msg.override_system =
False
# Publish the message
self
.lightring_publisher.publish(lightring_msg)
# Toggle the lights on status
self
.lights_on_ =
not
self
.lights_on_
Now the Create® 3 will regain control of the lightring if we press button 1 again.
Your first Python Node
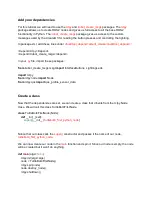
You have finished writing your first Python node! The final
.py
file should look like this:
from
irobot_create_msgs.msg
import
InterfaceButtons, LightringLeds
import
rclpy
from
rclpy.node import Node
from
rclpy.qos import qos_profile_sensor_data
class
TurtleBot4FirstNode(Node):
lights_on_ =
False
def
__init__
(
self
):
super
().__init__(
'turtlebot4_first_python_node'
)
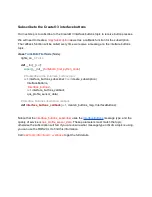
# Subscribe to the /interface_buttons topic
self
.interface_buttons_subscriber =
self
.create_subscription(
InterfaceButtons,
'/interface_buttons'
,
self
.interface_buttons_callback,
qos_profile_sensor_data)
Summary of Contents for TurtleBot 4 Lite
Page 50: ...Running the Light Ring test...
Page 61: ...Adding Displays in Rviz2...
Page 63: ...Camera image displayed in Rviz2...
Page 82: ...TurtleBot 4 Lite with a NED2 arm...
Page 147: ...Color camera diagnostics...


