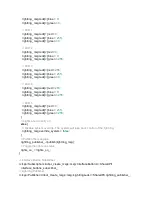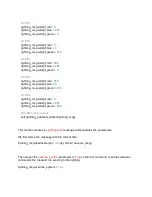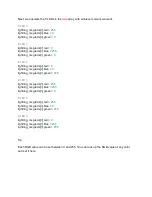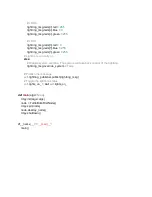
Next, we populate the 6 LEDs in the
leds
array with whatever colours we want.
# LED 0
lightring_msg.leds[
0
].red =
255
lightring_msg.leds[
0
].blue =
0
lightring_msg.leds[
0
].green =
0
# LED 1
lightring_msg.leds[
1
].red =
0
lightring_msg.leds[
1
].blue =
255
lightring_msg.leds[
1
].green =
0
# LED 2
lightring_msg.leds[
2
].red =
0
lightring_msg.leds[
2
].blue =
0
lightring_msg.leds[
2]
.green =
255
# LED 3
lightring_msg.leds[
3
].red =
255
lightring_msg.leds[
3
].blue =
255
lightring_msg.leds[
3
].green =
0
# LED 4
lightring_msg.leds[
4
].red =
255
lightring_msg.leds[
4
].blue =
0
lightring_msg.leds[
4
].green =
255
# LED 5
lightring_msg.leds[
5
].red =
0
lightring_msg.leds[
5
].blue =
255
lightring_msg.leds[
5
].green =
255
Tip
Each RGB value can be set between 0 and 255. You can look up the RGB value of any color
and set it here.
Summary of Contents for TurtleBot 4 Lite
Page 50: ...Running the Light Ring test...
Page 61: ...Adding Displays in Rviz2...
Page 63: ...Camera image displayed in Rviz2...
Page 82: ...TurtleBot 4 Lite with a NED2 arm...
Page 147: ...Color camera diagnostics...


