Chapter 8 Maintenance
−
53
−
Chapter
8
Maintenance
Since this printer uses a thermal head and a carbon ink ribbon, thermal paper dust etc may adhere to the
printhead or other related parts. In this case, printing errors or failure of the printhead may occur.
If paper dust or ribbon material adheres to the printhead, irregular printer movements, paper jams or
poor print quality may occur. Therefore, be sure to clean the printhead, platen and paper path
periodically. The amount of cleaning will depend on the volume of media being printed and the quality of
the consumables and media used in the printer. Genuine Citizen consumables will be you the best
performance.
If a defect should occur under normal use, it will be repaired free of charge during the warranty period.
However, the printhead, platen and pinch roller will be regarded as consumable supplies.
8.1 Printer
care
Observe the following when caring for the printer.
•
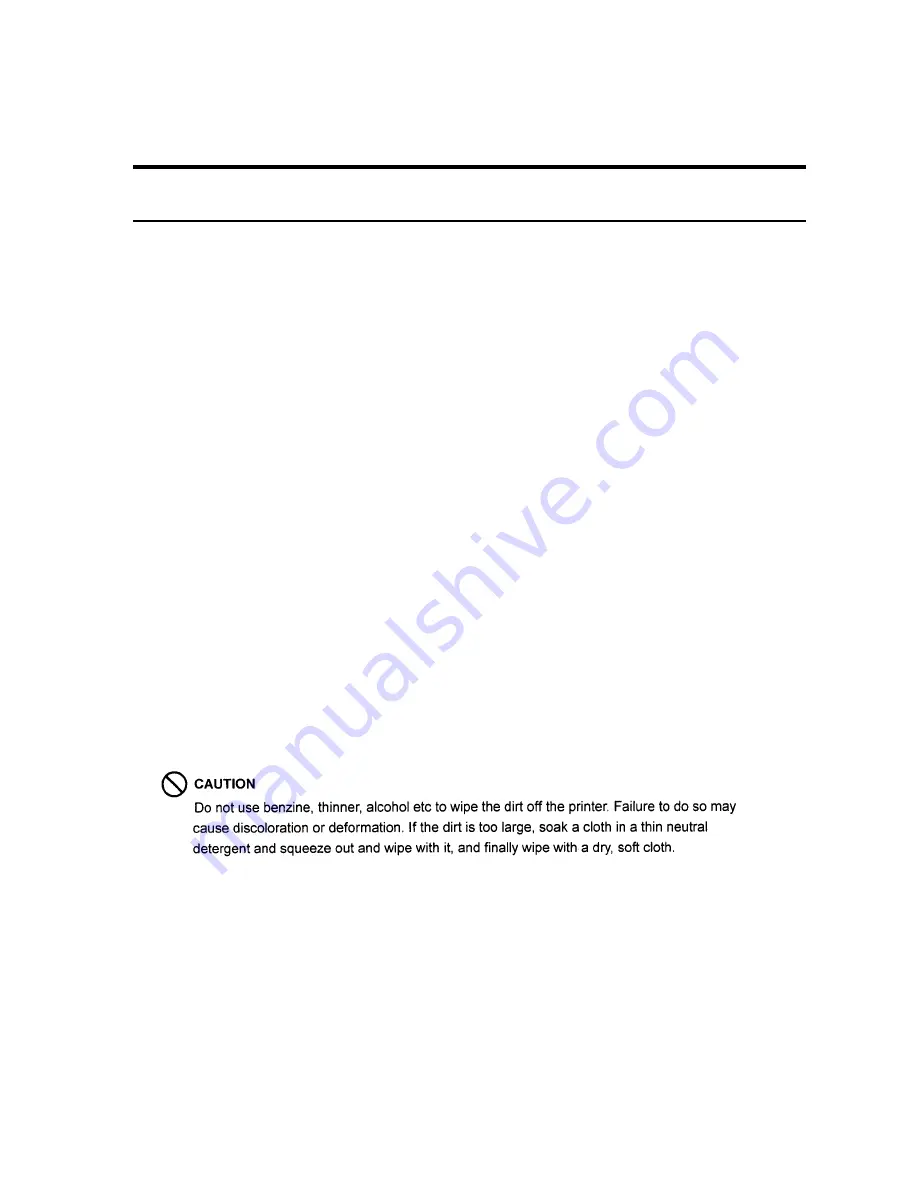
Use a cotton swab or soft cloth to clean each part of the printer.
•
Hard or square tools such as screwdrivers can scratch any part of the printer. Never clean the printhead
with such tools.
•
Before cleaning, make sure that the power to the printer is turned OFF and the power cord is
disconnected from the mains supply.
Summary of Contents for CLP-9001
Page 1: ......
Page 9: ... viii ...
Page 13: ...Chapter 2 Safety Precautions 4 ...
Page 14: ...Chapter 2 Safety Precautions 5 ...
Page 15: ...Chapter 2 Safety Precautions 6 ...
Page 16: ...Chapter 2 Safety Precautions 7 ...
Page 17: ...Chapter 2 Safety Precautions 8 ...
Page 20: ...Chapter 3 Names and Functions of Printer Parts 11 ...
Page 27: ...Chapter 4 Media Paper and Ribbon 18 4 2 Paper size ...
Page 41: ...Chapter 5 Power ON and Using the Control Panel 32 5 4 Navigating the Menu System ...
Page 42: ...Chapter 5 Power ON and Using the Control Panel 33 5 5 Changing Menu Values ...
Page 43: ...Chapter 5 Power ON and Using the Control Panel 34 5 6 Permanently Saving Printer Settings ...
Page 44: ...Chapter 5 Power ON and Using the Control Panel 35 5 7 Producing a Test or Configuration Print ...
Page 45: ...Chapter 5 Power ON and Using the Control Panel 36 5 8 Turning the printer OFF ...
Page 47: ...Chapter 6 Configuring Your Printer Using the Menus 38 6 2 Page Setup Menu ...
Page 48: ...Chapter 6 Configuring Your Printer Using the Menus 39 6 3 System Setup Menu ...
Page 49: ...Chapter 6 Configuring Your Printer Using the Menus 40 ...
Page 50: ...Chapter 6 Configuring Your Printer Using the Menus 41 6 4 After Print Menu ...
Page 51: ...Chapter 6 Configuring Your Printer Using the Menus 42 6 5 Interface Setup Menu ...
Page 53: ...Chapter 6 Configuring Your Printer Using the Menus 44 6 8 Menu Mode Description ...
Page 54: ...Chapter 6 Configuring Your Printer Using the Menus 45 ...
Page 55: ...Chapter 6 Configuring Your Printer Using the Menus 46 ...
Page 56: ...Chapter 6 Configuring Your Printer Using the Menus 47 ...
Page 57: ...Chapter 6 Configuring Your Printer Using the Menus 48 ...
Page 59: ...Chapter 7 Troubleshooting 50 ...
Page 60: ...Chapter 7 Troubleshooting 51 7 2 Error messages and corrective actions ...
Page 61: ...Chapter 7 Troubleshooting 52 ...
Page 63: ...Chapter 8 Maintenance 54 8 2 Cleaning method ...
Page 64: ...Chapter 9 Specifications 55 Chapter 9 Specifications 9 1 General specifications ...
Page 69: ...Chapter 9 Specifications 60 9 4 Adjustable sensor ...
Page 70: ...Chapter 9 Specifications 61 9 5 Auto Cutter optional ...
Page 72: ......


