Chapter 4 Media (Paper) and Ribbon
−
17
−
z
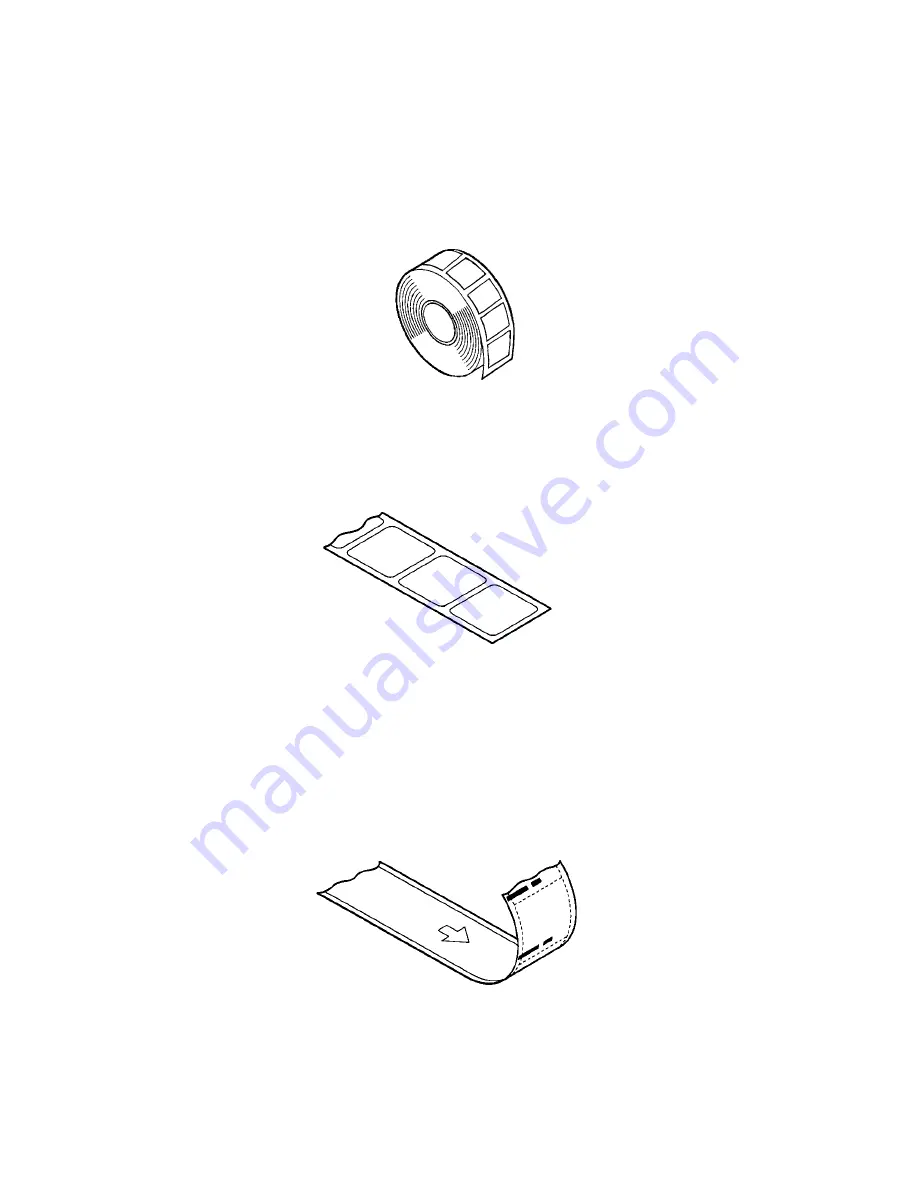
Label
Media with adhesive material on the back are referred to as labels. Labels are peeled off the liner
piece by piece and stuck to a product or item.
♦
Labels with inter-label gap
There are gaps between labels.
♦
Black mark label
Black marks are printed on the back of the label line on the central line or right side in the direction of
feed.
Summary of Contents for CLP-9001
Page 1: ......
Page 9: ... viii ...
Page 13: ...Chapter 2 Safety Precautions 4 ...
Page 14: ...Chapter 2 Safety Precautions 5 ...
Page 15: ...Chapter 2 Safety Precautions 6 ...
Page 16: ...Chapter 2 Safety Precautions 7 ...
Page 17: ...Chapter 2 Safety Precautions 8 ...
Page 20: ...Chapter 3 Names and Functions of Printer Parts 11 ...
Page 27: ...Chapter 4 Media Paper and Ribbon 18 4 2 Paper size ...
Page 41: ...Chapter 5 Power ON and Using the Control Panel 32 5 4 Navigating the Menu System ...
Page 42: ...Chapter 5 Power ON and Using the Control Panel 33 5 5 Changing Menu Values ...
Page 43: ...Chapter 5 Power ON and Using the Control Panel 34 5 6 Permanently Saving Printer Settings ...
Page 44: ...Chapter 5 Power ON and Using the Control Panel 35 5 7 Producing a Test or Configuration Print ...
Page 45: ...Chapter 5 Power ON and Using the Control Panel 36 5 8 Turning the printer OFF ...
Page 47: ...Chapter 6 Configuring Your Printer Using the Menus 38 6 2 Page Setup Menu ...
Page 48: ...Chapter 6 Configuring Your Printer Using the Menus 39 6 3 System Setup Menu ...
Page 49: ...Chapter 6 Configuring Your Printer Using the Menus 40 ...
Page 50: ...Chapter 6 Configuring Your Printer Using the Menus 41 6 4 After Print Menu ...
Page 51: ...Chapter 6 Configuring Your Printer Using the Menus 42 6 5 Interface Setup Menu ...
Page 53: ...Chapter 6 Configuring Your Printer Using the Menus 44 6 8 Menu Mode Description ...
Page 54: ...Chapter 6 Configuring Your Printer Using the Menus 45 ...
Page 55: ...Chapter 6 Configuring Your Printer Using the Menus 46 ...
Page 56: ...Chapter 6 Configuring Your Printer Using the Menus 47 ...
Page 57: ...Chapter 6 Configuring Your Printer Using the Menus 48 ...
Page 59: ...Chapter 7 Troubleshooting 50 ...
Page 60: ...Chapter 7 Troubleshooting 51 7 2 Error messages and corrective actions ...
Page 61: ...Chapter 7 Troubleshooting 52 ...
Page 63: ...Chapter 8 Maintenance 54 8 2 Cleaning method ...
Page 64: ...Chapter 9 Specifications 55 Chapter 9 Specifications 9 1 General specifications ...
Page 69: ...Chapter 9 Specifications 60 9 4 Adjustable sensor ...
Page 70: ...Chapter 9 Specifications 61 9 5 Auto Cutter optional ...
Page 72: ......


