


16-14
Cisco IOS Software Configuration Guide for Cisco Aironet Access Points
OL-14209-01
Chapter 16 Configuring Filters
Configuring Filters Using the Web-Browser Interface
Step 7
Click
Add
. The Ethertype appears in the Filters Classes field. To remove the Ethertype from the Filters
Classes list, select it and click
Delete Class
. Repeat
Step 4
through
Step 7
to add Ethertypes to the filter.
Step 8
Select
Forward All
or
Block All
from the Default Action menu. The filter’s default action must be the
opposite of the action for at least one of the Ethertypes in the filter. For example, if you enter several
Ethertypes and you select
Block
as the action for all of them, you must choose
Forward All
as the filter’s
default action.
Step 9
Click
Apply
. The filter is saved on the access point, but it is not enabled until you apply it on the Apply
Filters page.
Step 10
Click the
Apply Filters
tab to return to the Apply Filters page.
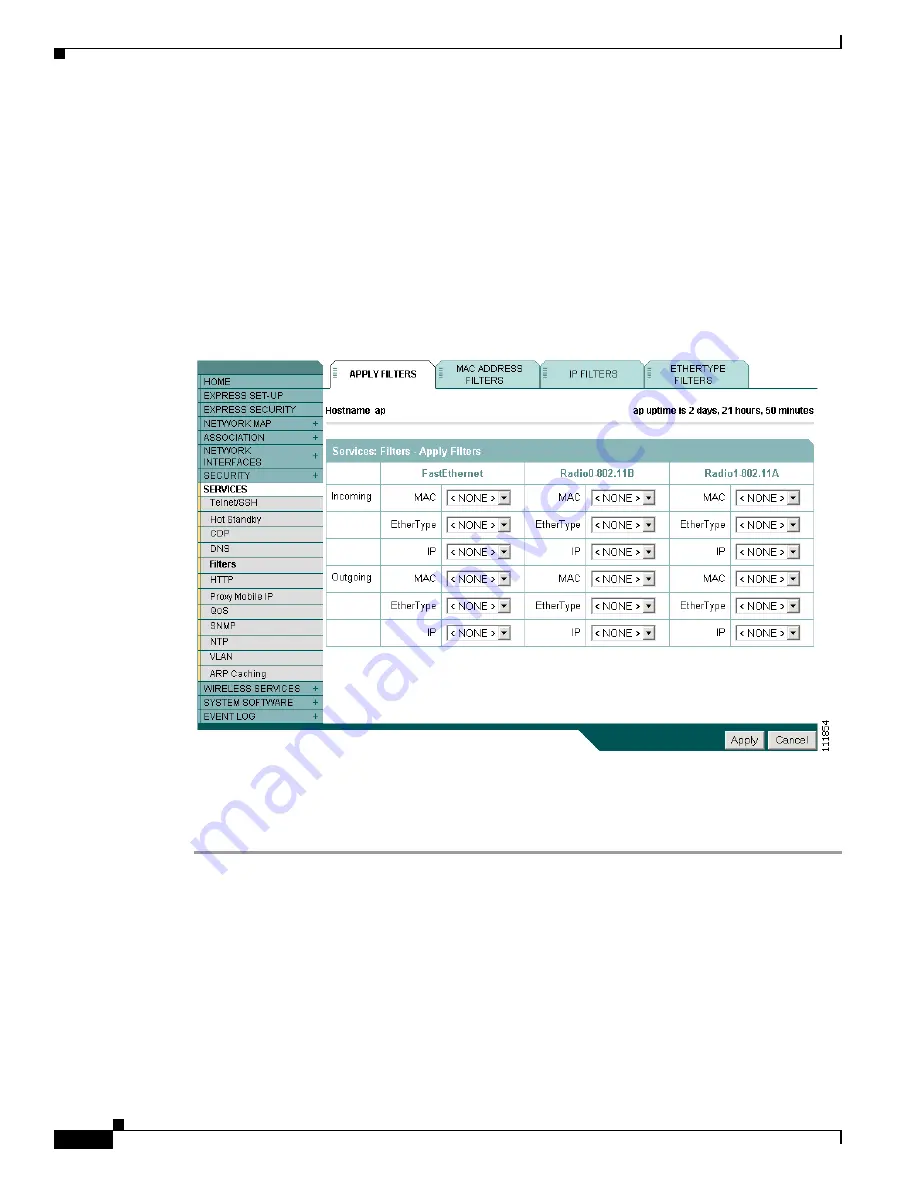
Figure 16-9
shows the Apply Filters page.
Figure 16-9
Apply Filters Page
Step 11
Select the filter number from one of the Ethertype drop-down menus. You can apply the filter to either
or both the Ethernet and radio ports, and to either or both incoming and outgoing packets.
Step 12
Click
Apply
. The filter is enabled on the selected ports.


