H
List of faults
d1.0
compressor discharge - level 0
d1.1
compressor discharge - level 1
d1.2
compressor discharge - level 2
d2.0
water circulation - level 0
d2.2
water circulation - level 2
d3.2
Antifrost limit - level 2
d4.0
Brazed plates exchanger antifrost - level 0
d4.1
Brazed plates exchanger antifrost - level 1
d4.2
Brazed plates exchanger antifrost - level 2
d5.0
Low pressure - level 0
d5.1
Low pressure - level 1
d5.2
Low pressure - level 2
d6.0
High pressure - level 0
d6.1
High presure - level 1
d6.2
High pressure - level 2
d7.0
Defrosting - level 0
d7.1
Defrosting - level 1, goes to d7.2 when switching from
heating mode to cooling mode or stop
d7.2
Defrosting - level 2
d8.2
Immersed electrode safety device - level 2 or manual
thermostat safety device 63
°
C in PCR
d9.1.1. Coil refrigerant sensor - level 1
d9.1.2. Coil refrigerant sensor - level 2
d9.2.1. Plate heat exchanger refrigerant sensor - level 1
d9.2.2. Plate heat exchanger refrigerant sensor - level 2
d9.4.1. External sensor - level 1
d9.4.2. External sensor - level 2
d.9.5.1. Compressor discharge sensor - level 1
d9.5.2. Compressor discharge sensor - level 2
d9.6.2. Sensor on water/refrigerant fluid exchanger water
return - level 2
d.9.7.2. Sensor on water/refrigerant fluid exchanger water
departure - level 2
d.9.8.
Ambient thermostat sensor fault
d.9.9.
Ambient thermostat potentiometer fault
d.10.2. Eeprom memory - level 2
d.11.0
Climbox 2 programmer liaison - level 0
d.12.0
Liaison MCAD5 - level 0
H
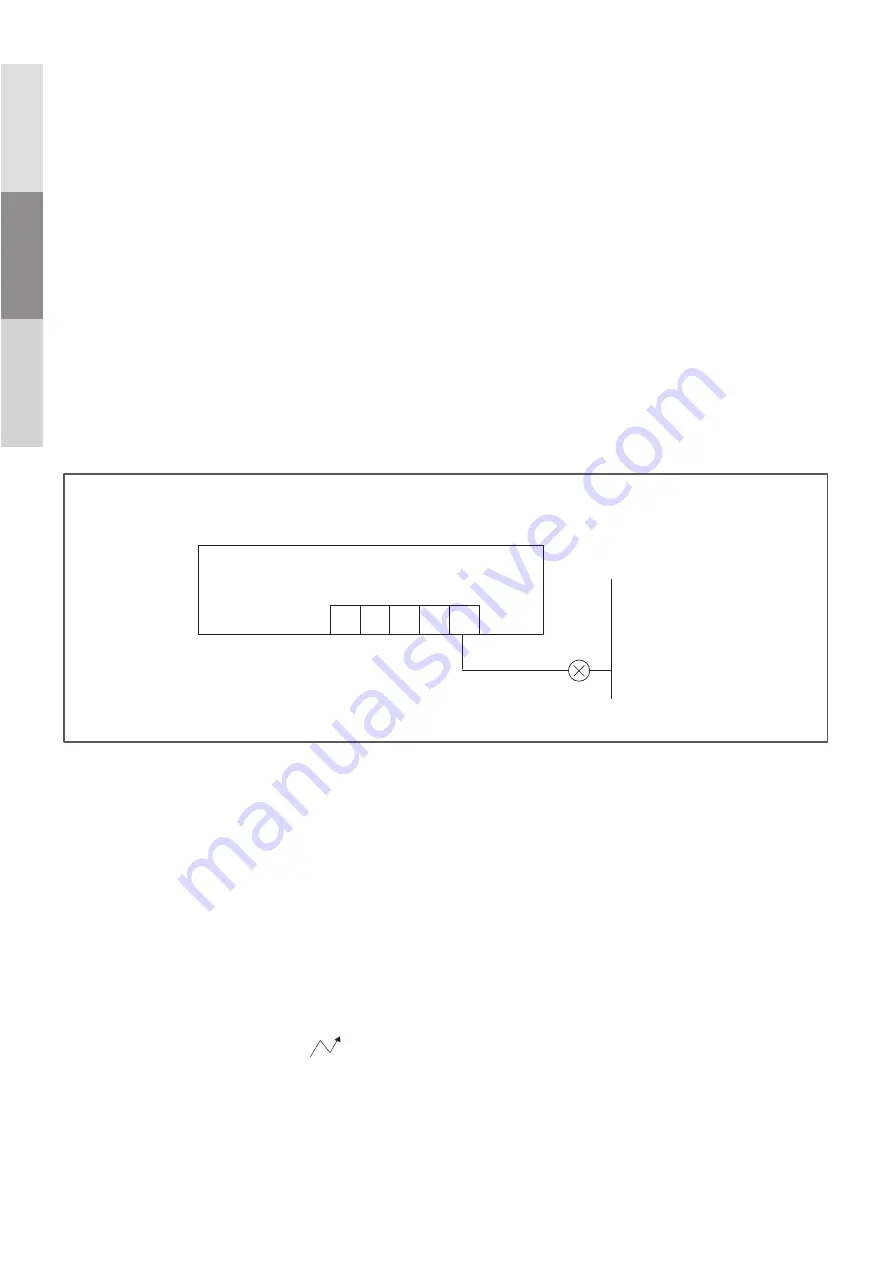
Fault transfer
The MRS5.1 card offers a neutral type fault transfer on terminal
5 of terminal box J5 ; in case of level 1 or 2 fault, this terminal
acts as a neutral.
Utilization example : visualization of faults by lamp lighting.
Maximal load on terminal 5 : 10A resistive
5
J5
MRS 5.1
Ph (230 V)
"
Verifications before commissioning
– Make sure of the absence of refrigerant fluid leak
– Make sure that water circulates in the generator when the
circulator is operating
– Purge the air of the hydraulic circuit
– Check the tightening of all the electrical connections
– Make sure that the network voltage corresponds to the unit
voltage and that its value remains within the admissible limits
(+6% –10% in relation to the nominal voltages)
"
Starting sequence
Before putting under voltage, check that the hydraulic circuit is
supplied with water.
Put the unit under voltage (the green LED
of the MRS5.1
lights up and the display panel gives the water return tempera-
ture). The thermodynamic unit is stopped. Check that the circu-
lator operates.
Press the MRS5.1
CONFIGURATION
key for modifying and
validating the parameters which will serve your installation.
Press keys
+ / –
for reaching the parameter to be modified, on
Pr
value display, on
+ / –
for modification of values and finally on
Pr
for parameter validation.
For parameters P01 to P18 modification, you must first transfer
P15 on 0 by positioning yourself on P15 and pressing simulta-
neously keys
–
and
reset
.
"
List of basic parameters to be set
before starting
P04 control
mode
Value 0 : Climbox 2 programmer
Value 1 : All or nothing entries
Value 2 : remote control MCAD5
P12
Hydraulic pump operation type
Value 0 : continuous operation
Value 1 : economical operation in anti-freeze
and absence period
P07
Choice of hydraulic network
Value 0 : fan coil unit
Value 1 : cooling heating floor (PCR)
If P07 = 1, you must also adjust :
P09 ambient temperature above which the unit will
ensure the cooling
(factory setting : 25
°
C)
P18 ambient temperature desired in the room in
heating (factory setting : 20
°
C)
P02
Cooling regulation as a function of the outside
temperature (accessible only if P07 = 0)
Value 0 : no
Value 1 : Yes
P03
Heating regulation as a function of the outside
temperature
Value 0 : no
Value 1 : yes
P35
Water return setting in heating mode
P36
Water return setting in cooling mode
français
Deutsche
English


