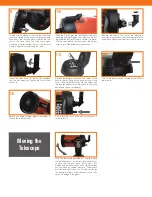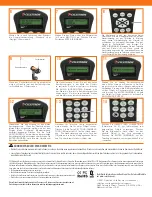
Remove the battery cover from the center of the
base by gently lifting on the round portion of the
cover. Insert 8 AA batteries into the holder and
reattach the battery cover. Be careful to insert the
batteries in the correct polarity.
13
Before you begin viewing, please remember to
remove the tube lens cap.
15
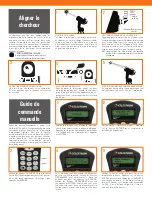
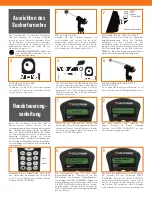
Slide the StarPointer red dot finderscope onto
mounting bracket. Tighten the screws on side of
the finderscope StarPointer to secure it in place.
Pull the small plastic tab from under the battery
cover to allow the battery to make contact.
10
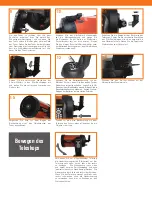
Remove the cap on the rear of the telescope.
Insert the silver barrel of the star diagonal into the
visual back. Tighten the silver set screw to secure.
11
Insert the silver barrel of the 25mm eyepiece
into the star diagonal. Tighten the silver screw
to secure.
12
Turn on the power switch located at the base of
the fork arm.
14
Slowly turn the focus knob until your subject is
in sharp focus.
16
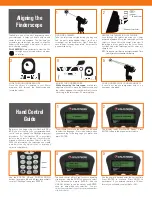
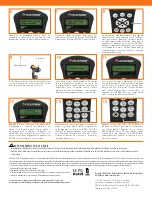
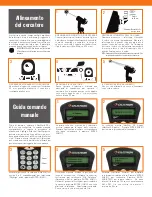
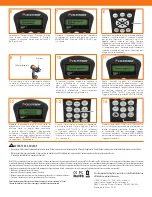
With the telescope powered on, use the hand
control directional slew buttons (the arrow keys)
to move the scope up, down, left, or right. The
altitude axis (up & down) also has a slip clutch that
you can move by hand at any time. The azimuth
axis (left and right) does not. Forcing the scope
left and right without using the hand control can
result in damage to the gears.
Moving the
Telescope
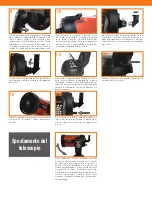
To adjust the balance or remove the tube from
the base, simply loosen the quick-release clamp
knob and slide the tube back towards the rear
cell of the tube. Hold the tube firmly when
mounting or dismounting. Ensure the dovetail
clamp is tight before releasing the tube.
9


