E-20
GETTING ACQUAINTED
PUSH
OPEN
POWER
MENU
USB
VIDEO OUT
DC IN 6V
DIGITAL
ON/OFF
W
T
DIGITAL terminal
(page E-126)
USB port
(page E-126)
DC IN 6V terminal
(page E-36)
VIDEO OUT terminal
(page E-126)
Open Terminal Panel Cover
Tripod screw hole
Release button
(page E-32)
Battery compart-
ment cover
(page E-32)
Terminals and Ports
Bottom
Terminal Panel
Cover
(page E-20)
Downloaded from ManualsCamera.com Manuals
E-22
GETTING ACQUAINTED
Conversion
Lens Adaptor
(LU-8A)
Installing a Conversion Lens
Optionally available conversion lenses change the focal dis-
tance, which provides enhanced telephoto or wide-angle ca-
pabilities. The method you should use to install a conversion
lens depends on your camera model.
• QV-2400UX: You must install an optionally available lens
adaptor (LU-8A) in order to use a conversion lens.
• QV-2900UX: A conversion lens can be installed directly,
without an adaptor.
Conversion
Lens Adaptor
(LU-8A)
• Tele Conversion Lens LU-8T: 1.5X
• Focusing distance when installed
QV-2400UX: Approximately 1m to
QV-2900UX: Approximately 2.5m to
• Wide Conversion Lens LU-8W: 0.7X
• Focusing distance when installed
QV-2400UX/QV-2900UX: Approximately 1cm to
Tele
Conversion
Lens (LU-8T)
Wide
Conversion
Lens (LU-8W)
QV-2400UX
QV-2900UX
QV-2400UX
QV-2900UX
IMPORTANT!
• Be sure to use the Conversion Lens Adaptor when-
ever you install a conversion lens. If you don’t, the
lens will come into contact with the conversion lens
when it extends from the camera, resulting in malfunc-
tion. (QV-2400UX only)
• Flash is disabled while a conversion lens is being
used.
Downloaded from ManualsCamera.com Manuals
E-24
GETTING ACQUAINTED
Lens Precautions
• Fingerprints, dust, or any other soiling of the lens can inter-
fere with proper image recording. Never touch the lens with
your fingers. You can remove dust particles from the lens
surface by using a lens blower to blow them off. Next, wipe
the surface of the lens with a soft lens cloth.
• The lens of the QV-2400UX extends from its body when
you turn on power and retracts when you turn off power.
Take care not to subject the lens to undue force or impact,
and never set the camera face down so the lens is in con-
tact with a tabletop, etc. Be sure to remove the lens cap
before turning on the camera. If you turn on the QV-
2400UX while the REC/PLAY selector is set to “REC” and
its lens cap is attached, the message “LENS CAP!” ap-
pears on the monitor screen and power turns off automati-
cally. If this happens, remove the lens cap and then turn on
power.
• Never remove the batteries from the QV-2400UX or unplug
its AC adaptor while the lens is extended. Doing so leaves
the lens extended, and creates the risk of lens damage.
Downloaded from ManualsCamera.com Manuals
E-26
GETTING ACQUAINTED
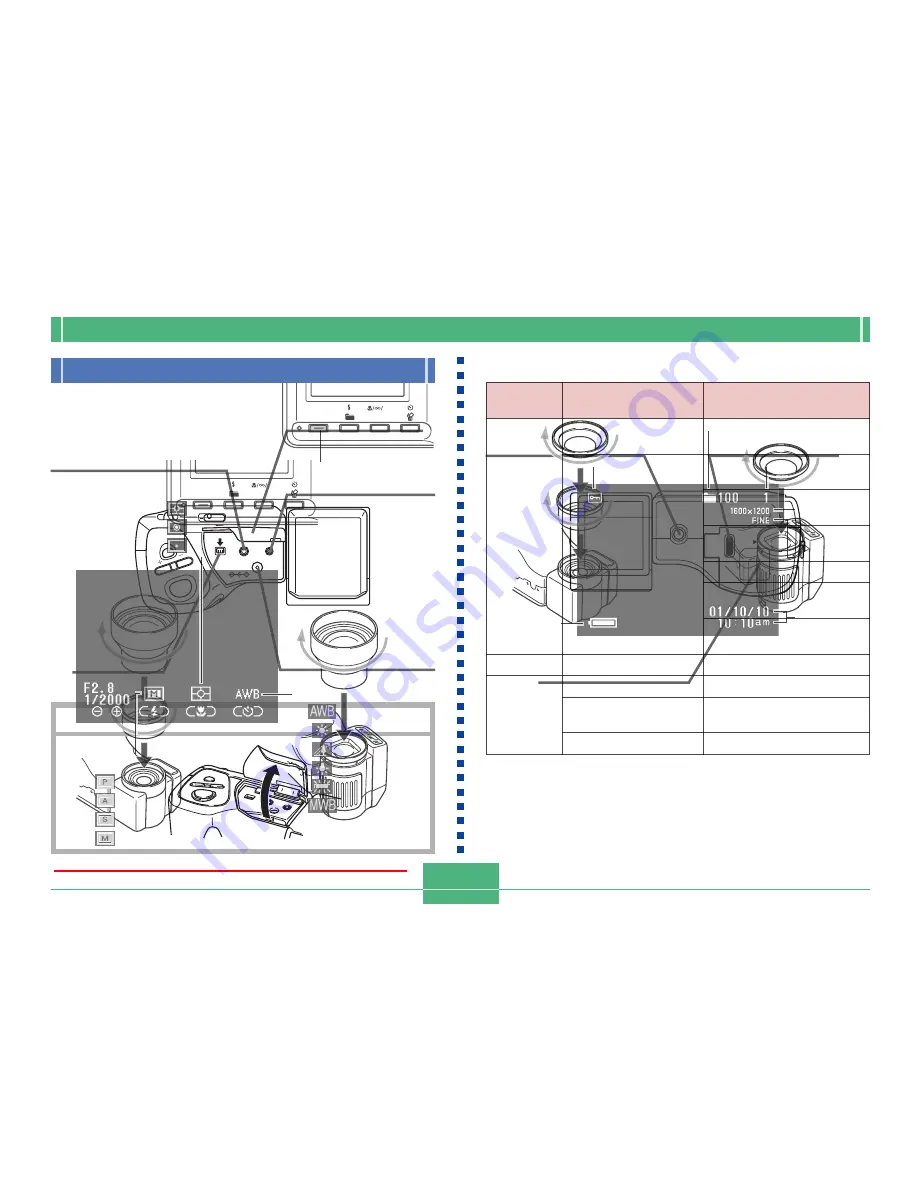
White balance
(Auto)
(Daylight)
(Shade)
(Tungsten)
(Fluorescent)
(Manual)
Metering Mode indicator
(multi)
(center)
(spot)
Exposure Mode indicator
(program AE)
(aperture priority AE)
(shutter speed priority AE)
(manual)
■
Screen when SHIFT INFO is pressed
Pressing SHIFT INFO also
displays the FUNCTION menu
(page E-95).
SHIFT
INFO
RESIZE
MF
SHIFT INFO button
PLAY mode
Image protection indicator
Folder name
File number
Image size
Quality
Battery
capacity
The above indicators do not appear on the PLAY mode
monitor screen when the “Indicators” option is turned off
(page E-123).
Date/Time
Downloaded from ManualsCamera.com Manuals
E-28
GETTING ACQUAINTED
REC mode
• The camera is ready to record when the lamp is off.
Lamp
Color
Green
Amber
Red
On
Auto focus operation
complete
Monitor screen
turned off due to
sleep state activation
Exposure warning
Cannot focus
Memory full
Data save error
Flashing
Please Wait
(after power on)
Image store operation in
progress
Movie store operation in
progress
Self-timer countdown in
progress
Low battery
Format operation in
progress
Please Wait
(after power off)
Flash is charging.
Memory card error
Memory card is not
formatted
Cannot charge the flash
Operation lamp
SHIFT
INFO
RESIZE
MF
Operation Indicator Lamp
The Operation lamp shows the operational status of the
camera as described below.
Downloaded from ManualsCamera.com Manuals


