


41
Playing Back Images
9.
Press the shutter button to register the selected frame.
•
If you selected “No Frame” in step
8, skip to step 12 here. Otherwise,
proceed with step 10.
10.
Use the [+] and [–] buttons to select the color of the frame.
•
Each press of [+] changes the selected color in the following
sequence: Yellow
Pink
White. Pressing [–] changes
colors in reverse sequence.
11.
Press the shutter button to register the selected color.
12.
Use the [+] and [–] buttons to specify the location of the
title.
•
Each press of [+] changes the location the title in the
following sequence: Bottom
Middle
Top. Pressing [–]
changes the position in reverse sequence.
13.
Press the shutter button to register the selected position.
•
The image with the superimposed title is stored in the
memory page immediately following the memory page
where the original image is stored. All images in the
following memory pages are shifted to make room.
Operation
42
Rotating an Image
Use the following procedure to rotate an image in 90
°
increments.
To rotate an image
1.
Enter the Playback Mode.
•
Slide the function switch to the PLAY position.
2.
Use the [+] and [–] buttons to scroll through the images in
memory until the one you want to rotate is on the monitor
screen.
3.
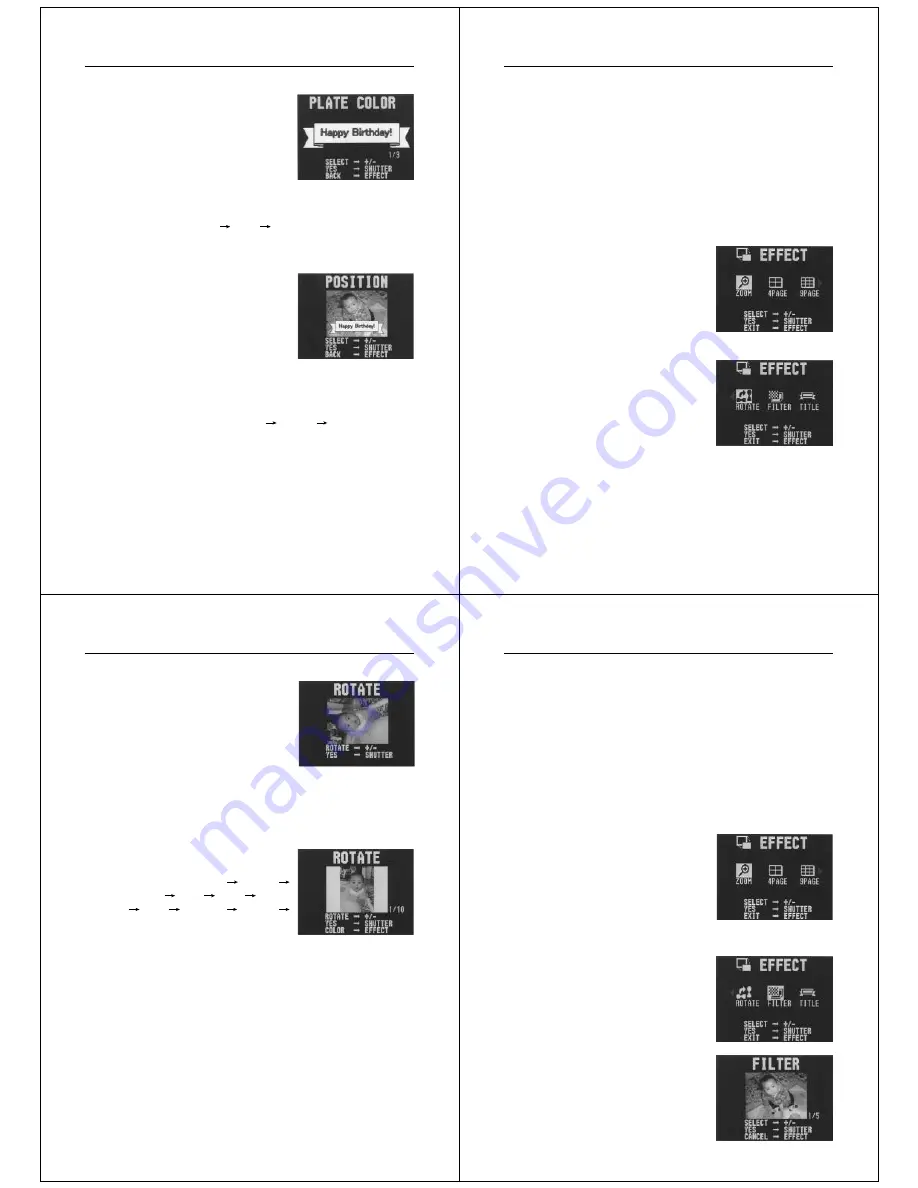
Press EFFECT to display the EFFECT Menu.
•
If you want to clear the EFFECT
Menu without proceeding any
further, press EFFECT again.
4.
Use the [+] and [–] buttons to select the “ROTATE” item.
43
Playing Back Images
5.
Press the shutter button.
6.
Use the [+] and [–] buttons to select the rotation angle.
•
If you selected a rotation angle of 0
°
or 180
°
, skip to step 8
here. Otherwise, proceed with step 7.
7.
Use the EFFECT button to select the background color.
•
Each press of EFFECT changes
the selected color in the following
sequence: White
Aqua
Yellow
Pink
Blue
Green
Red
Orange
Purple
Black.
8.
Press the shutter button to complete the rotation opera-
tion.
Important!
• The rotation operation affects the displayed image only. It does not
actually change the data stored in camera memory. Because of this
the image retains its normal, non-rotated orientation when you print
it or transfer it to a personal computer.
Operation
44
Filtering an Image
Images can be filtered to produce a variety of special effects.
To filter an image
1.
Enter the Playback Mode.
• Slide the function switch to the PLAY position.
2.
Use the [+] and [–] buttons to scroll through the images in
memory until the one you want to filter is on the monitor
screen.
3.
Press EFFECT to display the EFFECT Menu.
•
If you want to clear the EFFECT
Menu without proceeding any
further, press EFFECT again.
4.
Use the [+] and [–] buttons to select the “FILTER” item.
5.
Press the shutter button.


